Developer Offer
Try ImaginePro API with 50 Free Credits
Build and ship AI-powered visuals with Midjourney, Flux, and more — free credits refresh every month.
Transform Skin Tones With Lightrooms New Color Variance Tool
As a photographer who has shot more than a few weddings in 90°F heat, I’ve edited my fair share of red skin. But Adobe Lightroom just added a new slider in its October 2025 update that is going to make correcting skin tones far faster: Color Variance.
There are a handful of new tools in this update that I’m particularly excited about as a portrait and wedding photographer, and Color Variance is at the top of the list.
What is the New Color Variance Tool
Color Variance is a powerful slider that creates more or less variety within a selected color range. By moving the slider, photo editors can make a specific color more uniform or, by moving it in the opposite direction, add more color contrast. This makes the tool incredibly useful for smoothing out color variations in skin, such as redness from heat or rosacea. At the same time, it can be used to create more vibrant color contrast in landscapes and other types of photos.
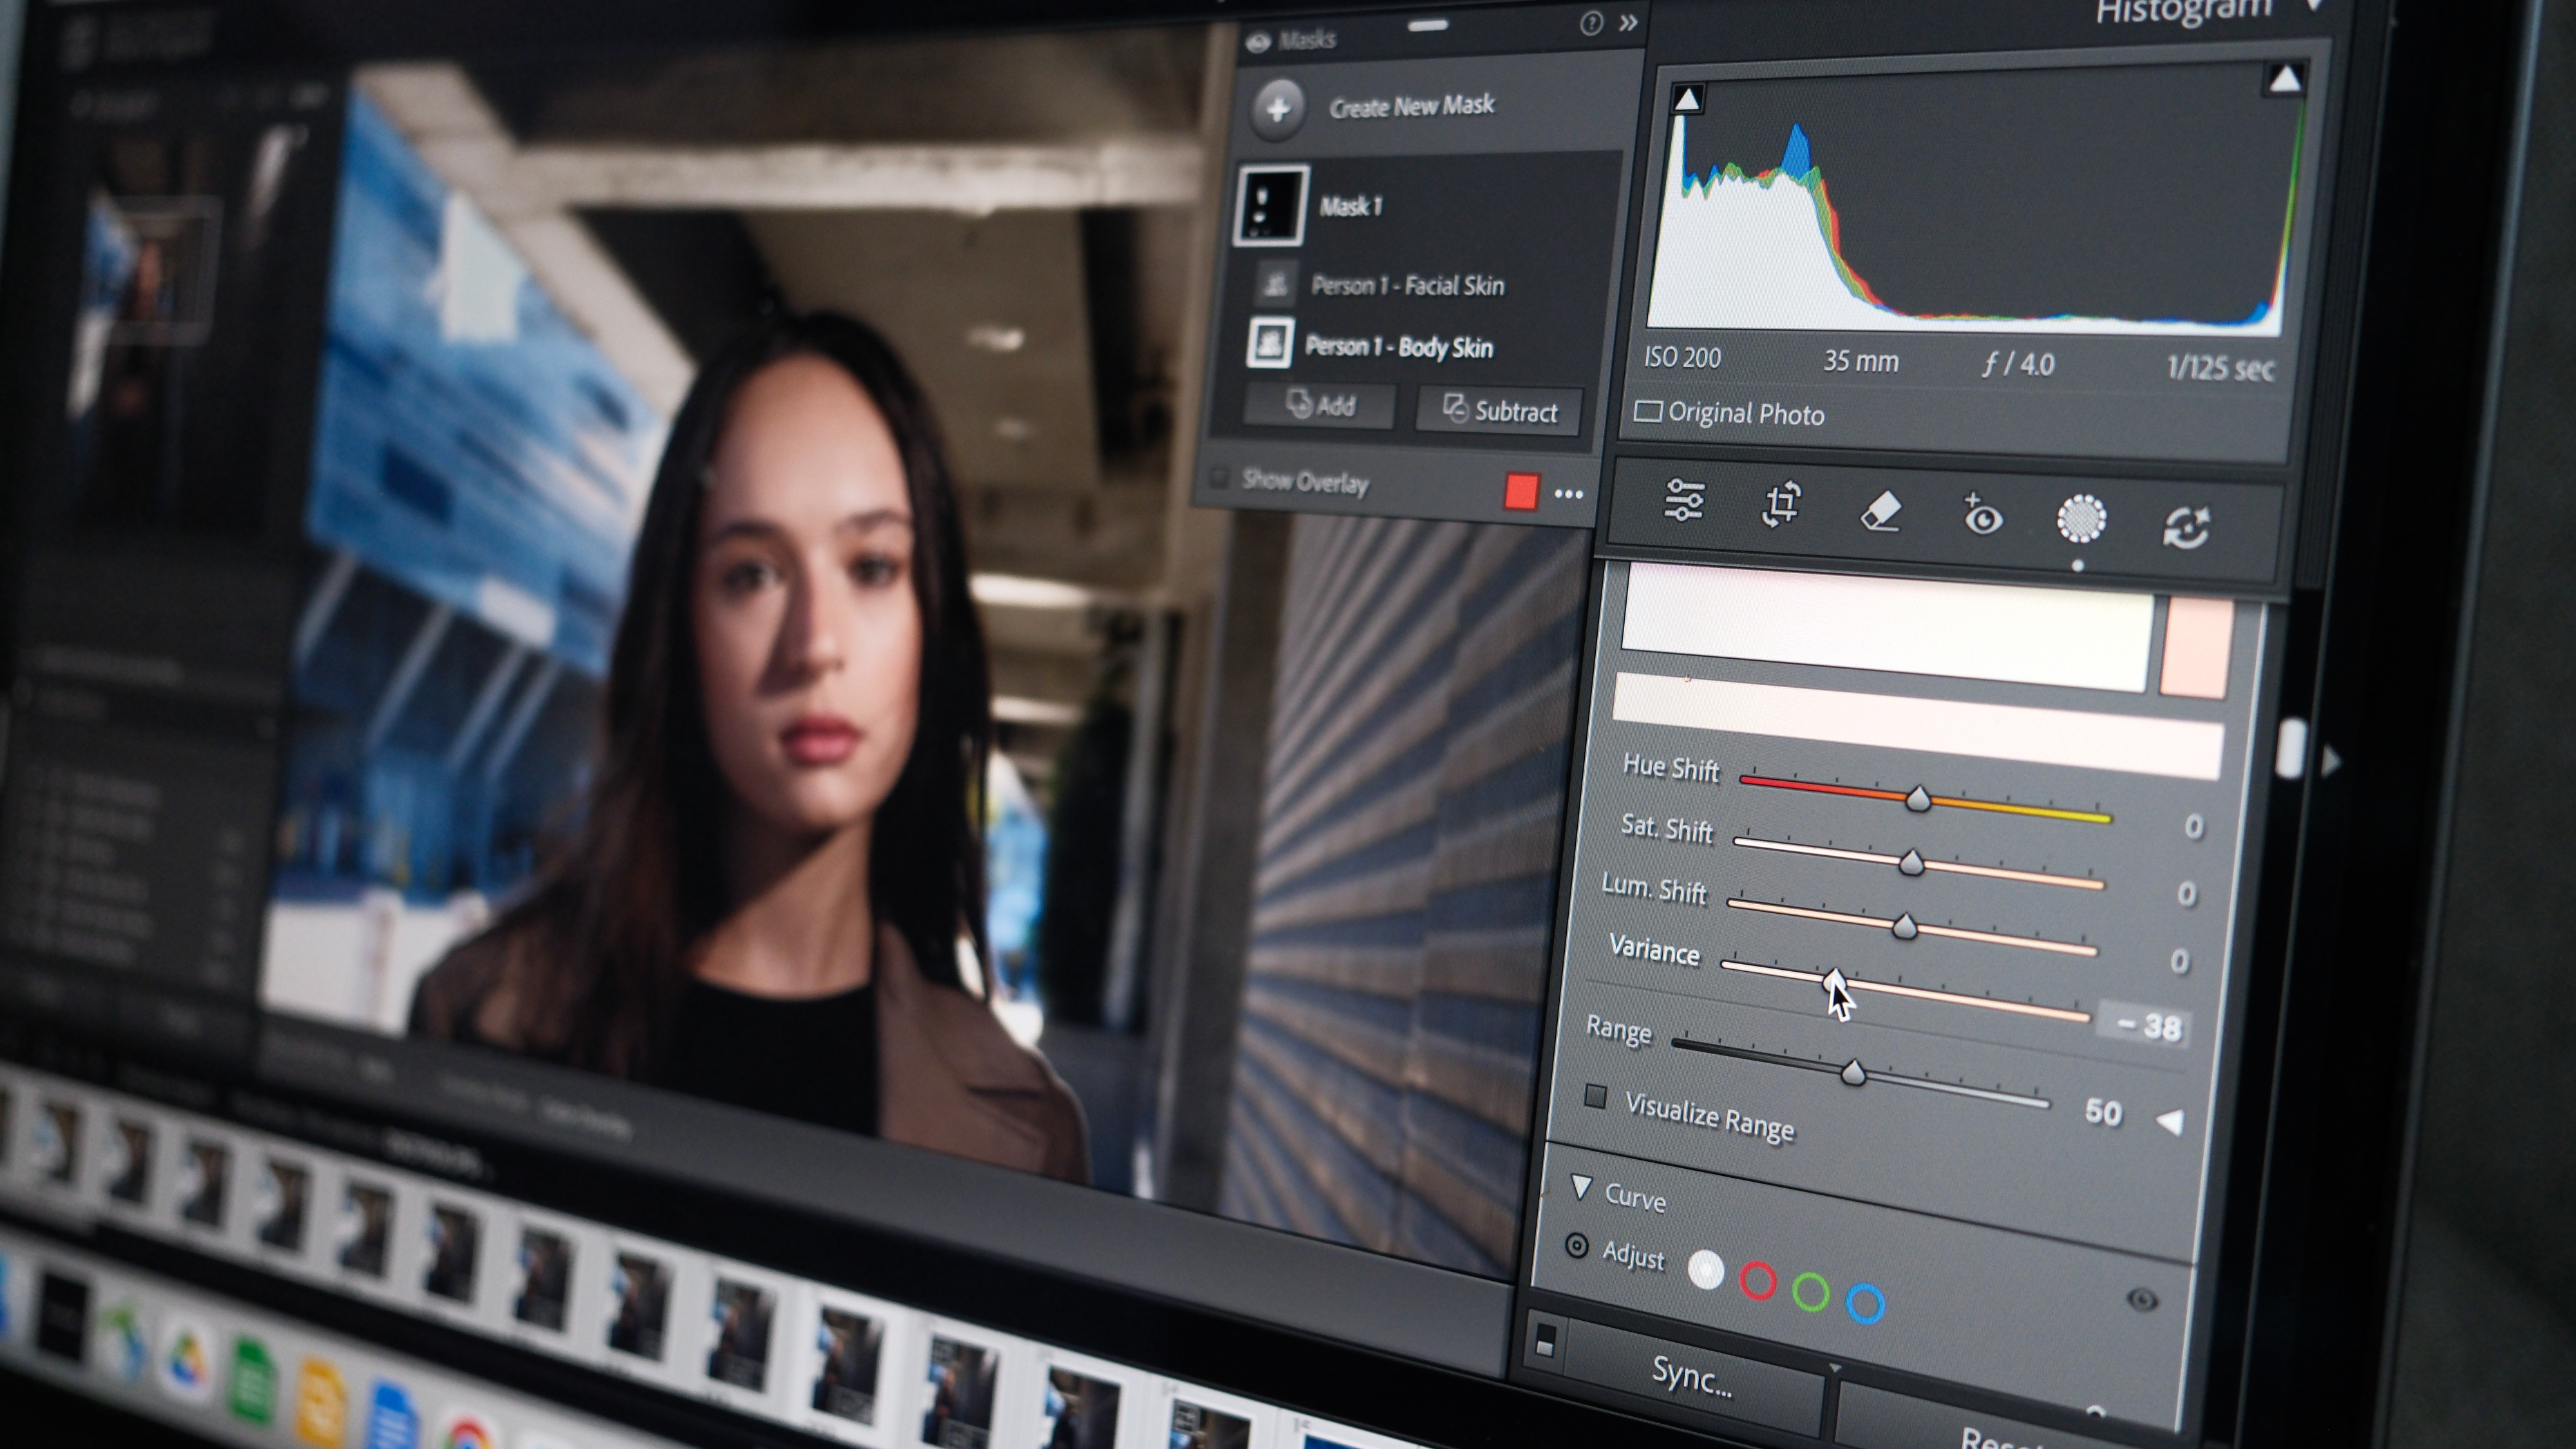
How to Find and Use Color Variance in Lightroom
The Color Variance slider is located within the new Point Color tool, which is available in both Lightroom and Lightroom Classic. It can be applied globally to an entire image or locally using a mask, which is ideal for targeting adjustments to just the skin.
Here’s how to access it:
- Navigate to the Color Mixer tab in the Develop module.
- Open the Point Color tool.
- Click the eyedropper icon and then click on the specific color in your photo that you want to adjust.
Once you’ve selected a color, the sliders in the Point Color tool will control that color range. The new Variance slider (which Adobe officially calls Color Variance) will be active. Move the slider to the left for less variety and more uniform color, or move it to the right to increase color variety and contrast.
Practical Examples of Color Variance in Action
Let's look at how this tool works in two common scenarios: correcting skin tones and enhancing landscapes.
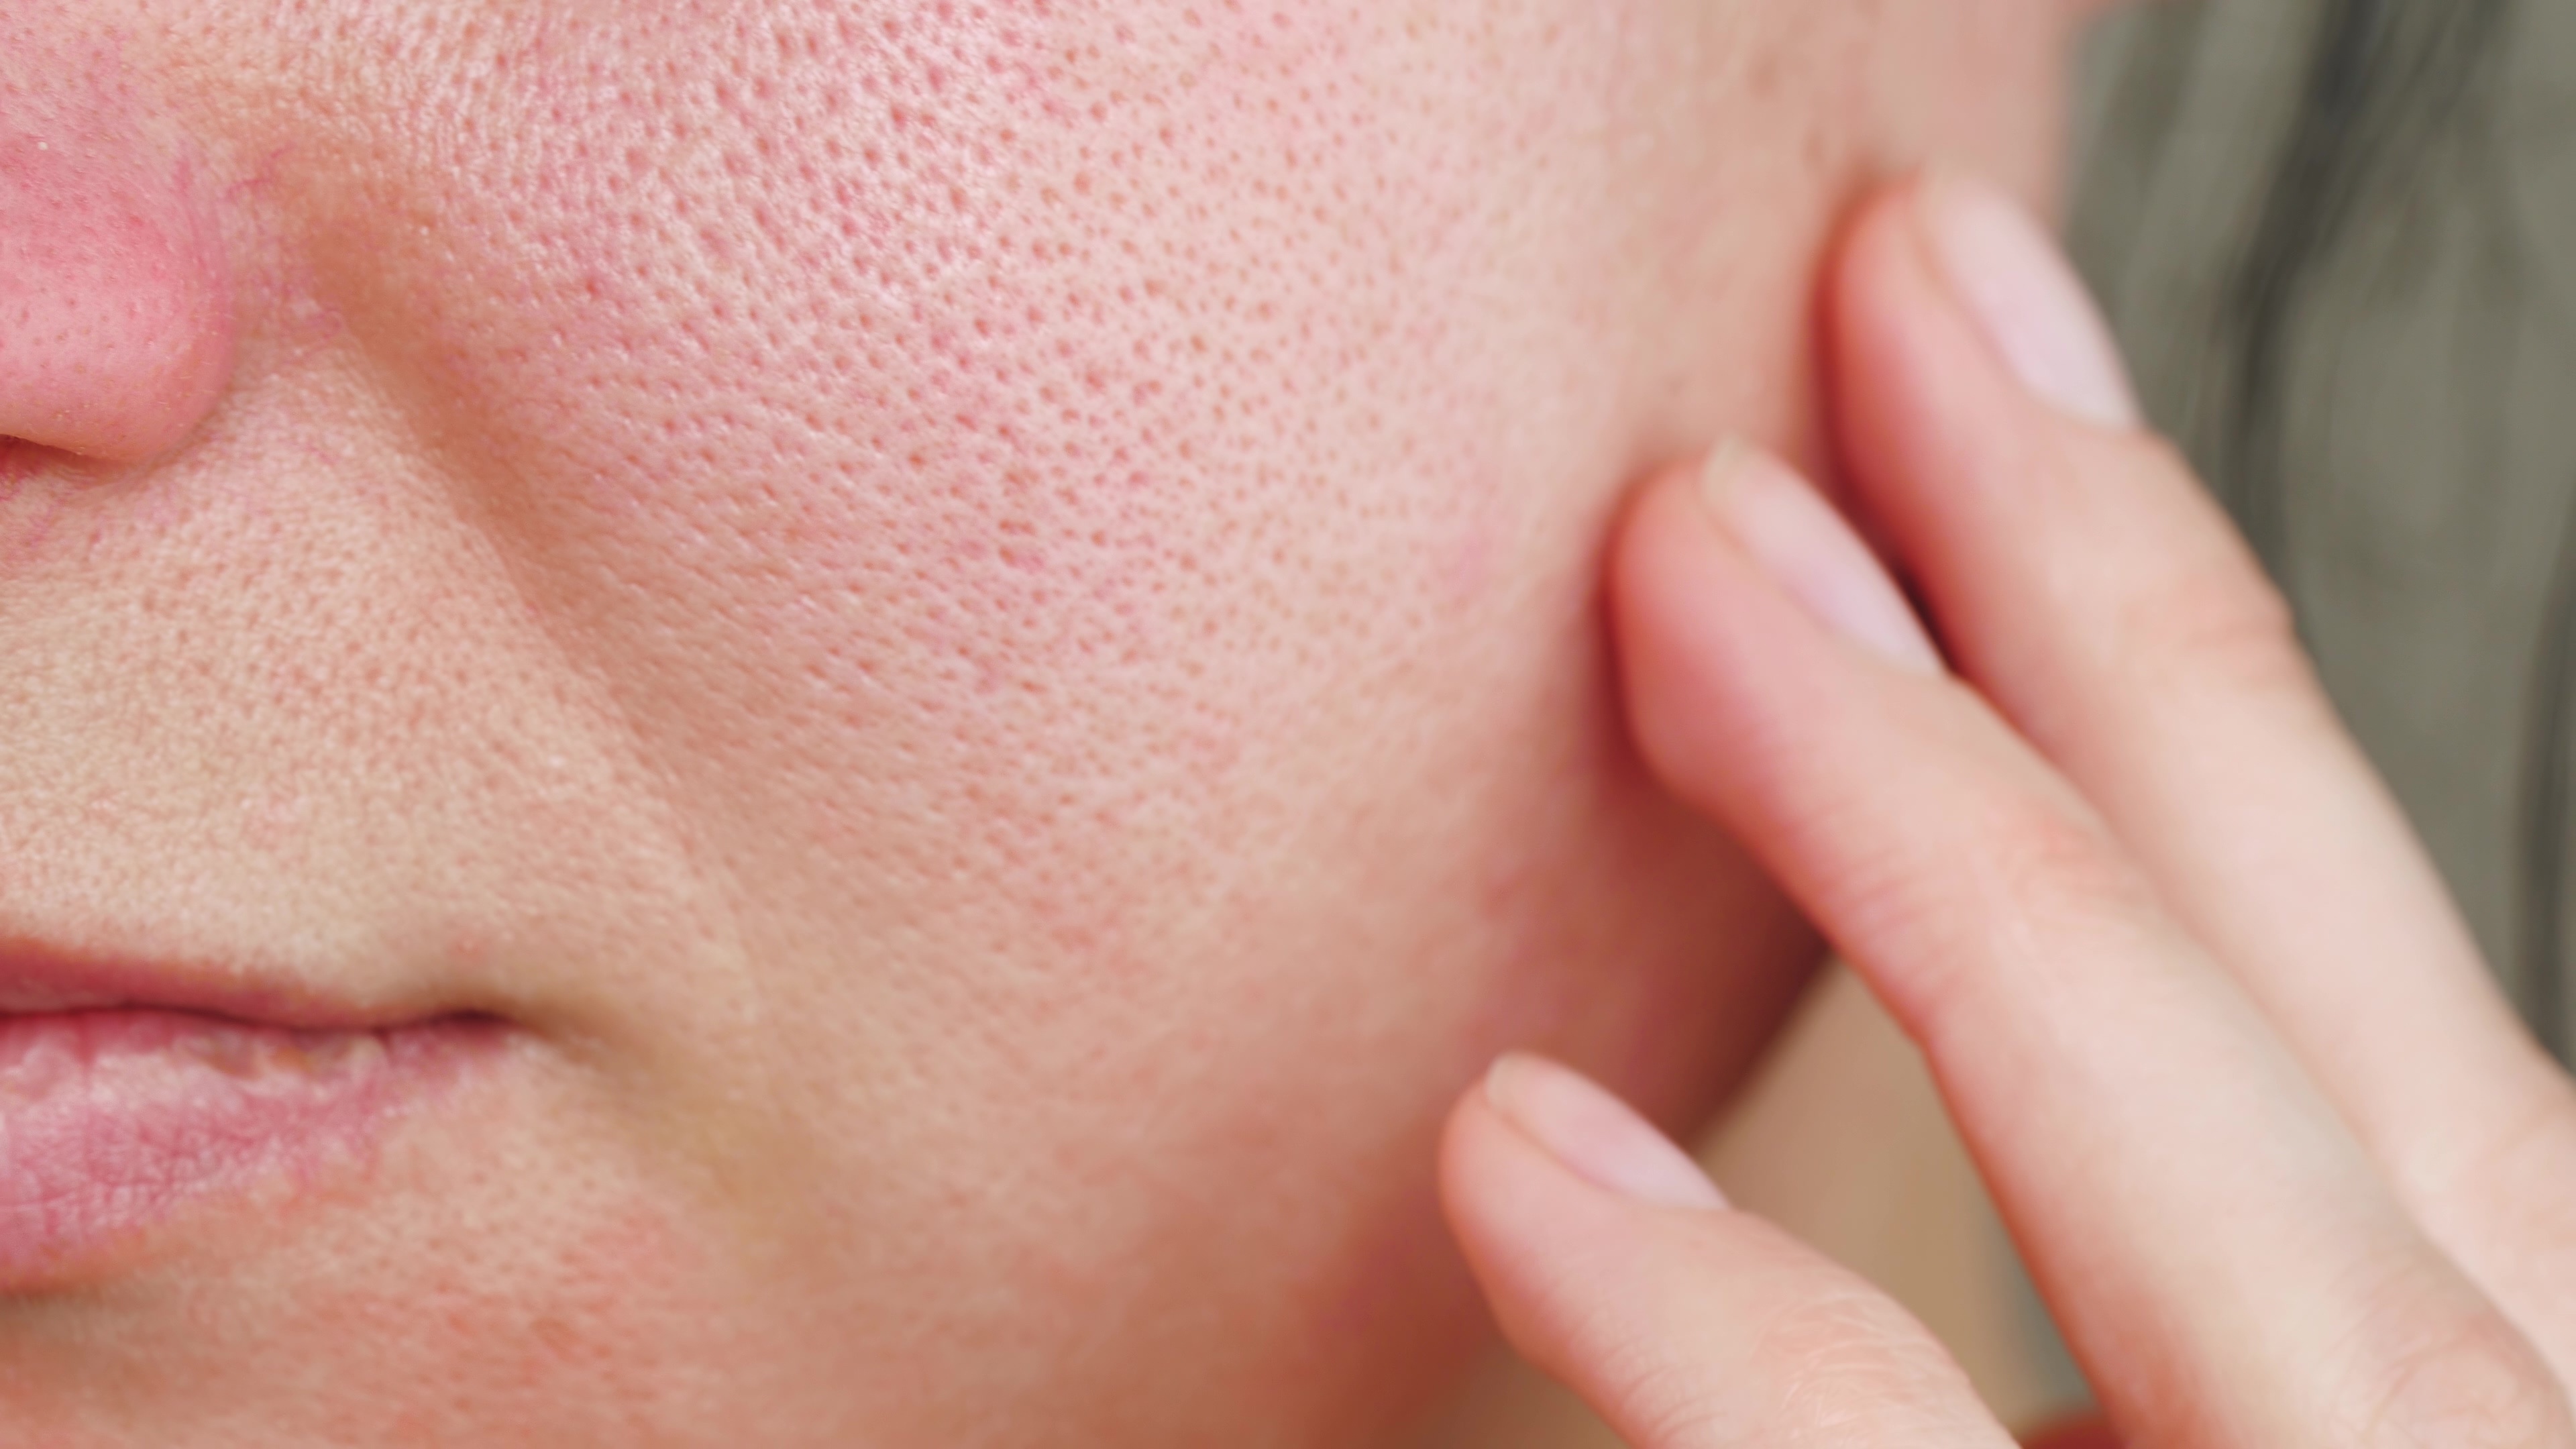
Decreasing Color Variance for Skin Tones
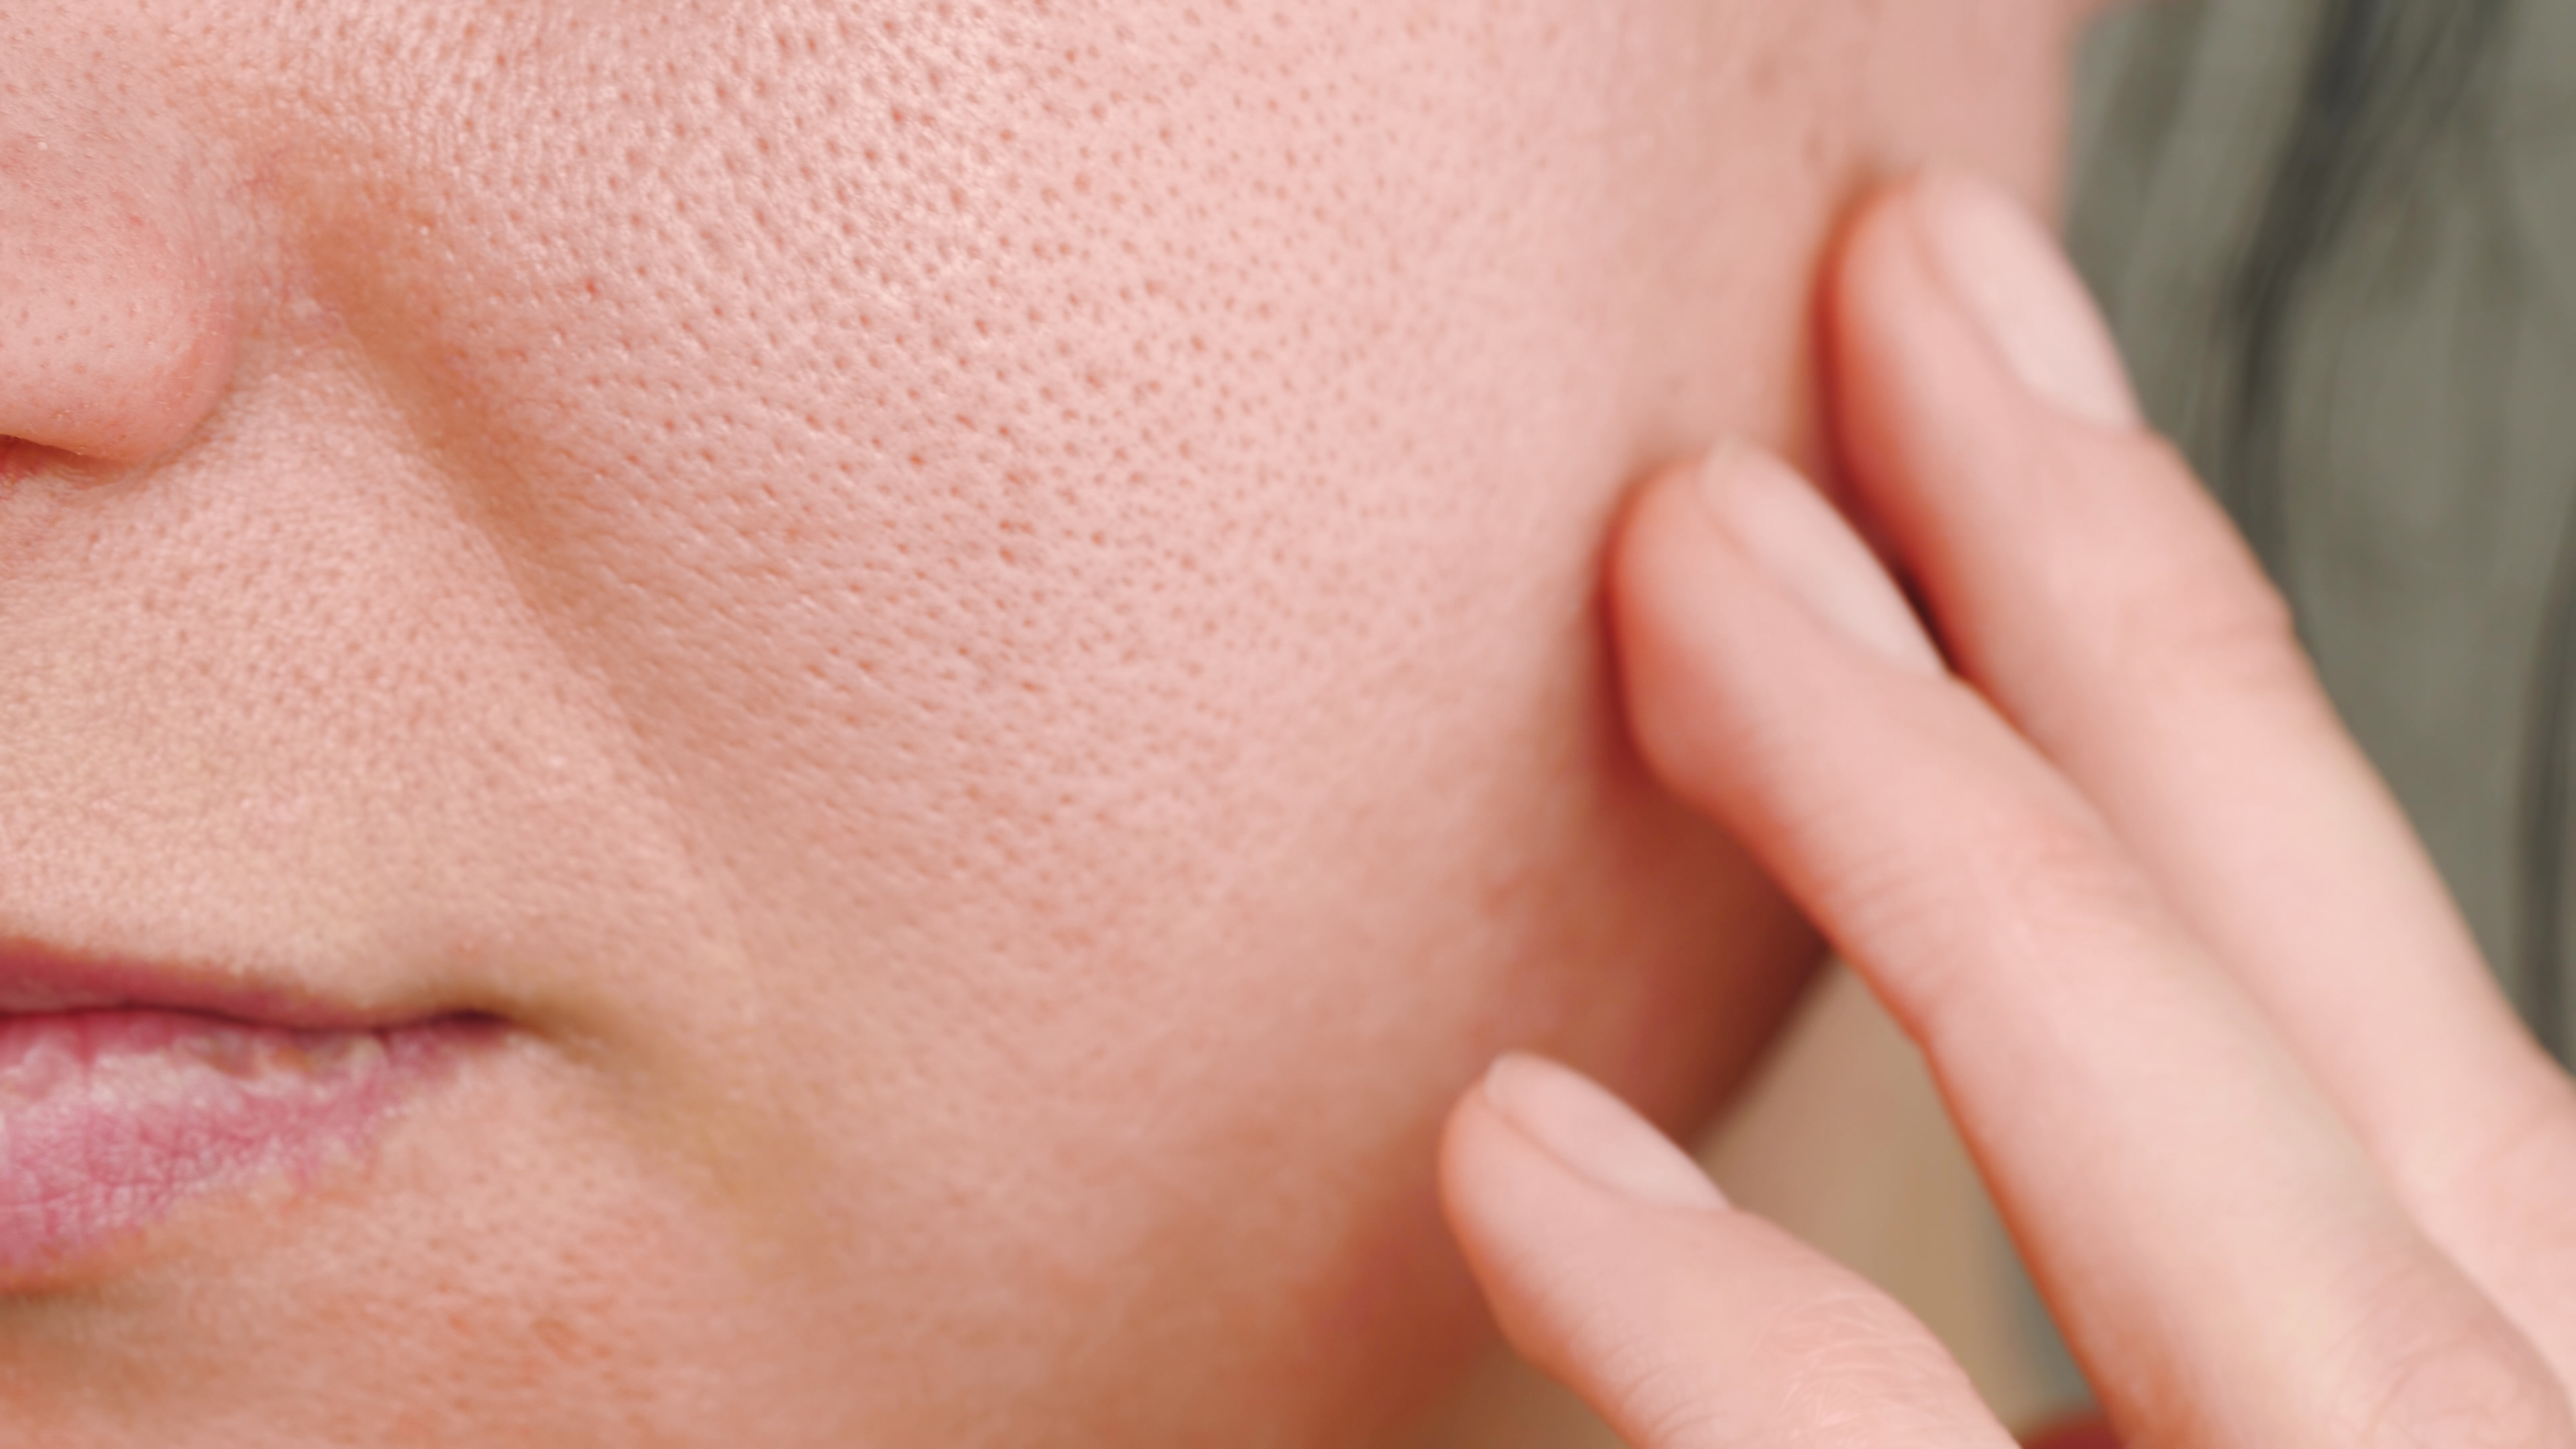
Correcting skin redness is a perfect use case for this tool. In this scenario, it's best to use a Smart Mask to select only the skin, preventing your adjustments from affecting the subject's lips or other red elements in the photo.
Here is a stock photo with some skin redness:
After masking the skin and selecting the red area with the Point Color tool, here is a before-and-after comparison just by moving the Variance slider all the way to the left:
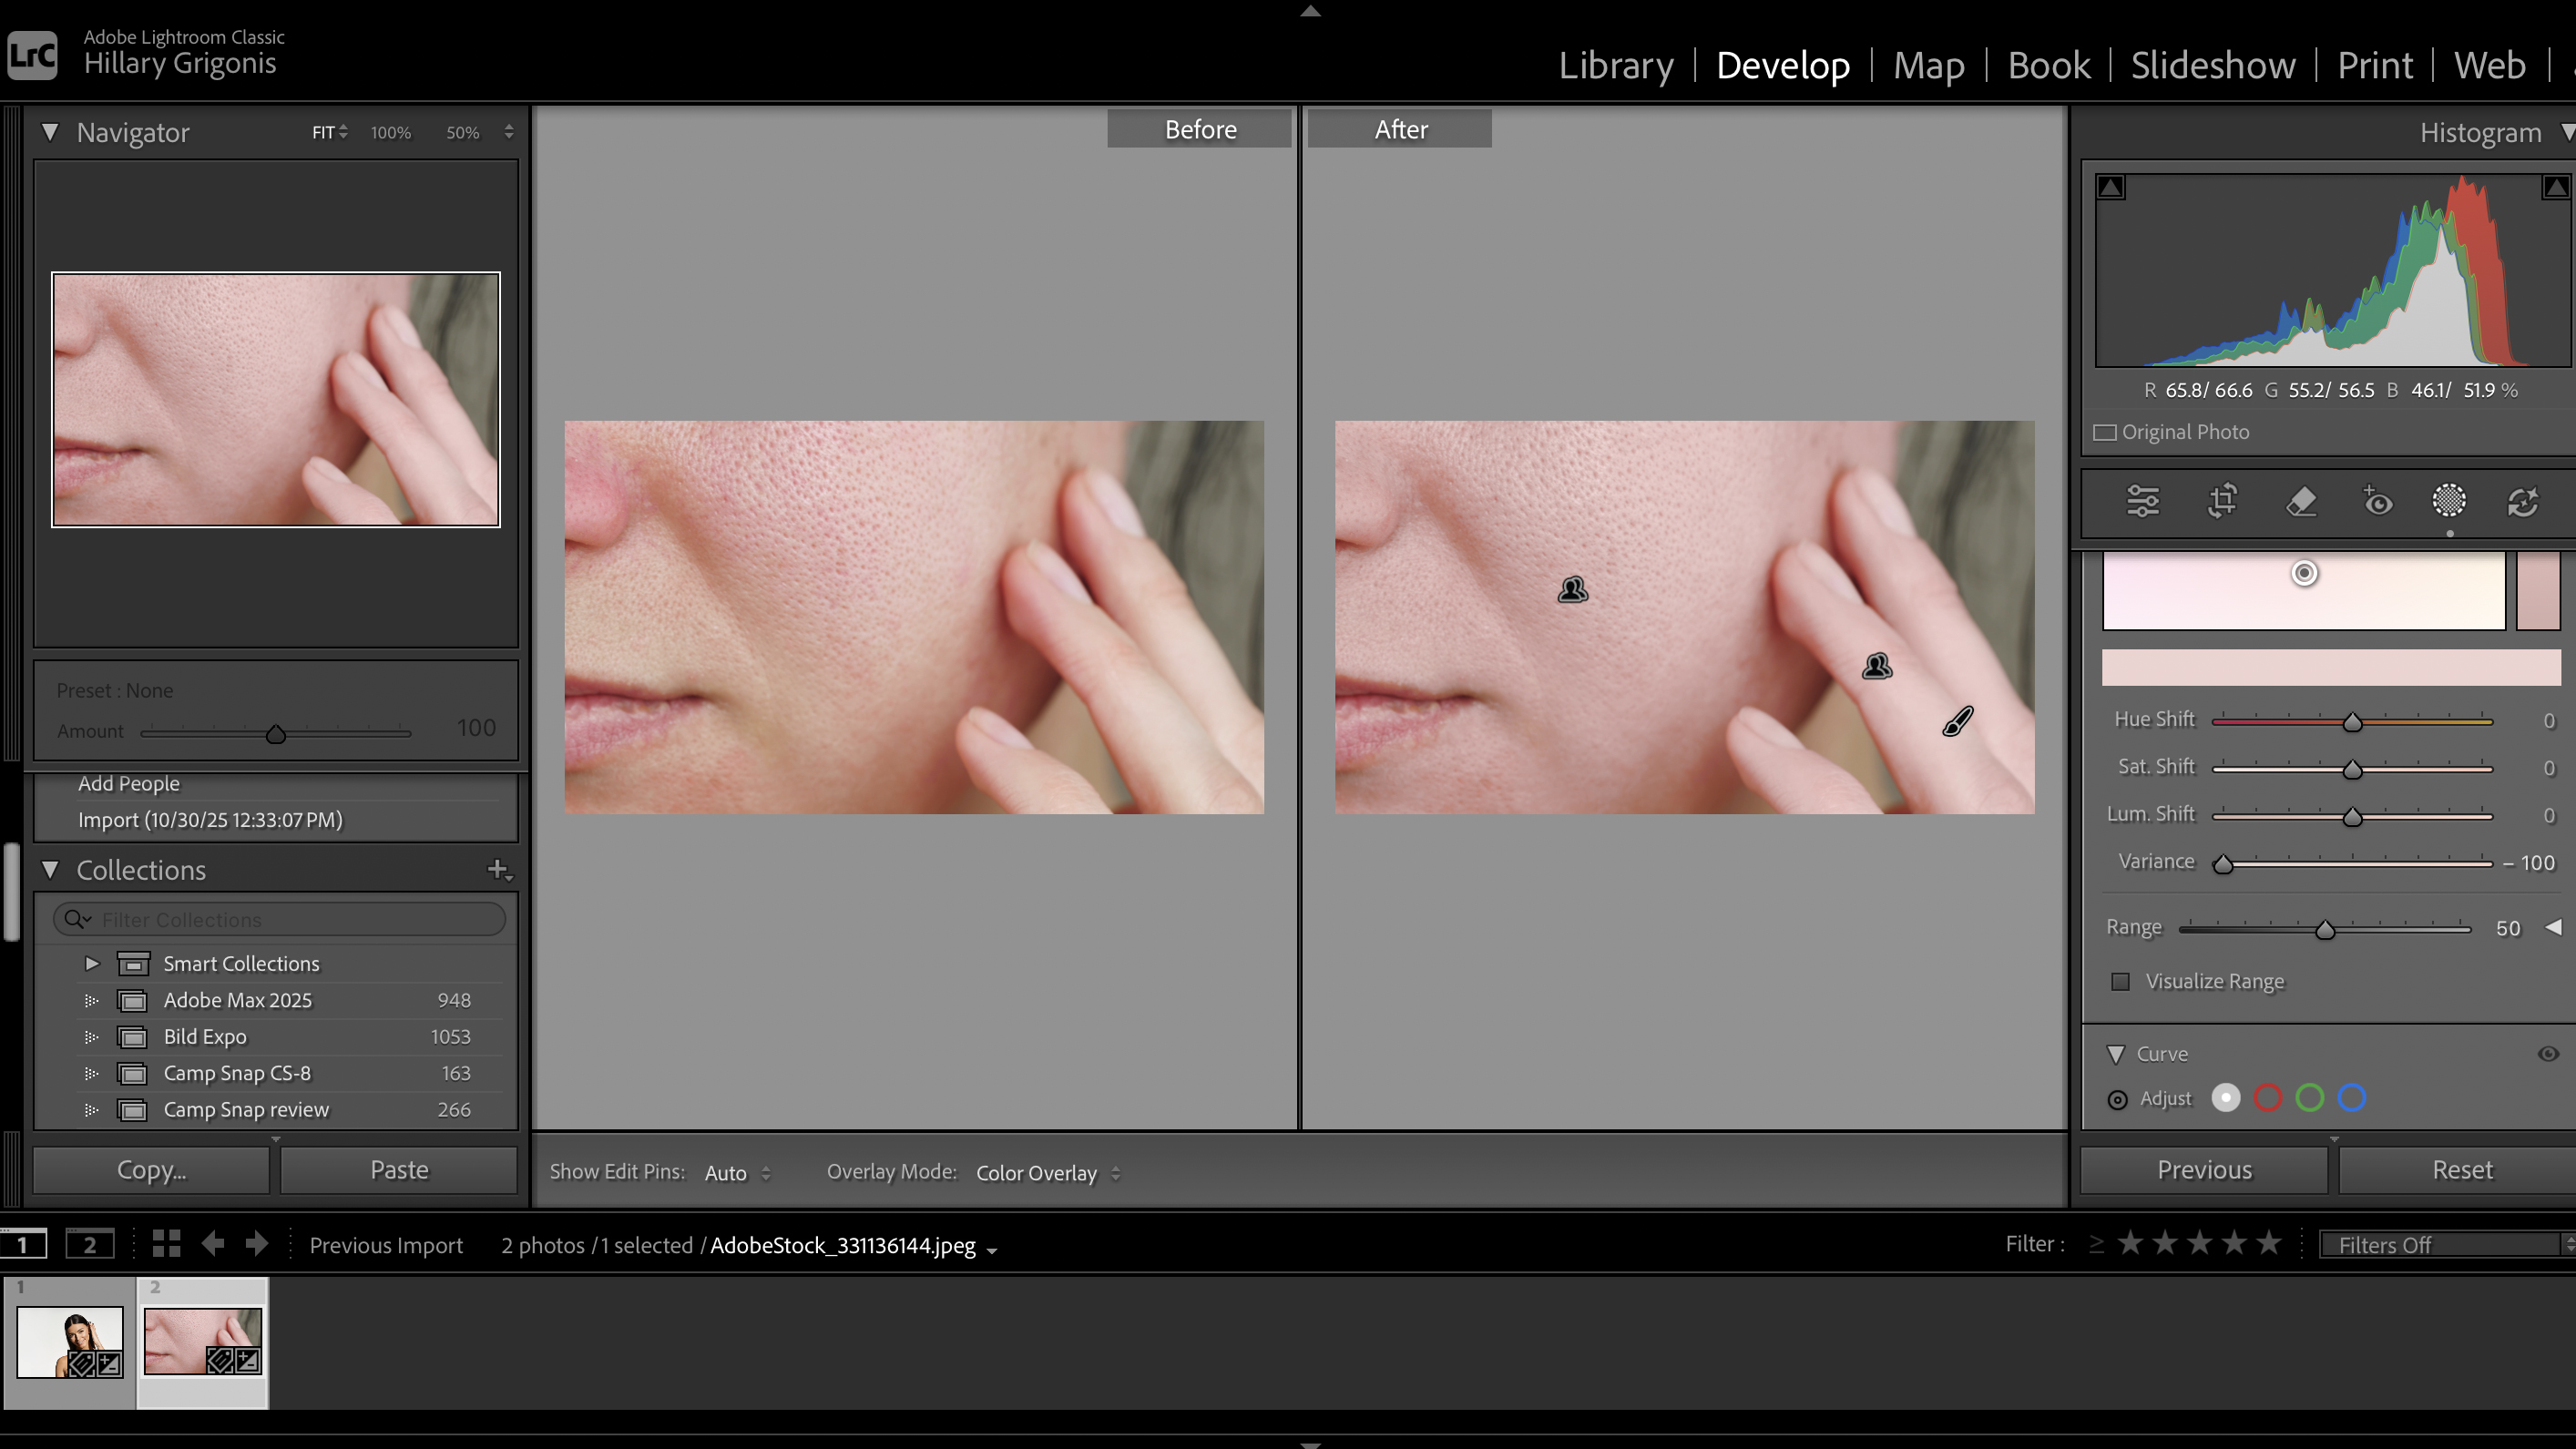
The redness is gone, but the skin looks a bit pale. With a few minor adjustments to the hue, luminance, and temperature sliders, I achieved this final result in just a few seconds, without needing to brush over specific patches of red skin.
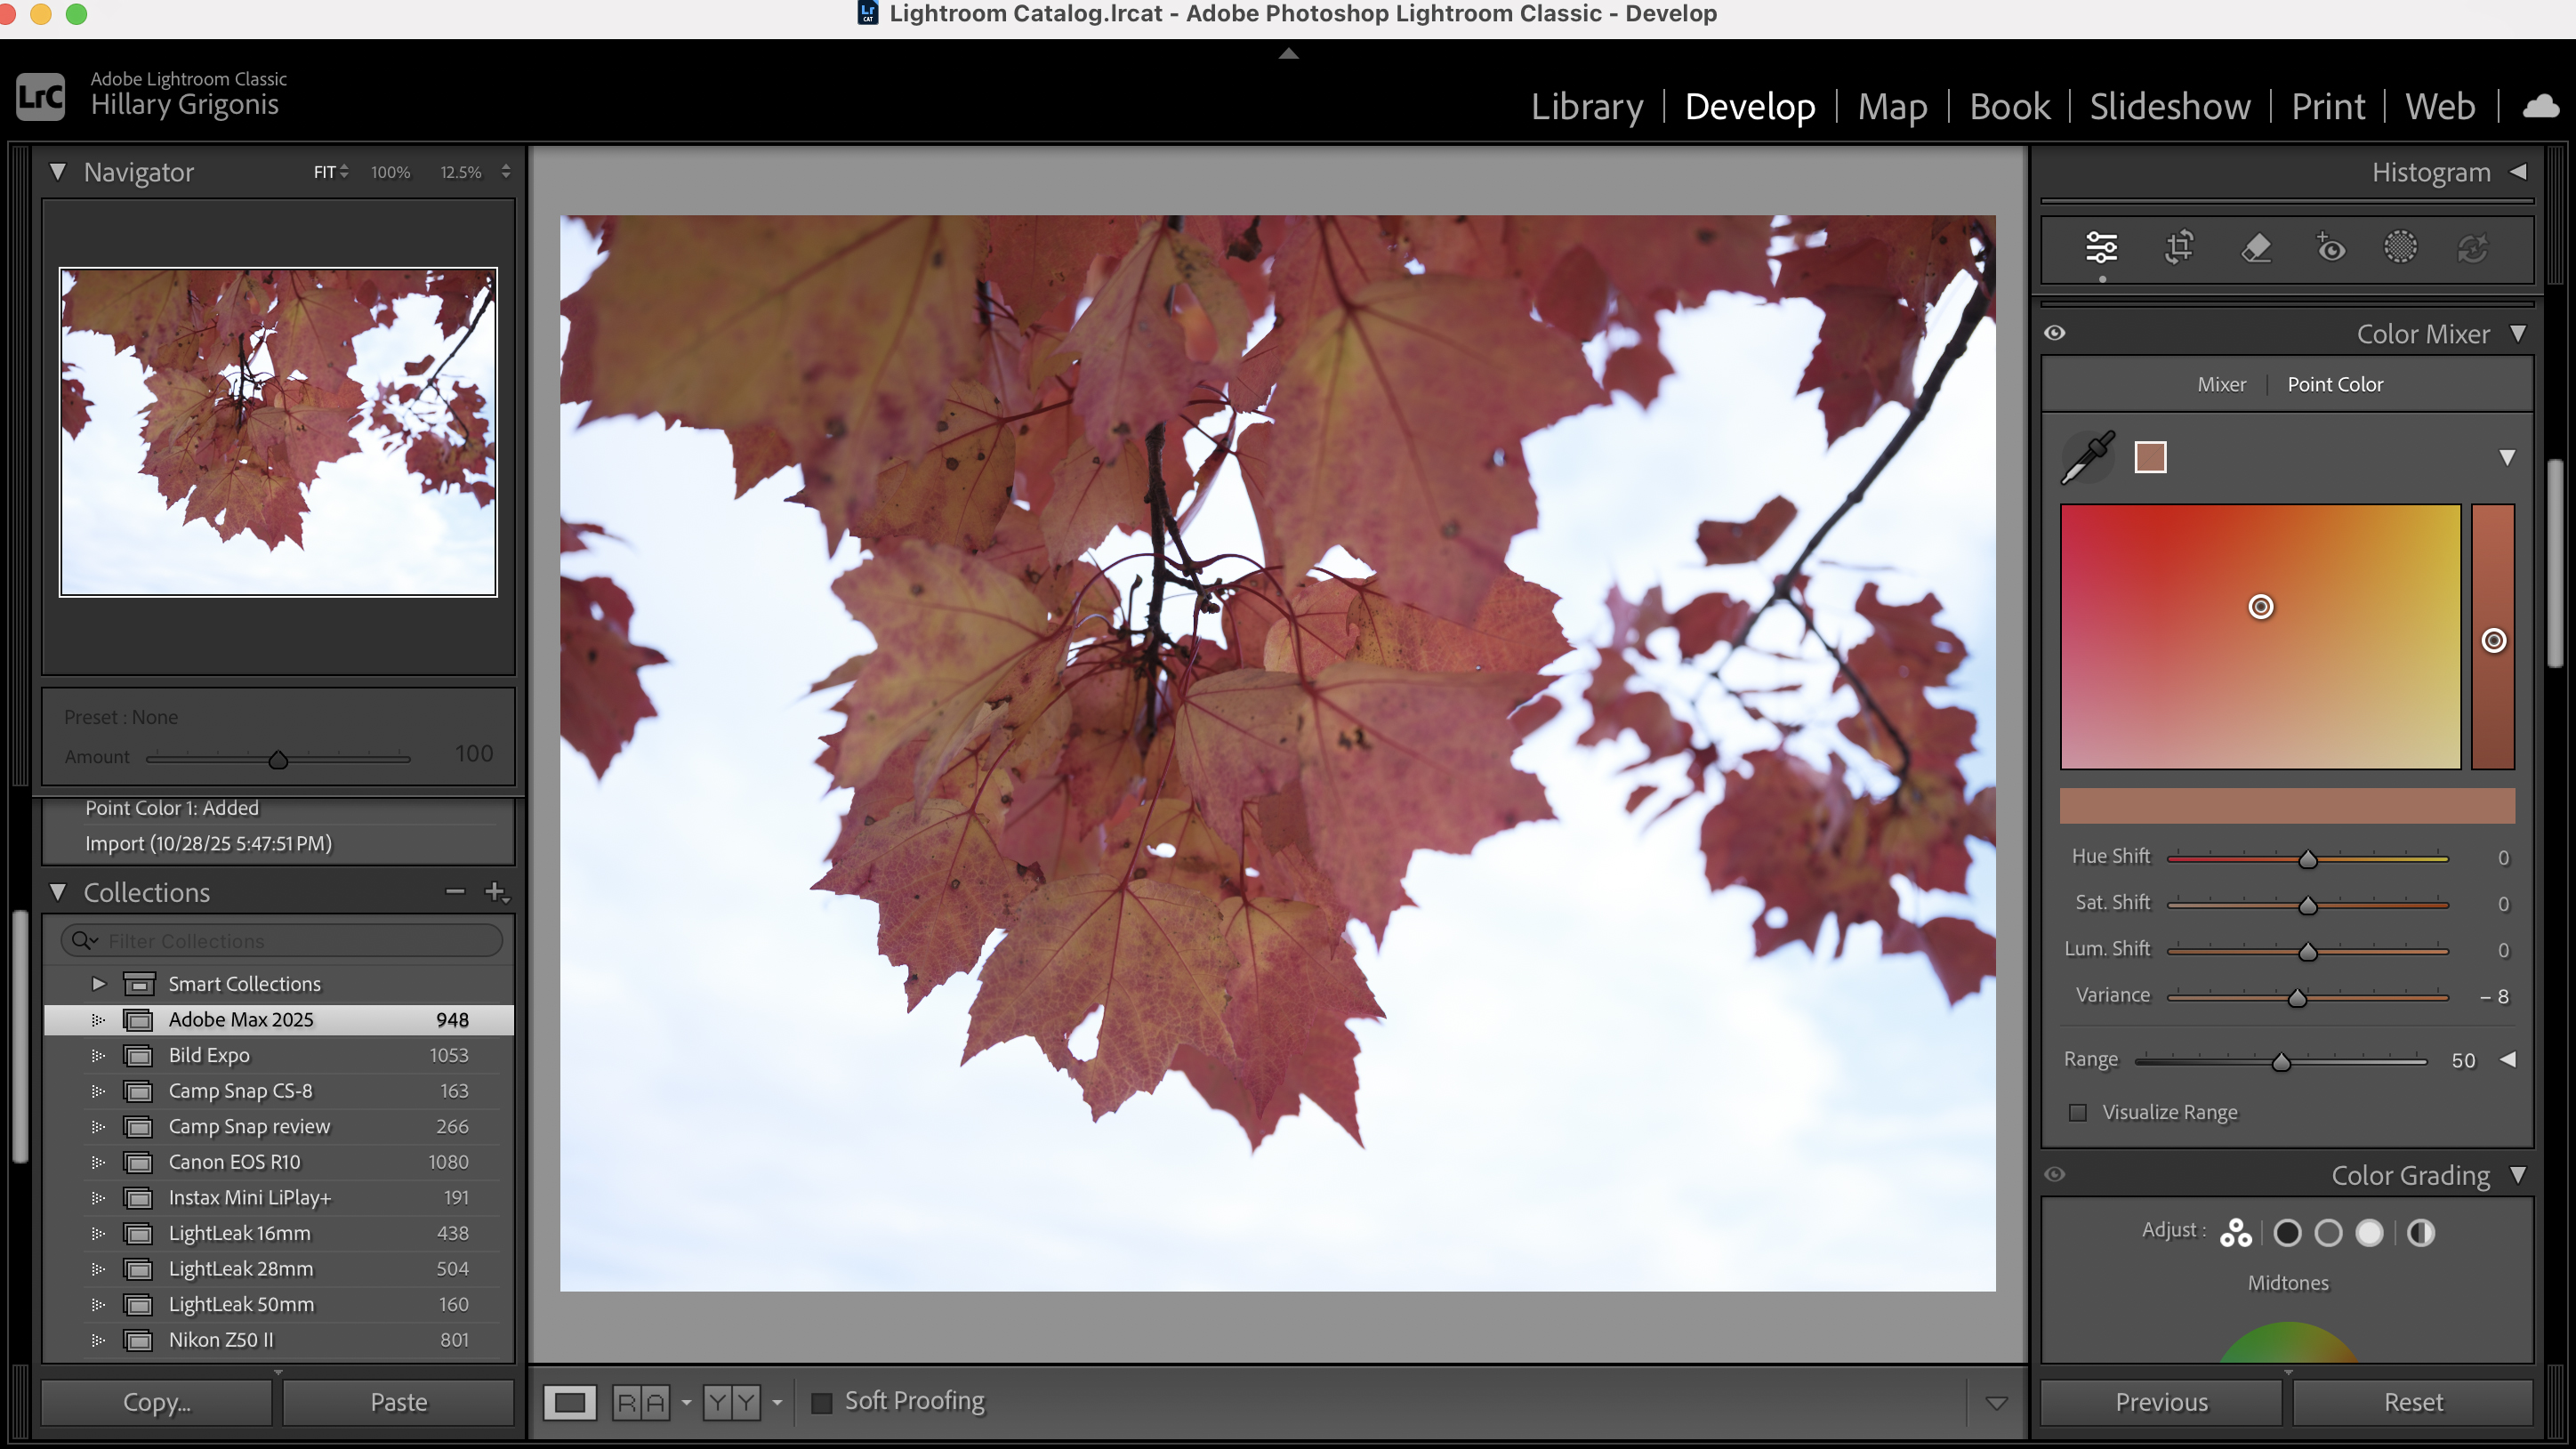
Increasing Color Variance for Landscapes
Increasing color variance can help create more contrast and pop in your photos without losing detail. For example, if you have a photo of fall colors and want to emphasize the variety of hues, you can select one of the colors and move the slider to the right.
Here is a before-and-after where the only adjustment was moving the Variance slider to the right:
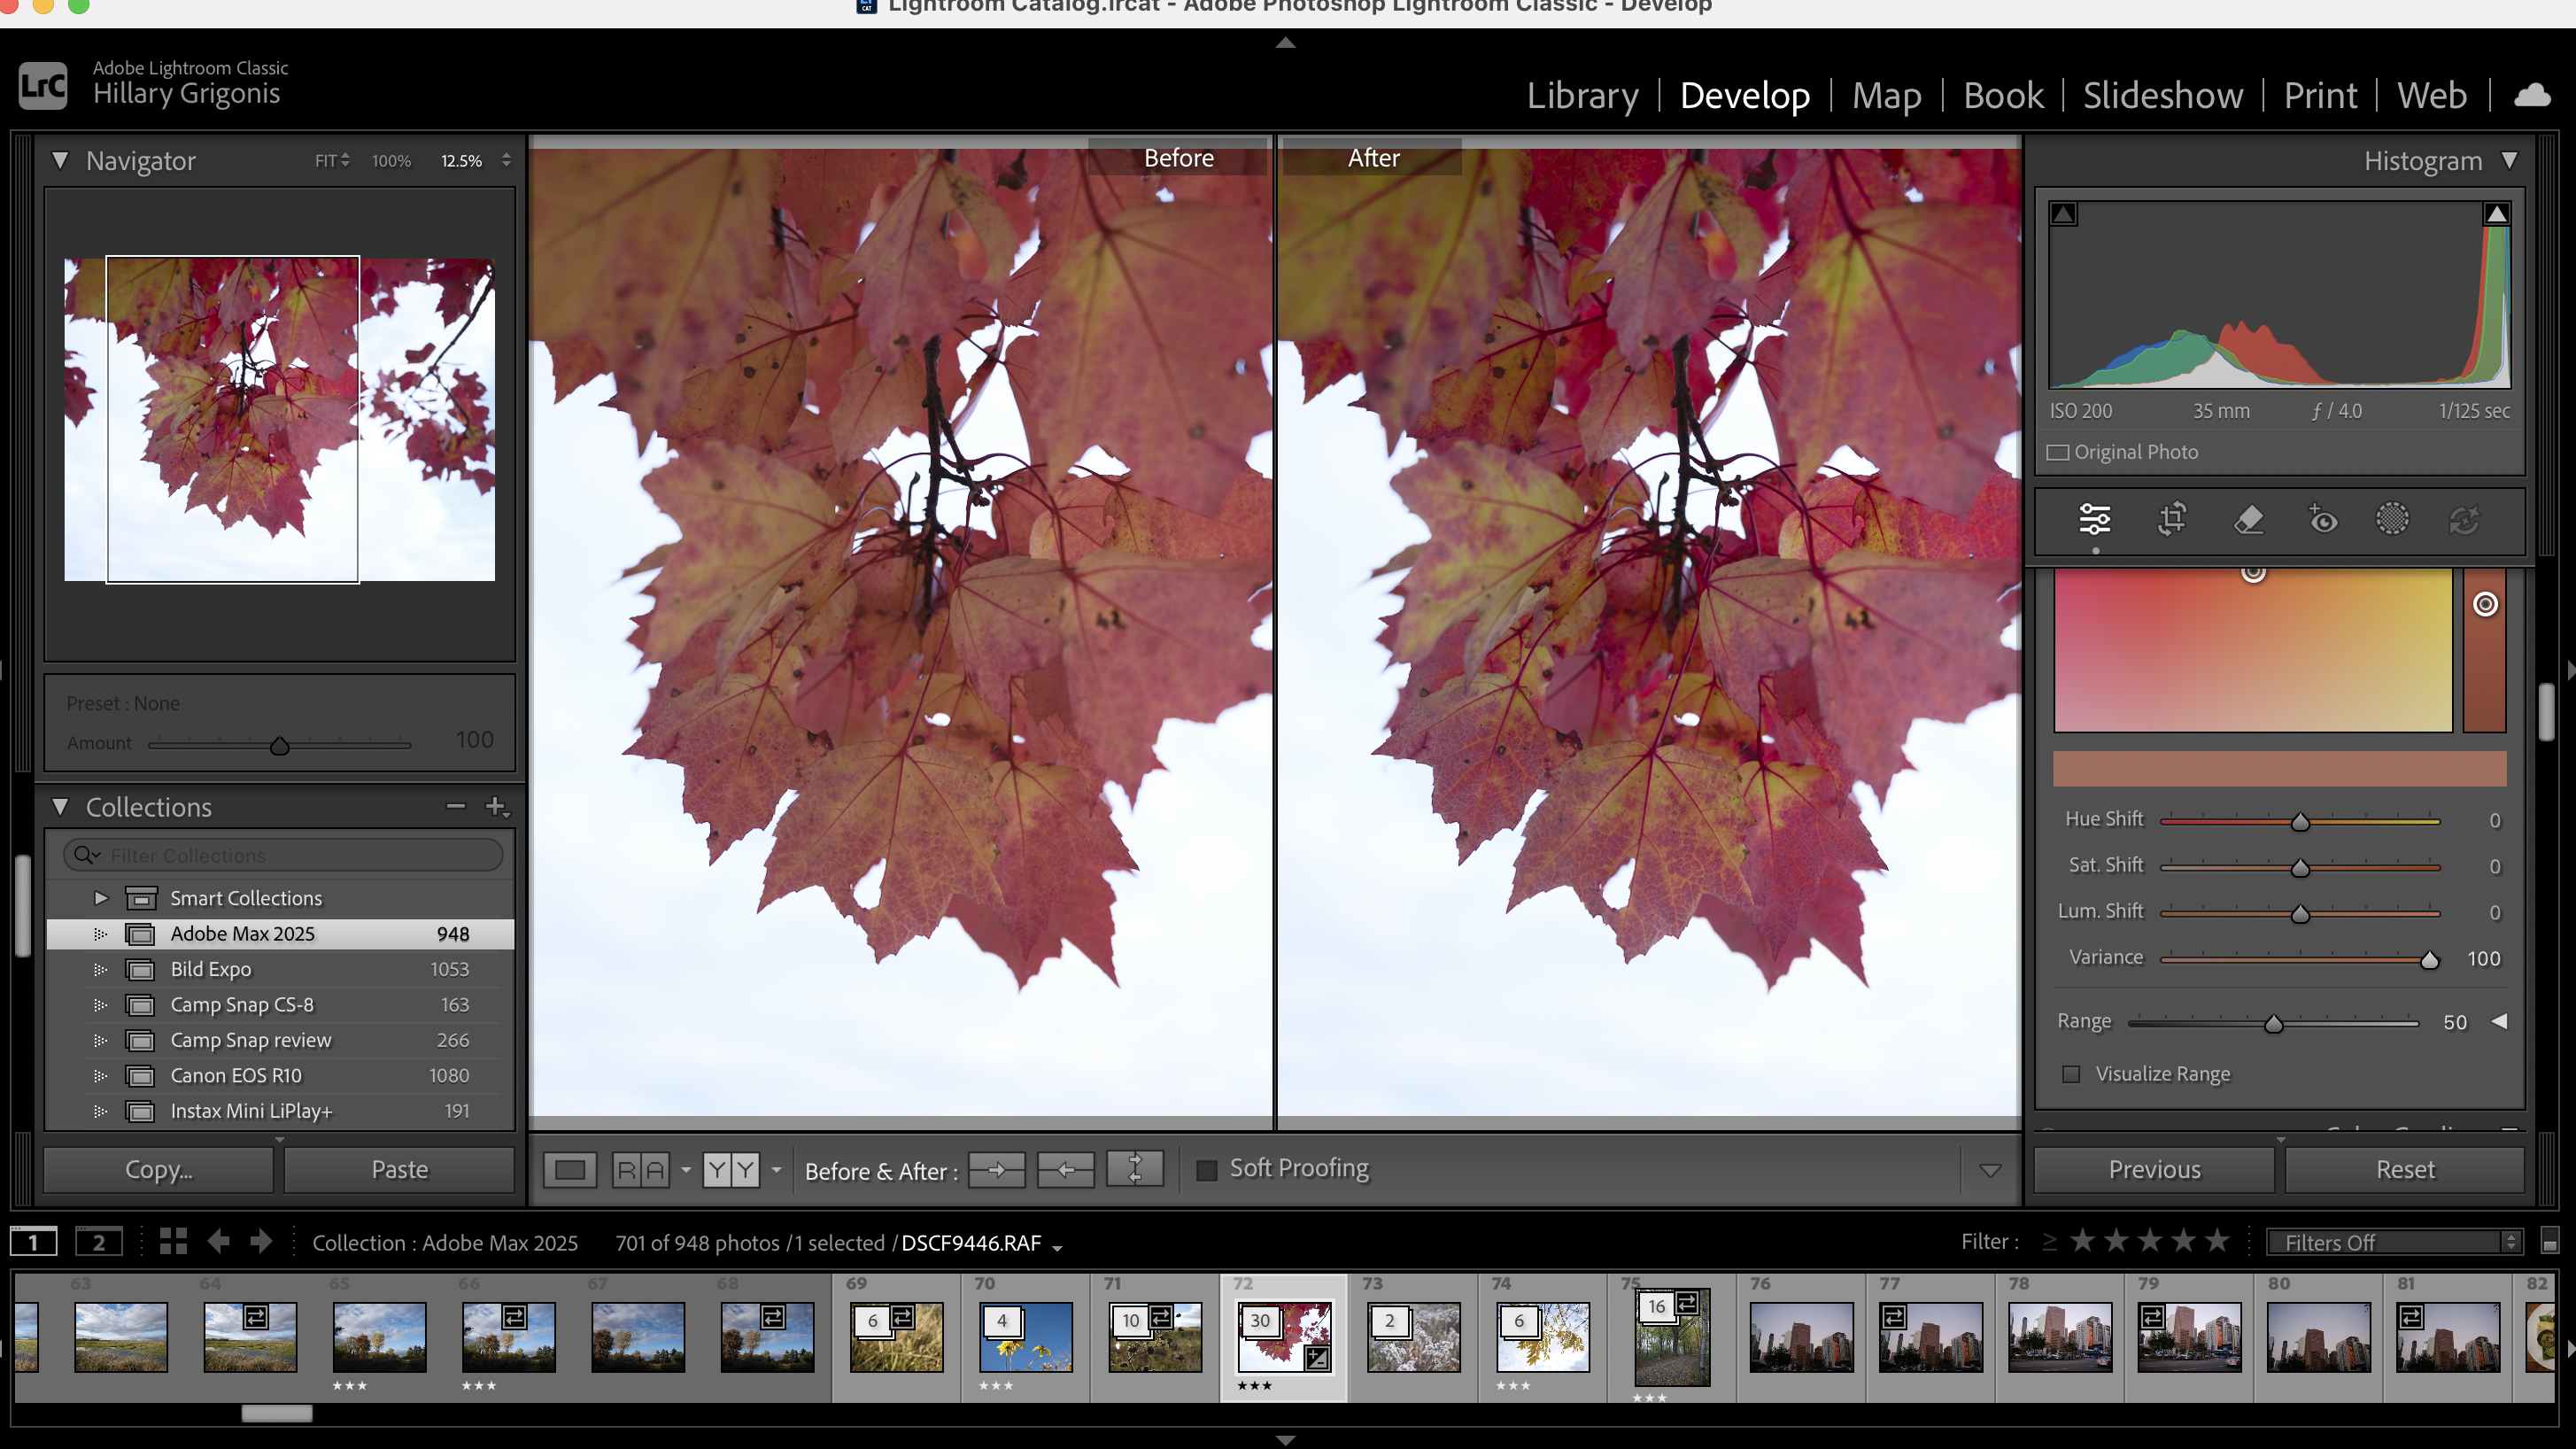
Like all Lightroom sliders, you probably don’t want to push the Variance slider to its absolute extreme. While subtle, it makes a noticeable difference. You can also use it in conjunction with the Range slider in the Point Color tool, which controls how many similar colors are affected by your adjustments.
To learn more, you can explore what else is new in Lightroom or check out the new features inside Photoshop 2026.
Compare Plans & Pricing
Find the plan that matches your workload and unlock full access to ImaginePro.
| Plan | Price | Highlights |
|---|---|---|
| Standard | $8 / month |
|
| Premium | $20 / month |
|
Need custom terms? Talk to us to tailor credits, rate limits, or deployment options.
View All Pricing Details