Developer Offer
Try ImaginePro API with 50 Free Credits
Build and ship AI-powered visuals with Midjourney, Flux, and more — free credits refresh every month.
Creating the story of YUI with 852話 Hakoniwa and Comfy Agent
Creating the story of YUI with 852話 Hakoniwa and Comfy Agent
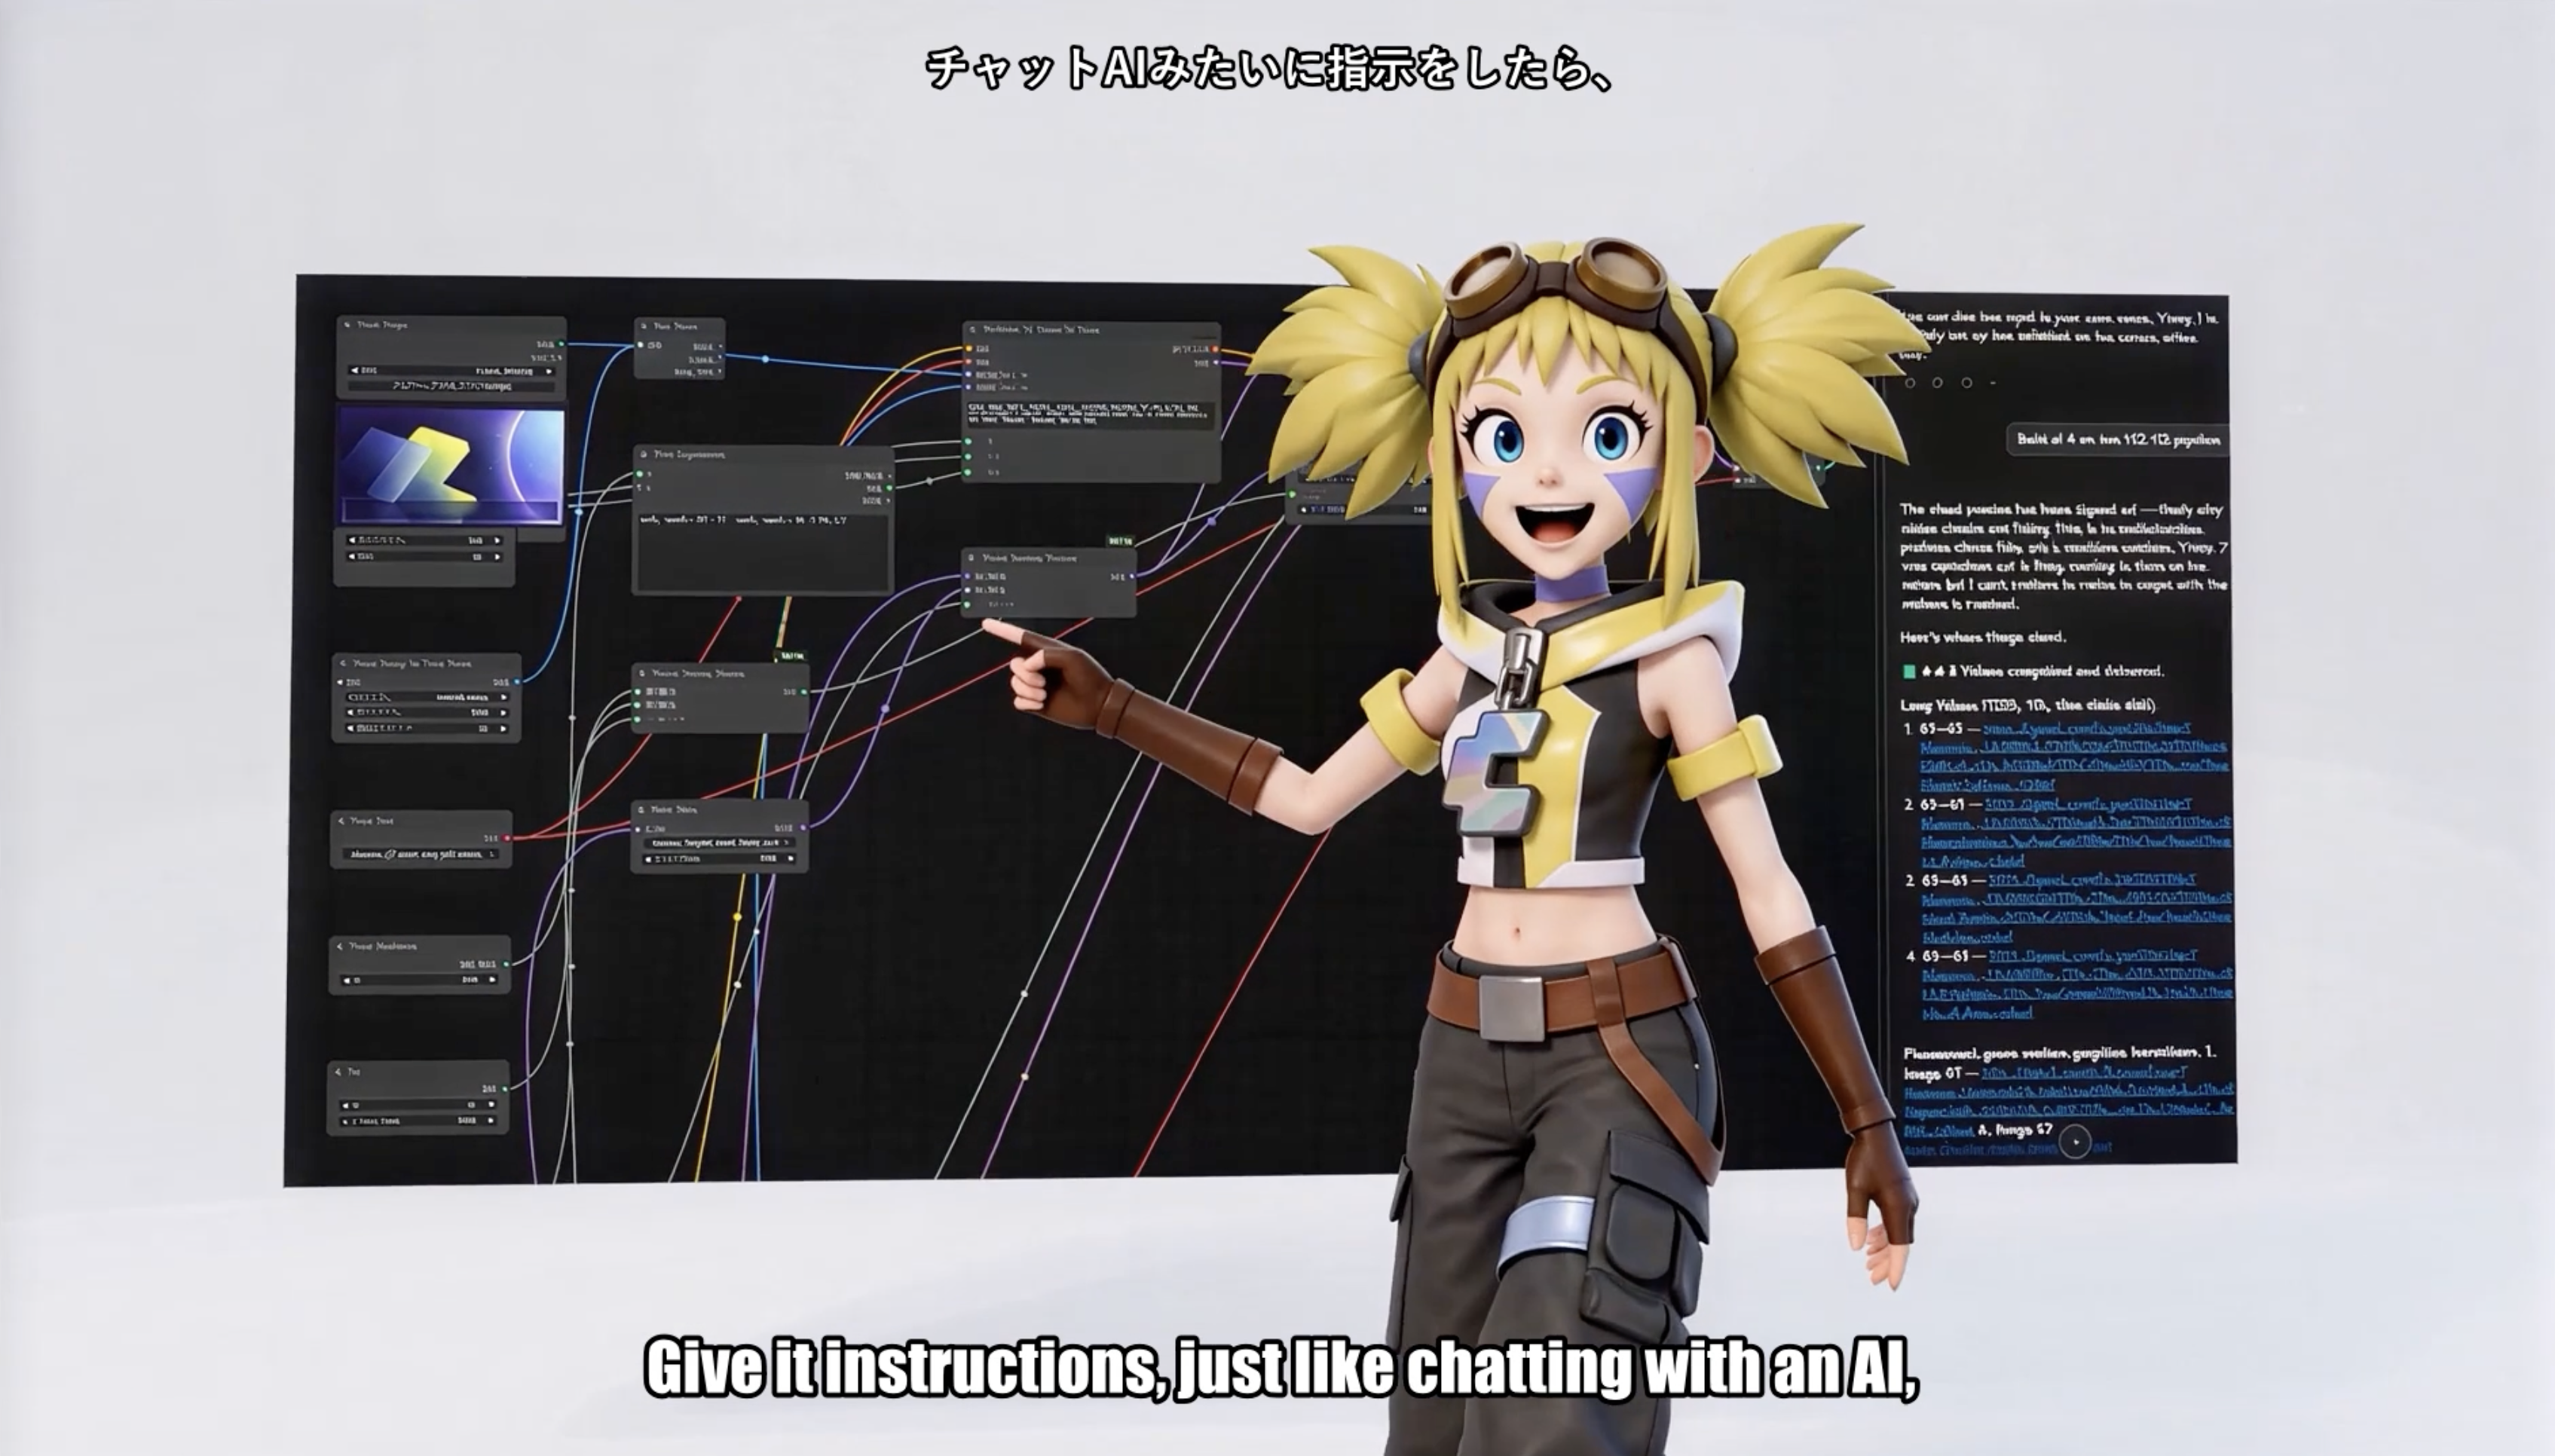
Mastering AI Manga Story Creation: A Deep Dive into the YUI Project with Comfy Agent
The dream of creating a serialized manga has always been gated by one relentless bottleneck: the sheer volume of high-quality, consistent artwork required. For independent creators, this often means years of drawing before a story can be told. But what if you could build a production pipeline that functions as a true creative partner, handling the visual heavy lifting while you focus on the narrative? This is the promise of AI manga story creation when approached with technical rigor and a clear creative vision.
This comprehensive deep dive will walk you through the entire process of building a serialized manga using an advanced, agentic AI workflow. We will use the narrative seed of "852話 Hakoniwa YUI" to explore a production-grade system built on Comfy Agent, demonstrating how to achieve the kind of character consistency and narrative pacing that was previously impossible without a dedicated art team. We'll move beyond one-off image generation and construct a repeatable pipeline for creating a full chapter, from script to published panel.
1. Mapping the YUI Story Project: 852話 Hakoniwa, Comfy Agent, and Imagine Pro

Before we dive into the technical architecture, it's crucial to establish the creative "why." The success of any AI-assisted project hinges on a strong narrative foundation and a clear understanding of the tools that will bring it to life.
1.1 What Makes 852話 Hakoniwa YUI a Strong Narrative Seed

The premise of "852話 Hakoniwa" (or "852nd Story: Hakoniwa") is a powerful one for AI generation. The term "Hakoniwa" refers to a miniature garden or a contained, idealized world. For our protagonist, YUI, this setting provides a natural episodic structure. Each chapter can be a self-contained story within this "box garden," making it easy to break down into a discrete set of visual panels. This containment is a gift for AI workflows, as it allows for a limited set of recurring backgrounds and motifs, which drastically improves visual consistency. It’s a character-driven, slice-of-life concept where the emotional beats and small, nuanced interactions are the core of the story, perfect for the detailed, expressive imagery we will aim to produce.
1.2 Why the Comfy Agent AI Art Workflow Fits Manga Production

Standard AI image generators are fantastic for creating single, stunning images. Manga production, however, demands repetition, consistency, and narrative flow. This is where a node-based, agentic workflow becomes indispensable. Comfy Agent, and the broader ComfyUI ecosystem, offers the granular control needed for this task. Instead of a simple text box, you build a visual program where every step of the image generation process is a node you can connect and manipulate. This allows for:
- Agentic Queuing: You can design automated "agents" that perform repetitive tasks, such as generating 50 variations of a single panel with different seeds and queueing them for review.
- Reproducibility: By saving your node graph, you save the entire generation logic, ensuring that you can reproduce a specific style or character look months later.
- Node-Based Control: You can chain nodes for ControlNet (for pose), IP-Adapter (for character reference), and seed locking to enforce consistency in ways that are impossible with simpler interfaces.
1.3 Where Imagine Pro Accelerates AI Character Image Generation
While a complex workflow like Comfy Agent is perfect for the core generation of panel after panel, you don't have to do everything in one place. The pipeline can be broken into stages, and for the final "hero" assets—like chapter covers, promotional art, or high-resolution redraws of key panels—a specialized tool can save significant time.
This is where Imagine Pro comes into play. Imagine Pro is an AI-powered tool designed for stunning, high-resolution image generation, capable of creating everything from photorealistic photos to fantasy creations. For the YUI project, you can use your Comfy Agent workflow to generate the core, consistent panels, and then use Imagine Pro for its "AI image generator with a free trial" to refine a selected panel into a polished, print-ready piece of art or to prototype a striking cover concept without needing to build a complex upscaling graph.
1.4 Tutorial Scope, Skill Level, and Expected Outputs
This tutorial is aimed at creators with a solid understanding of storytelling and a basic familiarity with AI image generation concepts. You should have some experience with prompting and, ideally, a basic grasp of ComfyUI's node-based interface.
By the end of this deep dive, you will be equipped to build a complete end-to-end pipeline. The expected output is not just a collection of images, but a coherent, 12-panel manga chapter starring YUI. We will focus on achieving a level of character consistency (a 95%+ recognizable YUI) and narrative alignment that is suitable for public release, all within a production time that makes a weekly or bi-weekly serialization genuinely feasible.
2. Building the YUI Story Bible and Hakoniwa Continuity
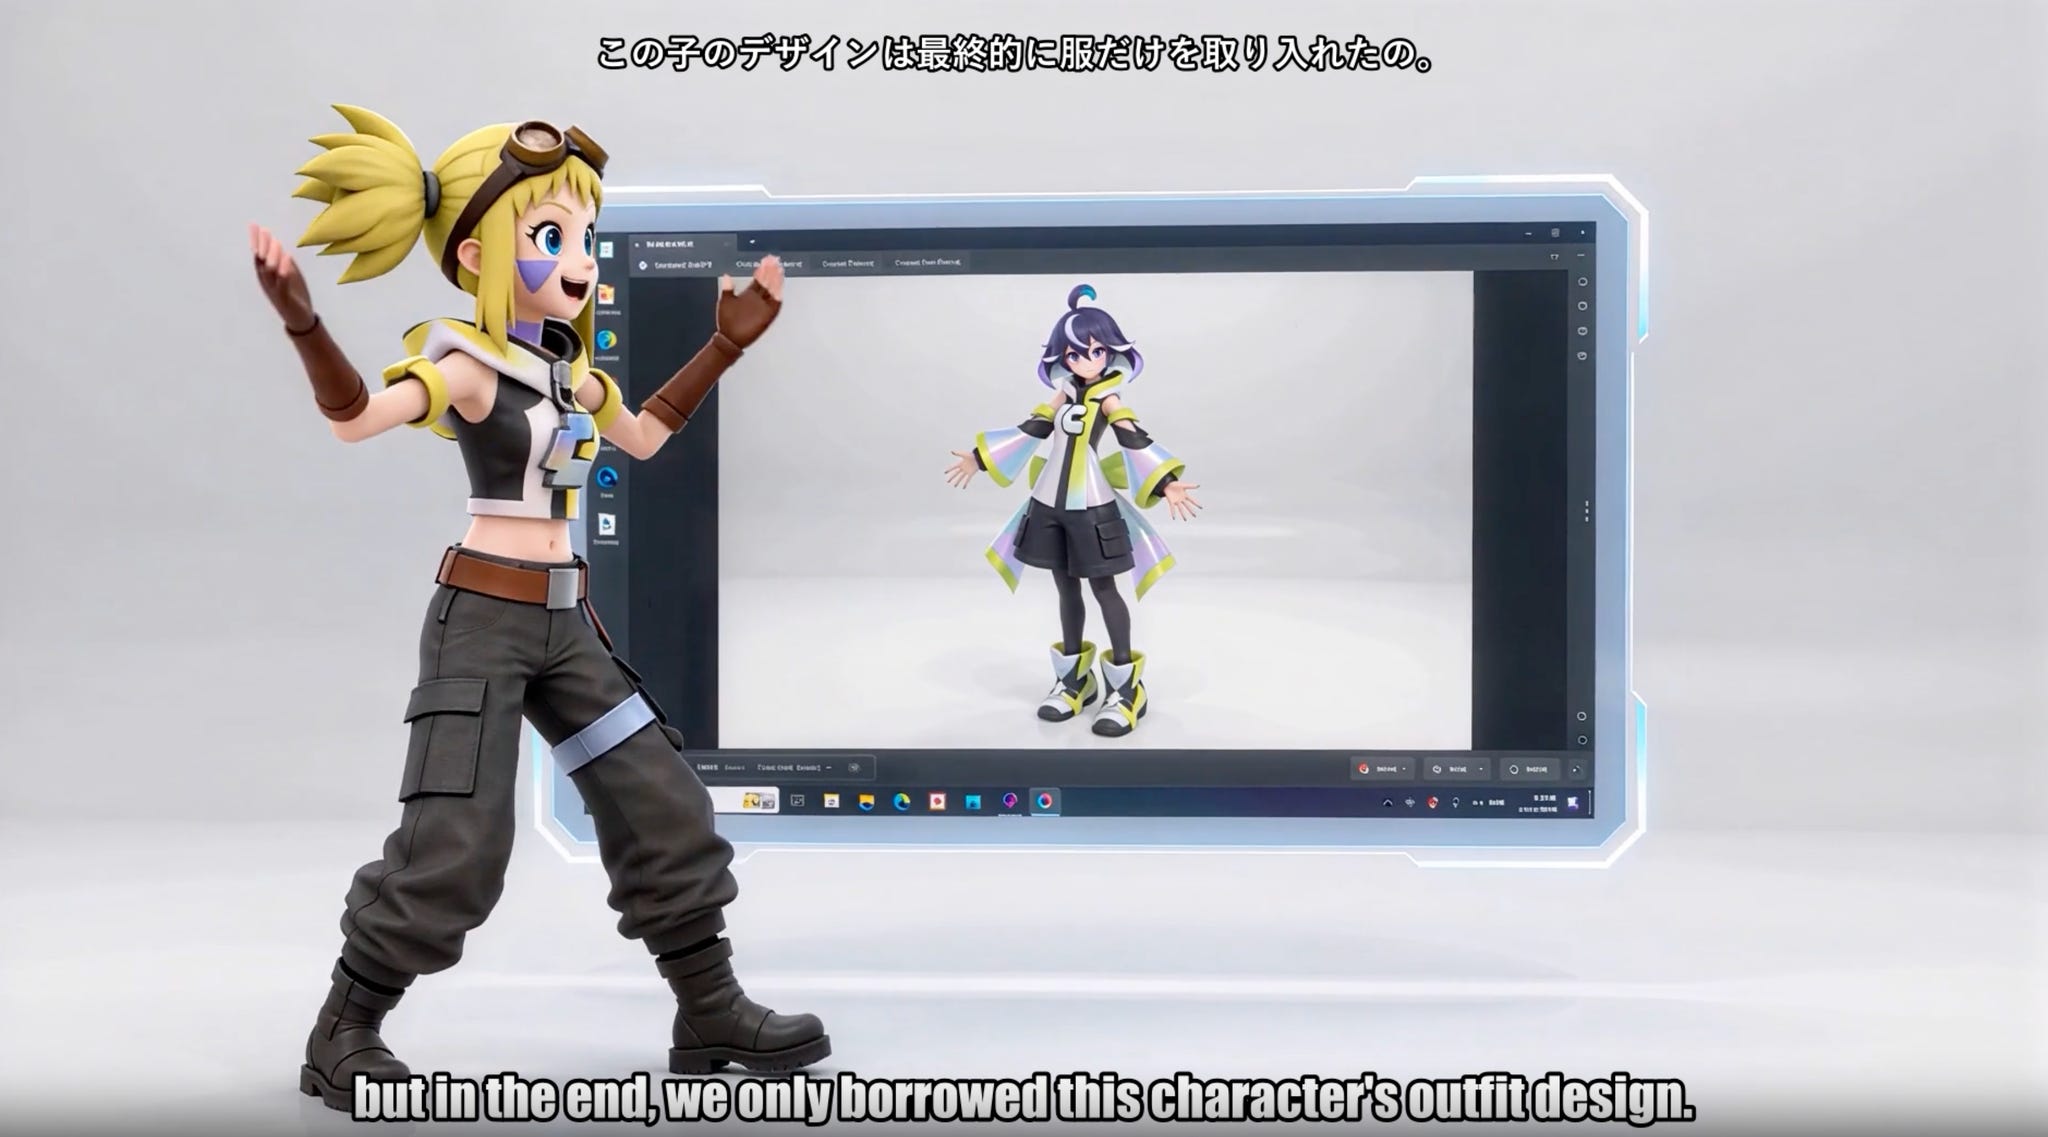
The single greatest challenge in AI storytelling is consistency. If YUI looks like a different person in every panel, the illusion of a story collapses. To prevent this, we must move from a mental idea of a character to a meticulously documented asset: the Story Bible.
2.1 Defining YUI’s Visual Identity and Personality

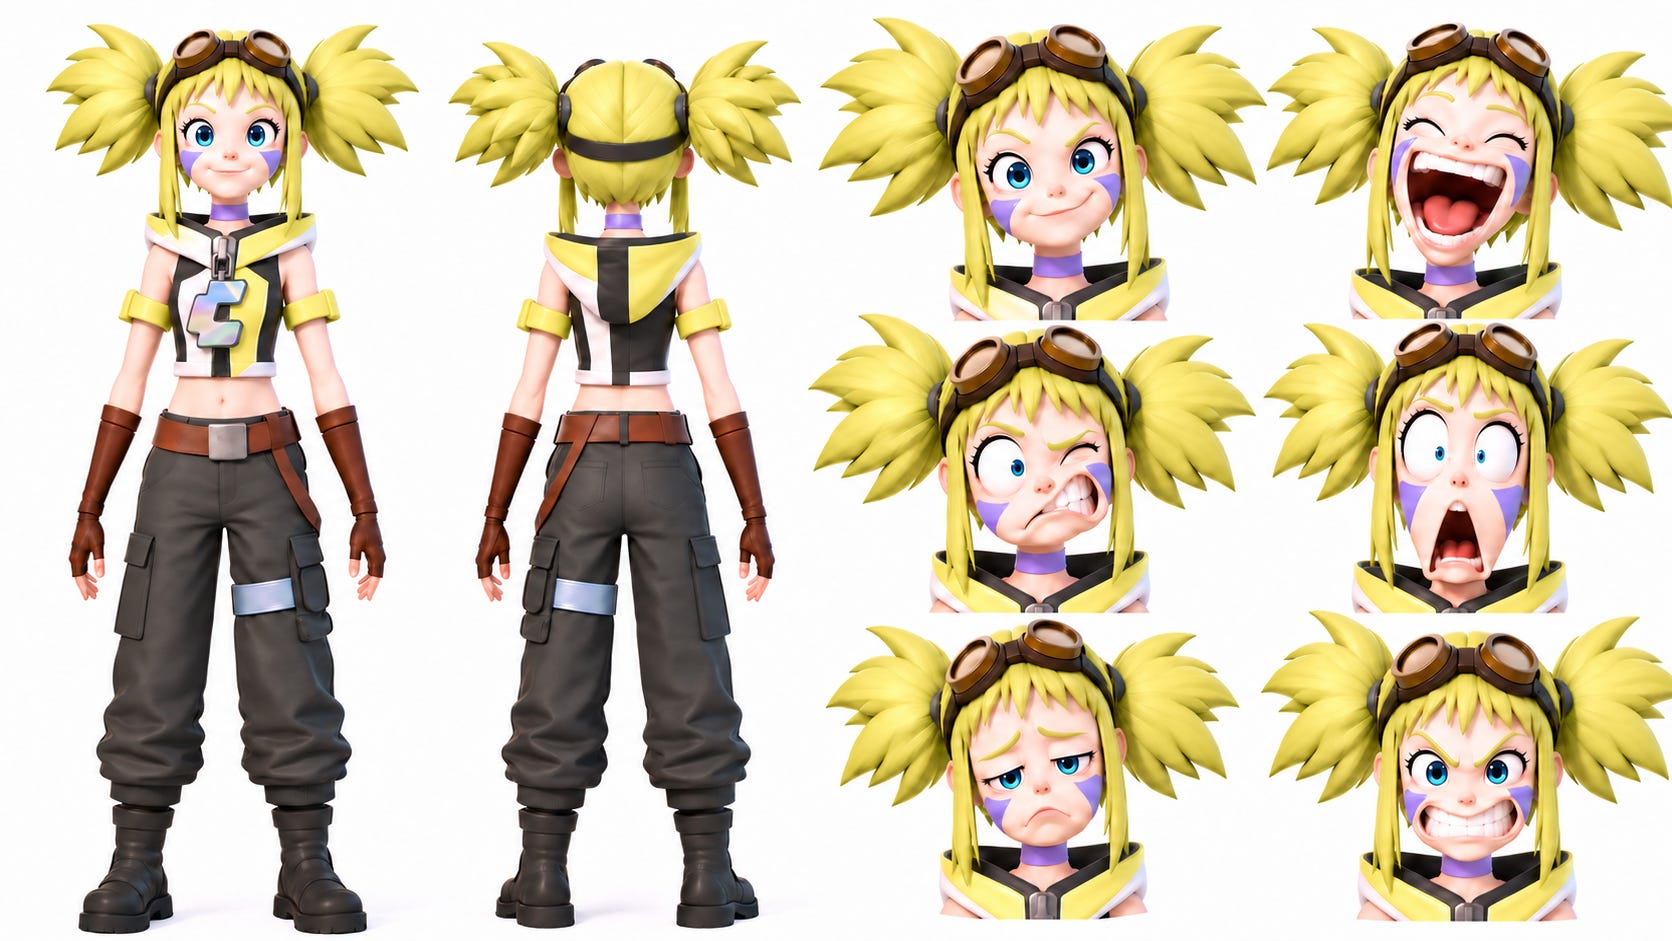
Before you generate a single image, document every aspect of YUI. Be precise. For an AI, "cute hair" is a useless prompt. "Chin-length, sky-blue bob with blunt bangs and a single pink hair clip on the left side" is a blueprint.
In practice, create a reference document with these categories:
- Face Shape: Round/oval, small nose, large expressive eyes with a specific color (e.g., #6A5ACD for indigo).
- Hair: As above, with a precise color hex code and style description for front, side, and back views.
- Wardrobe: A default outfit (e.g., a sailor-fuku with a red neckerchief) and 2-3 thematic variants (e.g., winter coat, summer dress).
- Emotional Range: Define how her face changes for key emotions: Joy (bright eyes, small smile), Sadness (downcast eyes, slightly furrowed brows), Surprise (wide eyes, slightly open mouth).
- Palette: Create a color palette swatch file with the exact hex codes for her skin, hair, eyes, and standard wardrobe.
2.2 Translating 852話 Hakoniwa Beats into Episode Arcs

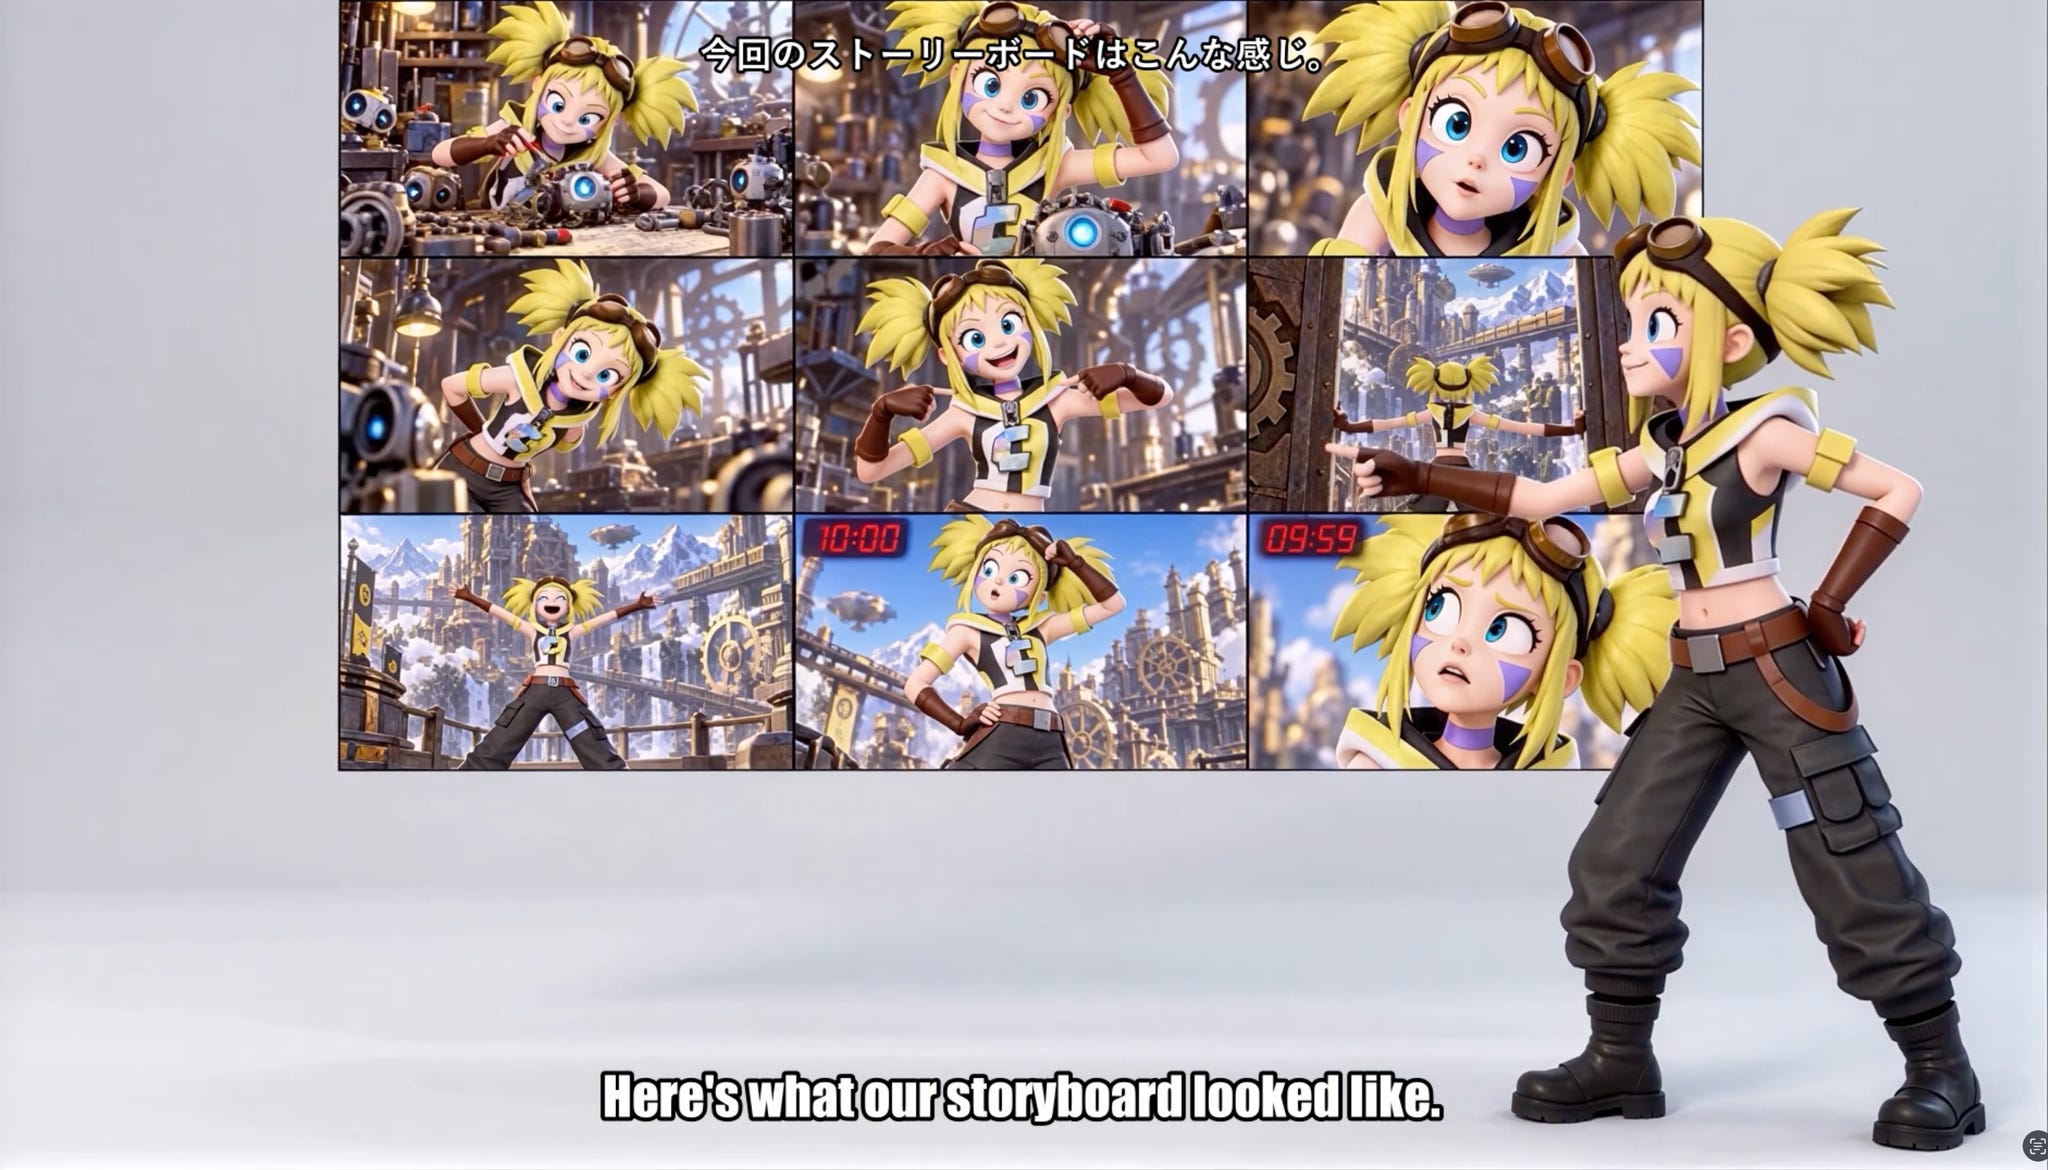
A manga chapter needs rhythm. Take a segment of the "852話 Hakoniwa" source material and break it down into a classic three-act structure. For example, a story about YUI finding a lost cat in her Hakoniwa.
- Beginning (Establishing): YUI is tending her garden. A subtle sound catches her attention. Panels: 1. Wide shot of garden. 2. Close-up on YUI's curious expression.
- Turn (Action/Conflict): She discovers a small, shivering kitten. She tries to coax it out. Panels: 3. Medium shot of YUI crouching. 4. POV shot of the kitten. 5. YUI reaching out, an anxious look on her face.
- Punchline (Resolution): The kitten's owner arrives. It was the grumpy neighbor's pet. The neighbor awkwardly thanks her, revealing a softer side. Panels: 6. Reaction shot of YUI, surprised. 7. Wide shot of the neighbor thanking her. 8. Final panel of YUI smiling as she watches them leave.
This beat sheet becomes your generation blueprint.
2.3 Creating a Prompt Sheet for Consistent AI Manga Story Creation
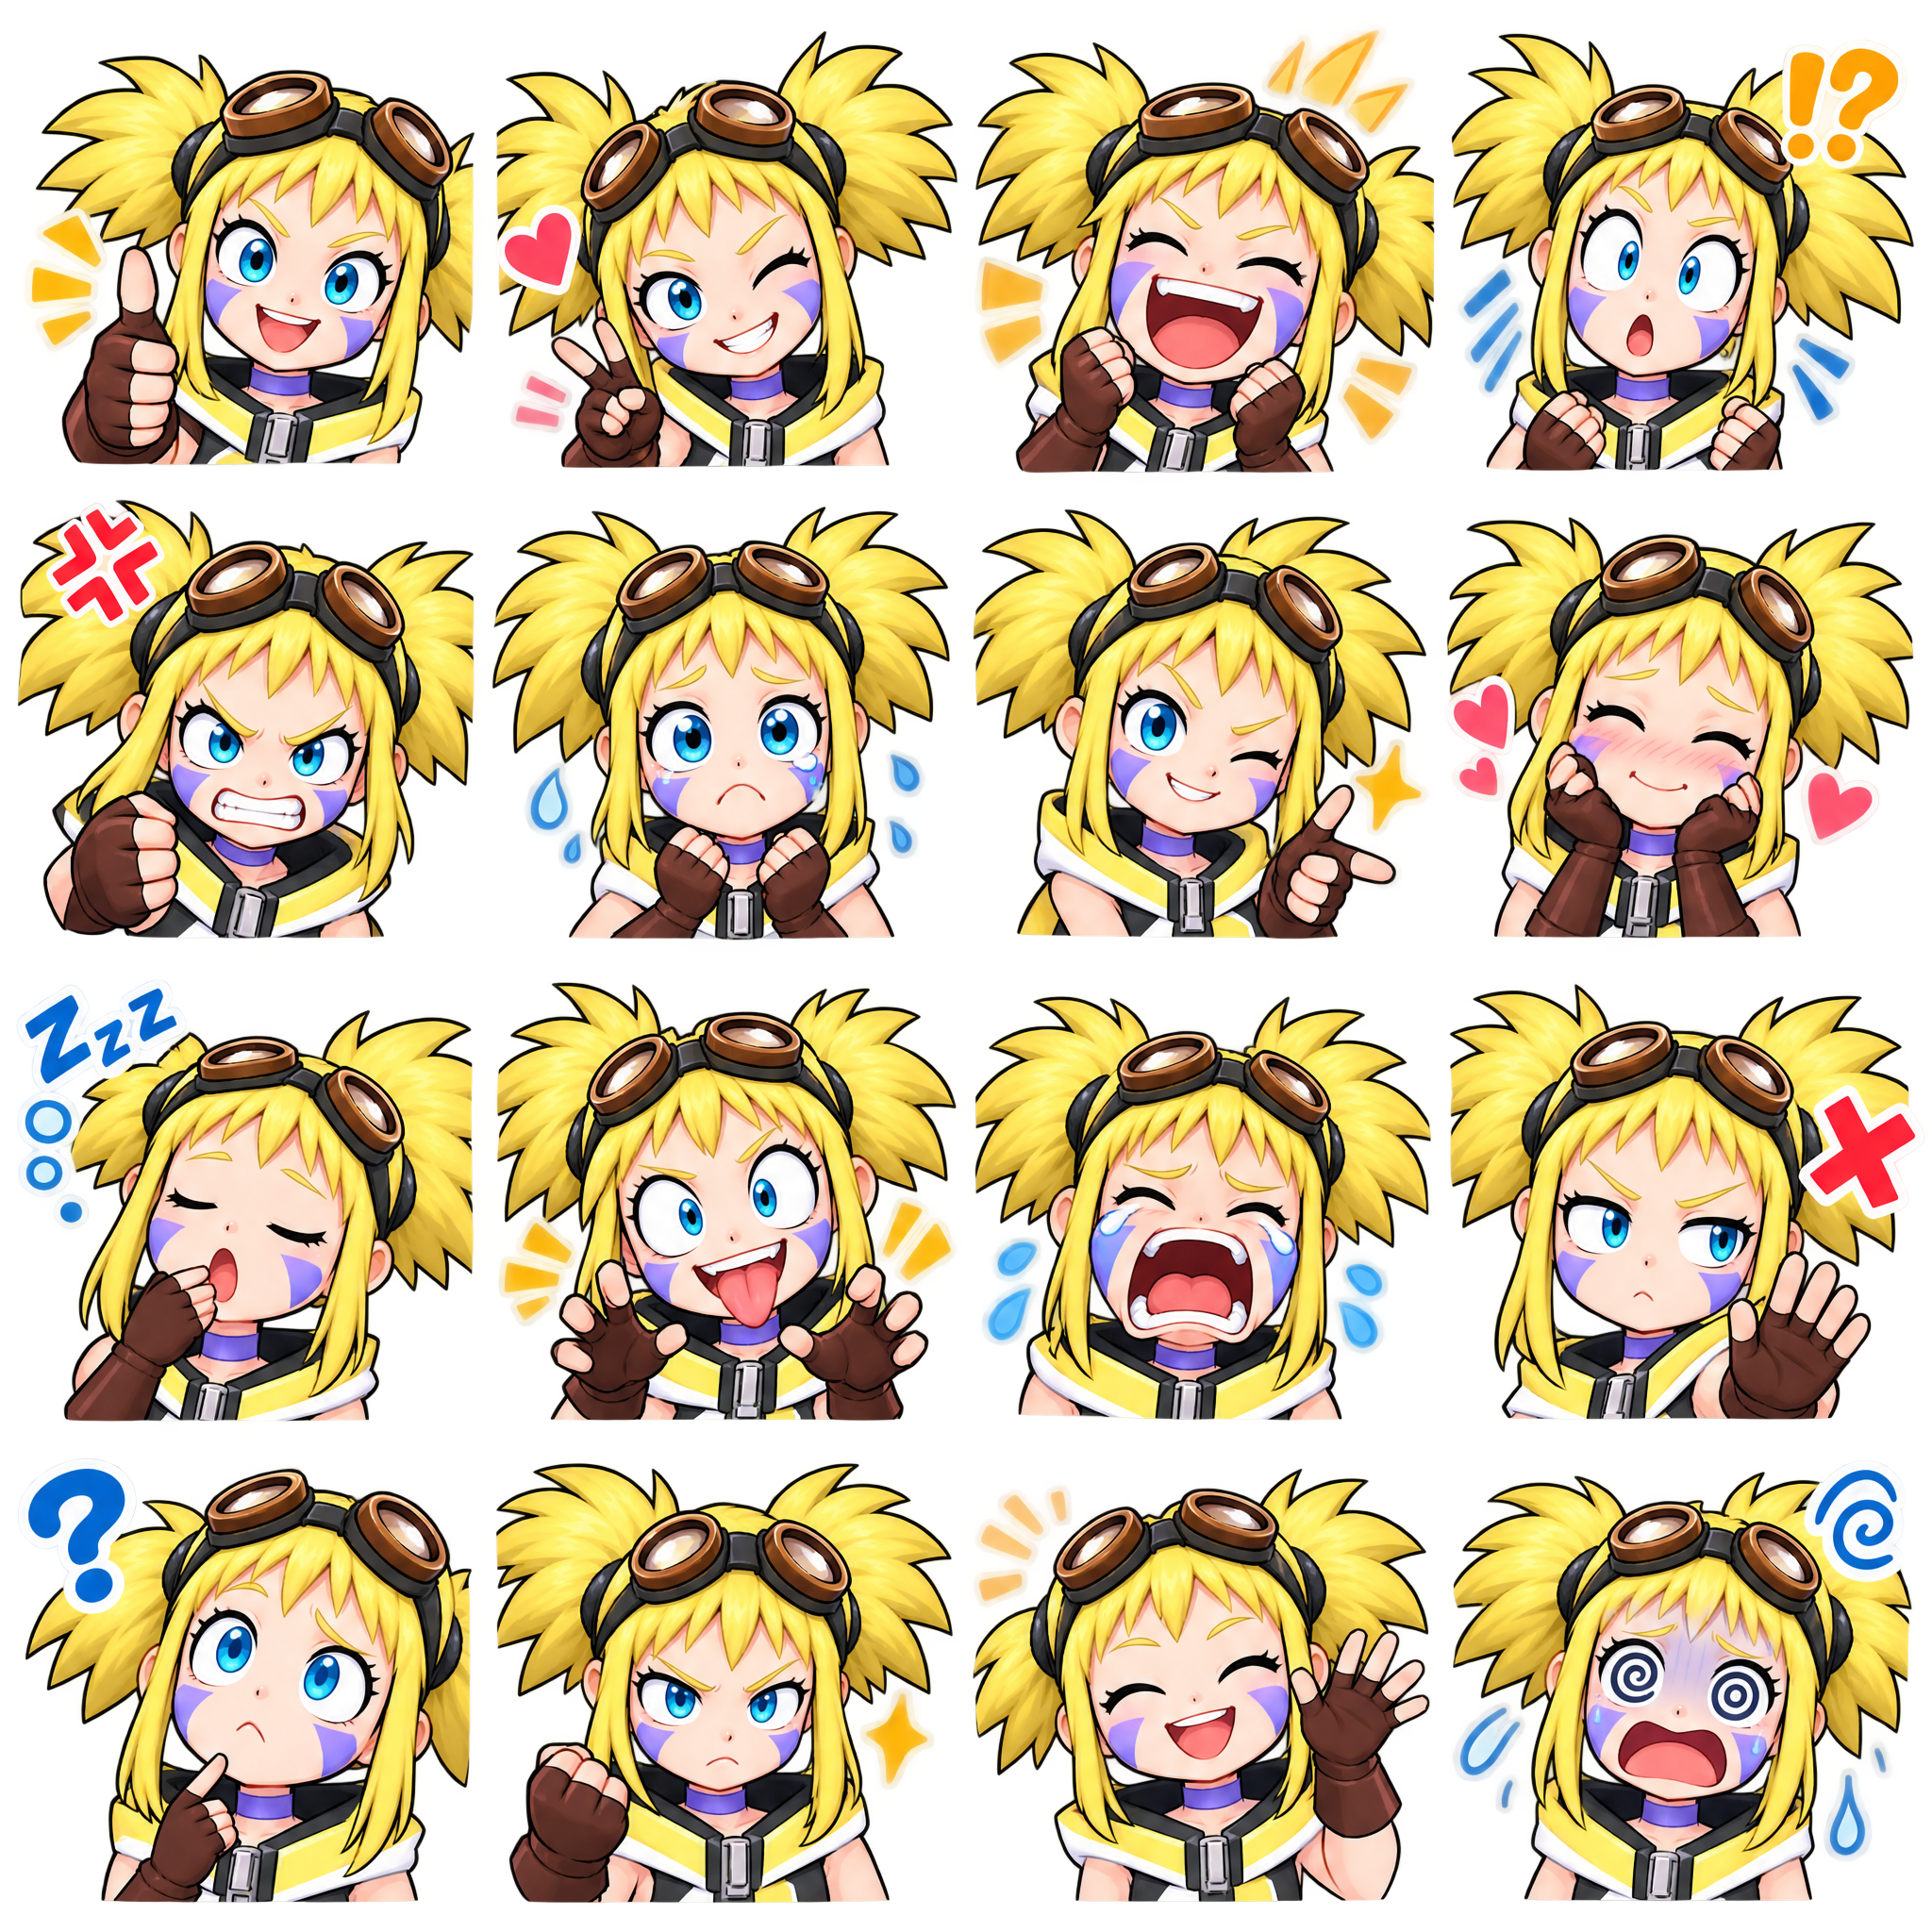
Your prompt sheet is a direct translation of your scene beats. Instead of writing prompts from scratch each time, you use a template. This is the foundation of a consistent AI storytelling with image generator workflow.
Your template should have these fields: [Subject Description] + [Action] + [Setting] + [Mood] + [Camera Angle] + [Style].
Here is a reusable prompt for YUI:
**YUI_core**, [action], [setting], [mood], [camera], manga style, monochrome, detailed line art, screentone
You then replace the variables. For panel 2 of our story:
**(YUI_core: long bob, sky-blue hair, pink clip, red neckerchief)**, looking down with wide, curious eyes, in a lush garden, slightly confused, close-up shot on face, manga style, monochrome, detailed line art, screentone
2.4 Reference Assets: Palettes, Outfits, Expressions, and Props
Your file system is a core part of your production pipeline. Organize it like a professional studio.
/852_Hakoniwa_YUI/
├── /00_Story_Bible/
│   ├── yui_visual_identity.md
│   └── hakoniwa_world_notes.md
├── /01_References/
│   ├── /palettes/
│   ├── /outfits/
│   ├── /expressions/
│   └── /props/
├── /02_Workflows/
│   ├── yui_panel_preset.json
│   └── yui_reference_sheet.json
├── /03_Checkpoints/
├── /04_LoRAs/
└── /05_Output/
    ├── /Chapter_01/
    │   ├── /panels/
    │   └── /selected/
    └── /Covers/
These reference assets are not just for you; they are for the AI. You will feed them into your workflow using tools like IP-Adapter to enforce the character's look.
3. Setting Up Comfy Agent for the First AI Art Workflow
With the creative and organizational groundwork done, we can now build the engine. The setup process is technical but methodical.
3.1 How Comfy Agent Works Under the Hood: Nodes, Agents, and Queues
Think of ComfyUI as a visual programming language for image generation. Each "node" is a function: Load Checkpoint, Encode Text, KSampler, etc. You connect these nodes to define a "graph" or "workflow" for image generation. A "latent" image is passed from node to node, being defined more and more at each step. Comfy Agent extends this by adding powerful automation. An "Agent" can be thought of as a script that manipulates your graph. It can automatically change prompts, cycle through different seeds, and manage a "Queue" of generation jobs, making it possible to batch-process hundreds of panel variations overnight.
3.2 Installing Dependencies and Connecting Checkpoints, LoRAs, and VAEs
This is standard ComfyUI setup. You'll need to install the ComfyUI Manager and use it to install custom nodes for ControlNet, IP-Adapter, and other utilities. Your core models go into specific folders: your main anime-style checkpoint (e.g., from Civitai) goes into /models/checkpoints, your character LoRAs into /models/loras, and your VAE into /models/vae. Keeping a clean, safe folder structure is critical for troubleshooting. For the final 10% of polish, mention that tools like Imagine Pro can be used for high-resolution upscaling and finishing, offloading that task from your local GPU.
3.3 Configuring a Manga Panel Preset in Comfy Agent
A manga panel is not a standard square image. You need specific settings.
- Resolution & Aspect Ratio: For print, a typical panel might be a 4:3 or 3:2 ratio at a base resolution of 768x576 pixels.
- Line Weight: This is guided by the checkpoint and LoRA, but a prompt like
crisp, bold line artcan help. - Screentone Feel: Add
screentone, halftone pattern, manga shadingto your negative prompt to encourage the model to use standard manga shading techniques instead of grayscale gradients. - Background Simplification: For interior shots or emotional close-ups, prompt for
simple background, white backgroundto keep the focus on the character.
3.4 Performance Benchmarks: Speed, VRAM, and Batch Size Trade-Offs
Your generation speed is a direct trade-off between quality, resolution, and your hardware.
| Resolution | Batch Size | Steps | VRAM Usage (approx.) | Time (per image, RTX 3060 12GB) |
|---|---|---|---|---|
| 512x512 | 4 | 20 | ~6 GB | ~3-5 seconds |
| 768x576 | 1 | 25 | ~8 GB | ~7-10 seconds |
| 1024x768 | 1 | 30 | ~11 GB | ~15-20 seconds |
| 1024x768 | 4 | 30 | Out of Memory | N/A |
Start with a small batch size (1-2) at your target panel resolution. If you have a 12GB VRAM card, 768x576 is a sweet spot for rapid iteration. For higher resolutions, you will likely need to use tiled upscaling or offload models to save memory.
3.5 Test Run: Generating a Neutral YUI Reference Sheet
Before you build a scene, build your character. Create a workflow that generates a 2x2 grid: YUI's front, side, and back views, plus a few key facial expressions. This will be your master reference. Feed your character LoRA and a comprehensive prompt covering her core traits. This test run validates your checkpoint, LoRA, and prompt all work together. If she looks wrong here, she will look wrong in every panel. This is a crucial lesson learned from production: never skip the reference sheet. It is your quality control gate.
4. From Script to Panel: Creating YUI’s First 852話 Hakoniwa Scene
Now we are ready to generate the actual chapter. This is where all the preparation pays off. We will turn the written script into a sequence of prompts and then into a batch of images.
4.1 Breaking a Hakoniwa Scene into Visual Beats
Returning to our "lost kitten" script, we identify the essential shots:
- Establishing Shot: Wide view of the Hakoniwa garden.
- Emotional Close-up: YUI's face as she hears the sound.
- Action Beat: YUI crouching, reaching out.
- Reaction Shot: The neighbor's surprised face.
- Final Wide Shot: YUI waving goodbye.
Each of these is a separate generation job with its own prompt.
4.2 Writing Prompts for an AI Character Image Generator
Let's craft the prompt for the Action Beat (Shot 3). We use our template and add details for this specific moment.
**(YUI_core: long bob, sky-blue hair, pink clip, red neckerchief, sailor-fuku)**, crouching down carefully, one hand extended towards a small cardboard box in a lush green garden, a look of gentle encouragement on her face, low-angle shot, manga style, monochrome, detailed line art, screentone
4.3 Using ControlNet, IP-Adapter, and Seed Locking for YUI’s Look
To achieve consistency, we chain our nodes:
- IP-Adapter: Connect a reference image of YUI (from your reference sheet) to an IP-Adapter node. Set the weight to around 0.6-0.8. This tells the model, "Make it look like this character."
- ControlNet (OpenPose): To get a specific crouching pose, create a simple stick figure in an image editor and feed it into a ControlNet OpenPose node. This tells the model, "Put the character in this exact pose."
- Seed Locking: In your KSampler node, use the "fixed" seed option. Once you find a seed that produces a particularly good, on-model image, you can lock it and make minor prompt adjustments to refine the image without the core look changing drastically.
4.4 Running the Comfy Agent AI Art Workflow for Multiple Panels
Now you can use Comfy Agent to automate the process. Create a text file or use a queue node that contains all your prompts for the chapter. Set the agent to generate 5-10 variations for each panel. Tag the output files with the panel number (e.g., ch1_p03_var05.png). Run the queue and let it work. You are now a director, and the AI is your production crew, generating options for you to choose from.
4.5 Reviewing Narrative Alignment and Character Consistency
When you return, you will have hundreds of images. Your job is to be the editor. Review each image for two things:
- Character Consistency: Does she look like YUI? Is the hair the right color? Is the face consistent?
- Narrative Alignment: Does the image tell the story beat correctly? Does her expression convey the right emotion? Is the composition dynamic?
A common mistake is to fall in love with a beautiful image that is wrong for the story. Be ruthless. A perfectly rendered but emotionally flat panel will weaken your narrative.
5. Advanced Techniques for Consistent AI Manga Story Creation
Moving from a single chapter to a full series requires elevating your pipeline with more advanced techniques.
5.1 Character Consistency Across Chapters: Embeddings, Face Models, and Reference-Only
For long-term stability, you have several options, each with trade-offs.
| Method | Pros | Cons | Best For |
|---|---|---|---|
| LoRA Training | Highest consistency, captures subtle style nuances. | Requires 15-30 high-quality images, training time, technical knowledge. | Core, main characters who appear in every chapter. |
| Face-Swap Nodes | Can be very precise for facial features. | Can look uncanny, struggles with expressive or angled faces, requires a clean face to swap. | Fixing a single broken face in an otherwise good panel. |
| IP-Adapter | Easy to use, no training required, very flexible. | Consistency can drift, may not capture the exact art style. | Recurring side characters, minor variations, quick fixes. |
| Reference-Only | Excellent for style transfer and keeping poses consistent. | Can be less stable for complex character details. | Maintaining a specific art style, ensuring a character's silhouette is correct. |
The most robust professional workflow often combines a well-trained LoRA for the main character (YUI) with IP-Adapter for minor characters and ControlNet for all poses.
5.2 Scene Continuity: Lighting, Weather, Time of Day, and Camera Language
A story takes place in a world, not a vacuum. If a scene starts at sunset in the rain, it should stay that way. Use your prompts and ControlNet to enforce this. Add tags like golden hour, sunset, rain, wet ground, puddle reflections to your panel prompts. Use a consistent color grading LUT or a final upscaling pass to unify the look of the chapter.
5.3 Manga Pacing and Panel Composition with AI Storytelling with Image Generator
AI image generators have a bias towards medium shots. To create dynamic pacing, you must force it to vary its compositions. Use explicit camera commands in your prompts:
wide establishing shot, character is small in frameextreme close-up on eyes, detailed irisdynamic action shot, dutch angle, speed linesover-the-shoulder shot, looking at a mysterious box
Intentionally alternate between wide, medium, and close-up shots from panel to panel. This is the visual language of manga and is a key skill in AI storytelling with image generator that elevates the final product.
5.4 Batch Naming, Versioning, and Asset Management
You will generate thousands of images. A robust naming convention is non-negotiable. Use a consistent format: chapter_panel_version_seed.png or Ch01_P05_v03_12345.png. This allows you to trace any final panel back to the exact seed, prompt, and workflow that created it. This practice is essential for revisions, debugging, and maintaining your sanity.
5.5 Quality Control and Upscaling with Imagine Pro
Once you have selected the final panels for a chapter, they need to be polished for publication. Your local ComfyUI setup is great for generation, but it can be slow for high-quality upscaling. This is where a dedicated tool shines. You can take your selected 768x576 panels and use Imagine Pro to upscale them to print-ready resolution (e.g., 300 DPI), refine the line art, and add a professional finish. Using its free trial is a low-risk way to test this finishing stage and see how it can elevate your core assets into polished, professional-grade art.
6. Real-World Production Workflow: A Full Chapter of YUI
Theory is one thing; practice is another. Here is a realistic breakdown of producing a 12-panel chapter.
6.1 Case Study: Turning an 852話 Hakoniwa Segment into 12 Panels
Let's imagine a segment where YUI is baking a cake for a friend. A 12-panel story would break down like this:
- Panels 1-3 (Beginning): YUI reading a recipe book, gathering ingredients, looking determined.
- Panels 4-6 (Turn): Mixing ingredients (a bit of a mess), putting the cake in the oven, waiting nervously with a cup of tea.
- Panels 7-9 (Climax): The cake comes out looking perfect! YUI's face lights up. She decorates it.
- Panels 10-12 (End): She presents the cake to her friend. The friend's eyes light up. Final shot of them sharing the cake, happy.
6.2 Step-by-Step Pipeline: Script, Prompt Sheet, Generation, Selection, Retouch
- Script (1 hour): Finalize the 12-panel story beat sheet.
- Prompt Sheet (2 hours): Write a detailed, reusable prompt for all 12 panels, specifying camera, mood, and action.
- Generation (Overnight): Use Comfy Agent to queue 10 variations for each of the 12 panels. 120 images generated automatically.
- Selection (3-4 hours): Review the 120 images. Select the best 1-2 for each panel. This is the most human-intensive step.
- Retouch (2-3 hours): Use inpainting within ComfyUI to fix small errors (e.g., a malformed hand, a weird hair strand). If needed, use Imagine Pro to upscale the final 12 selected panels.
- Assemble & Publish (1 hour): Bring the 12 panels into an image editor (e.g., Photoshop, Clip Studio Paint) or a layout tool like Manga Studio to add dialogue bubbles, SFX, and final layout.
6.3 Time Logs, Iteration Counts, and Bottleneck Analysis
- Total Time: ~10-12 hours.
- AI Generation Time: ~2-4 hours (mostly unattended).
- Human Time: ~6-8 hours.
- Bottleneck: The selection process. While AI can generate a thousand images, choosing the one that perfectly conveys the character's emotion and advances the story is a purely human and time-consuming task.
6.4 Lessons from Production: What Broke and How to Fix It
- Failure: Inconsistent hair color between panels.
- Fix: Use IP-Adapter with a strong reference image for every panel, not just the character sheet. Lock the seed for the color palette.
- Failure: Wrong hand poses (the classic AI weakness).
- Fix: Use ControlNet OpenPose with a pre-drawn hand skeleton. Or, generate a panel with the hands hidden and use inpainting to add them later, possibly from a separate pose generator like Imagine Pro.
- Failure: The AI generates a beautiful image, but it's the wrong angle for the scene's pacing.
- Fix: Be more specific in your prompt. Use
low-angle shot, high-angle shot, close-up on handsinstead of justaction shot.
- Fix: Be more specific in your prompt. Use
6.5 Common Pitfalls to Avoid in AI Manga Story Creation
- Over-Prompting: Adding too many conflicting keywords can create a muddled image. Start simple and add details one by one.
- Ignoring Story Beats: Don't just generate cool images. Every panel must serve the story. If it doesn't advance the plot or reveal character, cut it.
- Using Too Many Styles: Stick to one core art style across all your prompts. Mixing "cyberpunk" and "watercolor" will result in a visually incoherent manga.
- Publishing Unedited First Drafts: AI images are a first draft. They need a human editor's eye for selection, retouching, and layout to become a professional-grade manga.
7. Authority and Trust: Best Practices, Limitations, and Ethical Use
As creators in a new medium, we have a responsibility to be transparent and ethical.
7.1 What Official Documentation Says About Comfy Agent Workflows
When building your pipeline, always refer to the official ComfyUI GitHub repository and the ComfyUI Manager documentation. These are the primary sources for understanding node behavior, best practices, and troubleshooting. Rely on the community-sourced wiki and tutorials for practical examples, but always verify against the official code and documentation for the most reliable information.
7.2 Copyright, Fan Works, and 852話 Hakoniwa Attribution
AI art and copyright is a legal gray area. If you are creating a derivative work based on an existing property like "852話 Hakoniwa," you must be transparent. If you plan to publish, seek permission from the original creator. If you are creating an original story inspired by the concept, you must still credit the inspiration. For your own original creations, ensure you are using checkpoints and LoRAs with licenses that permit the intended use (commercial vs. non-commercial). A good first step is to review the Creative Commons guidelines on derivative works.
7.3 When to Use Comfy Agent (and When to Simplify)
Comfy Agent is the right tool for a full, serialized manga. It offers the control and automation necessary for long-term consistency. For a one-off illustration or a quick character concept, a simpler interface like Automatic1111 or a web-based tool like Imagine Pro is likely faster and more efficient. Use the right tool for the job.
7.4 Pros and Cons of AI Storytelling with Image Generator
Pros:
- Speed: Generate a chapter's worth of panels in hours, not weeks.
- Iteration: Quickly explore different camera angles, expressions, and compositions.
- Style Control: Achieve a consistent, professional-looking art style without formal art training.
- Cost-Effective: Drastically reduces the cost of art production for independent creators.
Cons:
- Consistency Drift: Still a major challenge, requiring ongoing technical vigilance.
- Ethical Concerns: Copyright, attribution, and the potential displacement of human artists are valid concerns.
- Post-Editing Needs: AI images are rarely perfect and require significant human curation and retouching.
- "Uncanny Valley": AI images can sometimes feel unnatural or overly smooth.
7.5 Transparency, AI Disclosure, and Reader Trust
The best policy is honesty. Clearly disclose on your website, in the manga's credits, and on social media that AI tools were used in the creation of the artwork. You can say something like: "Art generated with a custom AI-assisted workflow (ComfyUI), with human direction, selection, and editing." This builds trust with your readers and protects your project's reputation. The goal is not to trick people, but to tell a story in a new and exciting way.
8. Publishing and Optimizing the YUI Story
With your chapter ready, it's time to prepare it for the world.
8.1 Export Settings for Web, Print, and Social Manga
- Web (Website/Webcomic Platforms): Export as high-quality JPEG or WebP at 72 DPI. Aim for a width of 800-1200 pixels.
- Print (POD/Zines): Export as TIFF or PDF at 300 DPI in CMYK color space (if color) or grayscale. Use a resolution of 300 DPI at the intended print size.
- Social Media: Export a few key panels as separate PNGs for promotion. Use the chapter cover as a "splash" image.
8.2 Formatting Dialogue, Sound Effects, and Reading Flow
Use a real manga layout tool like Clip Studio Paint or Photoshop. Place your dialogue bubbles for natural reading flow (usually right-to-left, top-to-bottom for traditional manga). Choose a clear, legible font for dialogue. For sound effects (SFX), consider hand-lettering them or using a dedicated SFX font for maximum impact. Ensure the dialogue doesn't obscure the key emotional elements of the art.
8.3 Metadata and SEO for 852話 Hakoniwa YUI Chapters
Use descriptive titles for your pages, like "Chapter 1: The Lost Kitten | 852話 Hakoniwa YUI." Write a short, engaging summary for each chapter. When posting images, use descriptive alt text (e.g., "YUI crouches down to look at a small box in a lush garden"). Use tags like "manga," "AI art," "webcomic," and "852話 Hakoniwa." This helps search engines understand your content and connect with new readers without resorting to keyword stuffing.
8.4 Cover Art, Thumbnails, and Promotional Panels with Imagine Pro
Your cover art is your handshake with the reader. It needs to be eye-catching and true to the story's tone. Use your AI character image generator to create a striking cover concept, and then use a tool like Imagine Pro to refine it to a very high resolution, adding a title and vivid colors. A polished cover and title can dramatically increase click-through rates.
8.5 Building a Release Schedule and Reader Feedback Loop
Consistency is key for building an audience. A bi-weekly or monthly schedule is more sustainable than a frantic, irregular one. Actively solicit feedback from your readers through comments and social media polls. This not only builds a community but also gives you valuable data on what's working and what's not, allowing you to adjust future chapters of the YUI story based on reader response.
9. Troubleshooting Comfy Agent and Story Generation Issues
Even the most well-planned workflow will hit snags. Here’s how to diagnose and fix common problems.
9.1 Fixing Broken Node Graphs and Missing Models
The dreaded "red nodes" in ComfyUI mean you're missing a custom node or model. Use the ComfyUI Manager's "Install Missing Custom Nodes" feature. If a model is missing, check the error message in the console for the exact file path it's looking for and ensure the checkpoint or LoRA is in the correct /models/ subfolder.
9.2 Resolving Character Drift and Inconsistent Faces
This is the most common artistic issue. Your first step is to adjust your reference weight in IP-Adapter. If she's still drifting, your prompt may not be specific enough. Add more concrete details about her visual identity. For persistent problems, consider using a face restoration node like FaceDetailer on each panel to enforce a consistent facial structure.
9.3 Handling VRAM Errors, Slow Queues, and Batch Failures
If you hit a "CUDA out of memory" error, you have several options: reduce your resolution, lower your batch size, or use a model offloading node to shift more of the work to your CPU. If your queue is crawling, try reducing the number of steps or using a faster sampler like DPM++ 2M Karras. For any batch failure, check the console log to see which specific prompt caused the crash and debug that one individually.
9.4 Correcting Narrative-Panel Mismatch
You have a beautiful image, but it's wrong for the scene. Don't force it. First, try a much more explicit prompt to control the camera and action. If that fails, rewrite the panel beat in your script. Perhaps the scene calls for a reaction shot instead of an action shot. The story should dictate the art, not the other way around.
9.5 Deciding When to Retrain, Re-prompt, or Replace the Workflow
- Re-prompt: For minor issues like a slightly wrong expression or a small detail. This is your first and most common fix.
- Retrain: If your character's look has fundamentally shifted and IP-Adapter can't correct it, it may be time to train a new LoRA with a fresh, curated set of images.
- Replace Workflow: If your entire ComfyUI setup is buggy and unstable, don't be afraid to start with a fresh, clean installation. It's often faster than trying to fix a deeply corrupted graph.
Conclusion
The path to creating a serialized manga with AI is a marathon, not a sprint. It requires a marriage of creative storytelling and technical discipline. By building a comprehensive workflow with AI manga story creation as your guiding principle, you can overcome the historic barriers of art production. You can transform from a writer with an unfulfilled vision into a creator with a published series.
The keys are a detailed story bible, a masterfully configured Comfy Agent workflow, and a willingness to leverage specialized tools like Imagine Pro for the finishing touches. With this deep dive as your guide, you have the blueprint to bring your own "852話 Hakoniwa YUI" to life, panel by panel, chapter by chapter. The world is waiting for your story.
Compare Plans & Pricing
Find the plan that matches your workload and unlock full access to ImaginePro.
| Plan | Price | Highlights |
|---|---|---|
| Standard | $8 / month |
|
| Premium | $20 / month |
|
Need custom terms? Talk to us to tailor credits, rate limits, or deployment options.
View All Pricing Details