Developer Offer
Try ImaginePro API with 50 Free Credits
Build and ship AI-powered visuals with Midjourney, Flux, and more — free credits refresh every month.
The Ultimate Guide to FLUX 3 - Comprehensive Review
The Ultimate Guide to FLUX 3 - Comprehensive Review
FLUX 3 Guide: How to Master the AI Image Generator
FLUX 3 has quickly become one of the most talked-about AI image generators in the creative community, and for good reason. This deep-dive guide walks through everything from prompt engineering and advanced generation controls to real-world performance benchmarks. Whether you're a digital artist seeking granular creative control or a marketer producing on-brand visuals at scale, the practical workflows here will help you get consistently better outputs.
FLUX 3 AI Image Generator: Key Capabilities at a Glance
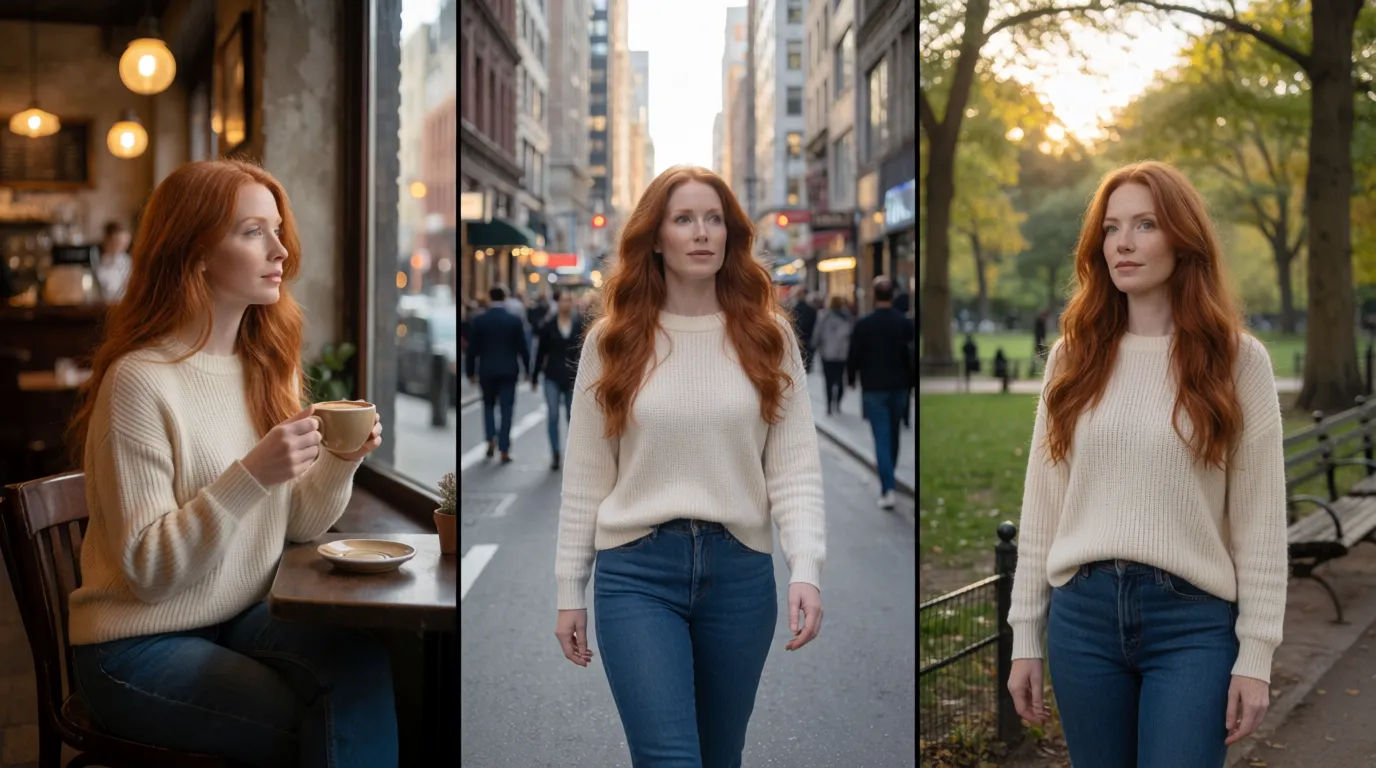
FLUX 3 is a high-resolution diffusion model designed for text-to-image generation. Its core strengths include strong prompt adherence, crisp text rendering inside images, and flexible export options. You get style presets for photography, illustration, 3D rendering, and concept art, plus built-in upscaling that preserves fine detail.
The hidden insight that separates decent results from great ones is this: FLUX 3 excels at rendering legible text in images, but it can struggle with complex multi-subject prompts. A scene with three characters, each needing specific identity cues, tends to blend attributes unless you use careful negative prompting. Once you learn to control that, FLUX 3's output quality jumps significantly.
How FLUX 3 Works Under the Hood
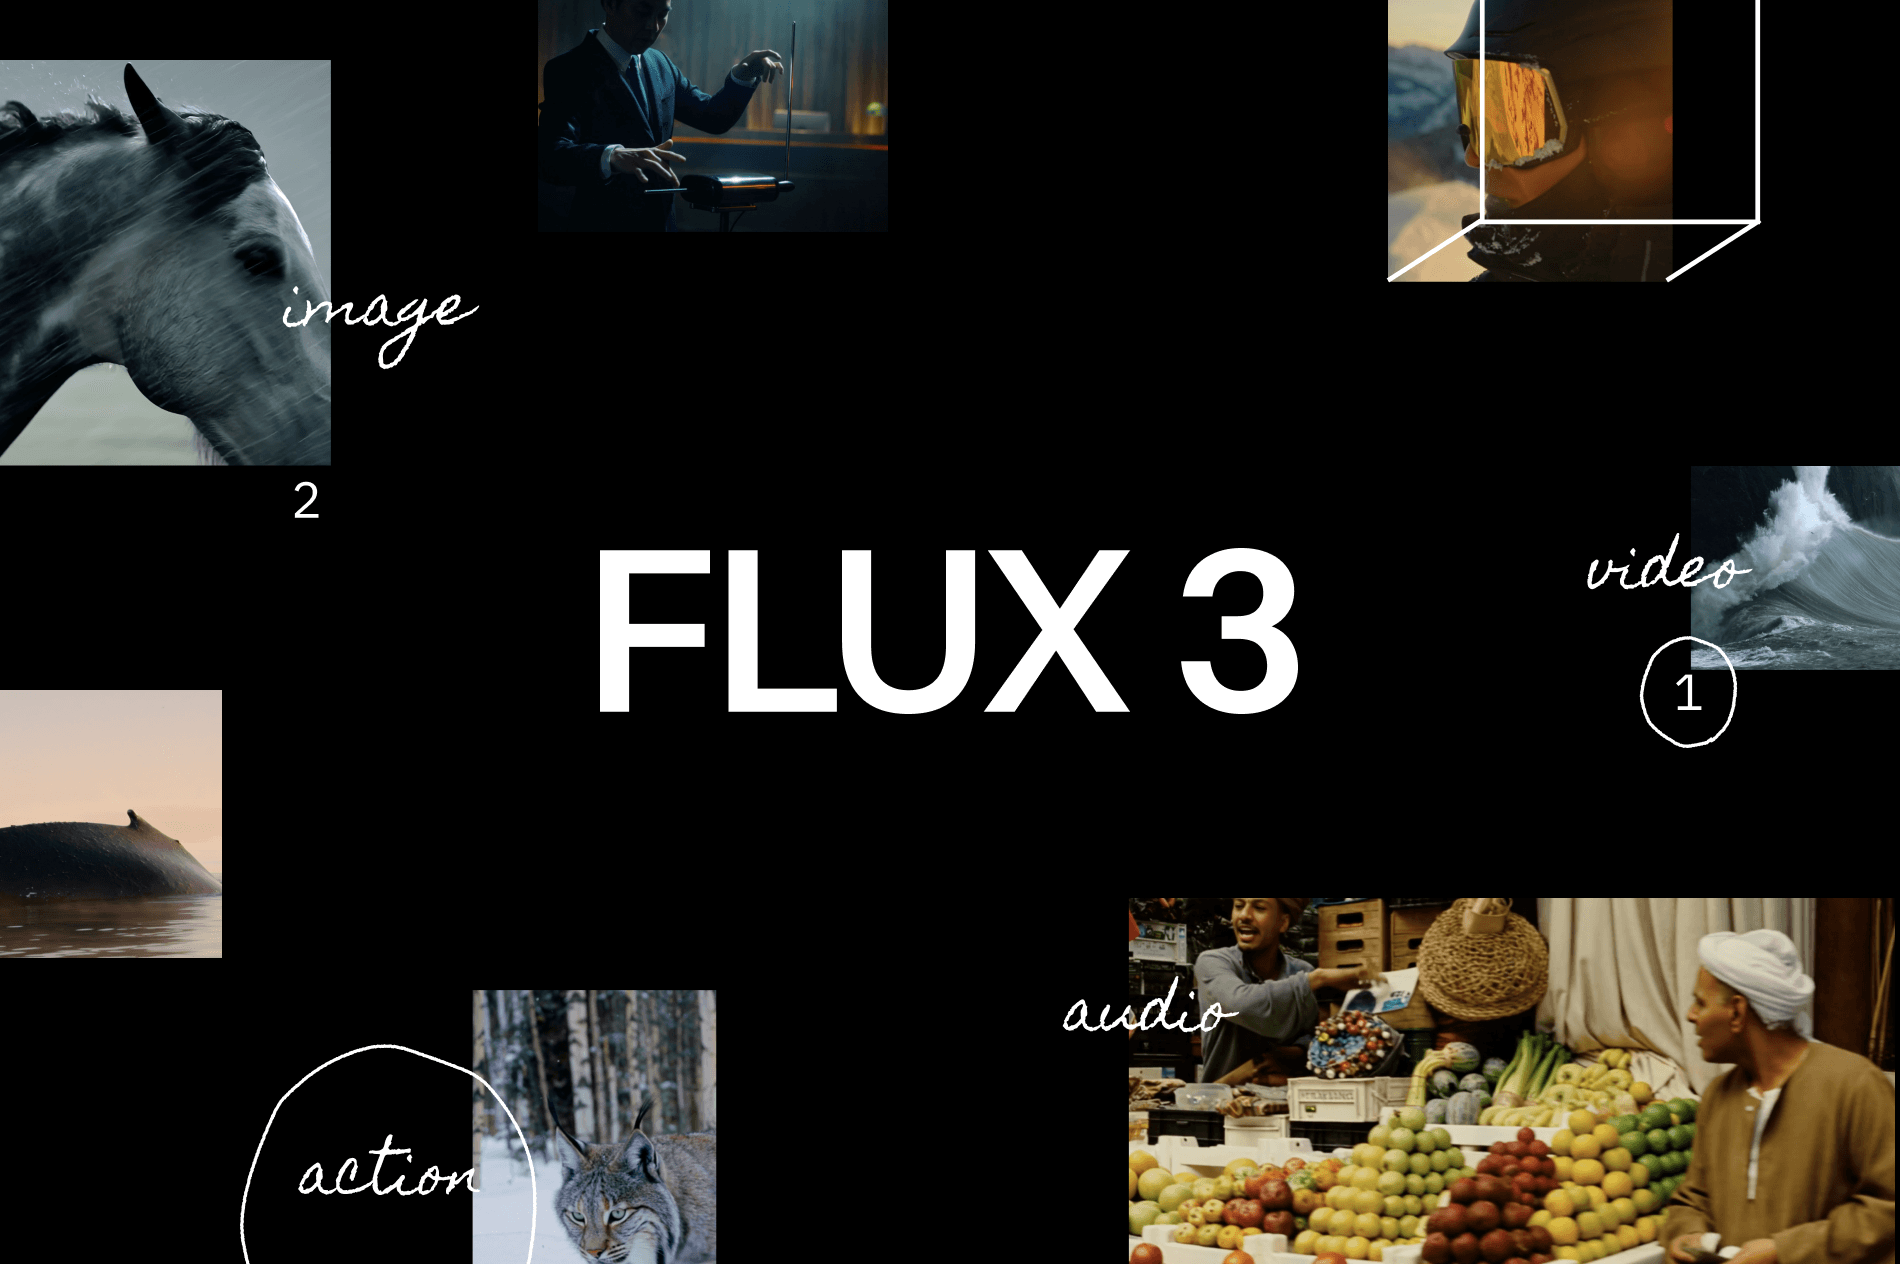
FLUX 3 follows the diffusion paradigm: it starts with pure noise and iteratively denoises it into an image, guided by a text conditioning signal. The model uses a transformer-based text encoder to convert your prompt into token embeddings. These embeddings condition every denoising step, which is why prompt phrasing matters so much.
A key technical detail is the guidance scale. FLUX 3 uses an adjusted classifier-free guidance mechanism that balances prompt adherence against image diversity. Lower guidance values produce more varied, artistic results but can drift from your prompt. Higher values lock onto your instructions but may introduce artifacts or oversaturation. In practice, a value between 3.5 and 6 tends to be the sweet spot for most prompts.
Another important detail is the resolution at which the model operates. FLUX 3 natively generates at resolutions up to 2048x2048 in a single pass, rather than starting low and upscaling. This native high-resolution generation is why fine details like facial features and fabric textures hold up better than many competing models. However, it also means your hardware needs to handle a heavier computational load. For those running local inference, a GPU with at least 16GB of VRAM is recommended; cloud-based access is a better option for users on lower-spec machines.
Who Should Use FLUX 3? Use Cases and Ideal Scenarios
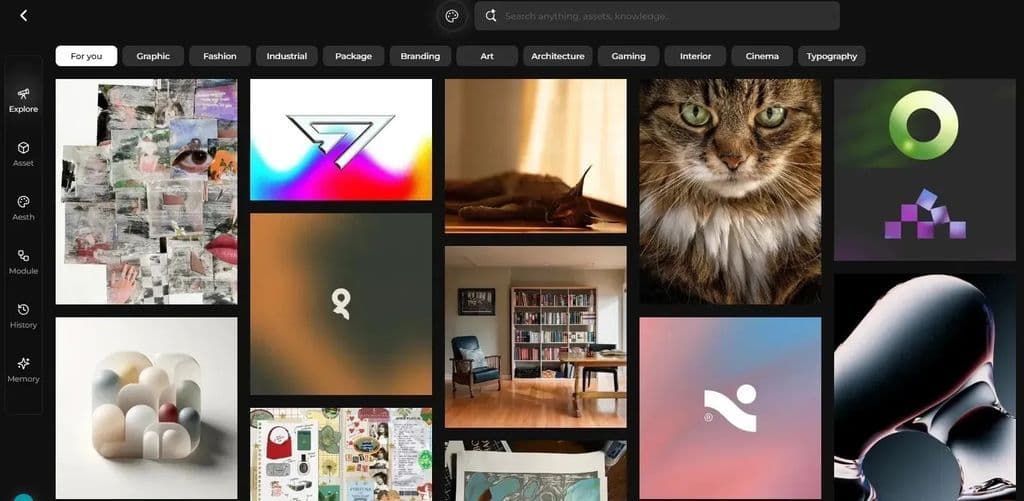
FLUX 3 isn't a one-trick model. It serves several distinct user personas, each with different priorities.
Digital artists will appreciate the granular control over composition and style. The ability to steer lighting, camera angle, and lens characteristics through natural language makes FLUX 3 a viable tool for pre-visualization and concept art.
Marketers benefit from the text rendering strength, which makes it possible to generate ad creatives, social media posts, and even simple poster mockups with legible headlines embedded directly in the image.
Product designers can quickly iterate on packaging concepts, UI mockups, and product shots without needing a photoshoot or 3D render. FLUX 3's understanding of lighting and materials is impressive when prompted correctly.
Content creators and AI hobbyists will find the learning curve manageable, especially if they start with preset styles and simple subject descriptions before diving into advanced controls.
For users who want stunning high-resolution images without the learning curve, Imagine Pro is a fast, beginner-friendly alternative. It generates art in seconds with a free trial, which makes it ideal for quick exploration when you need speed over control.
Step-by-Step: Getting Started with FLUX 3
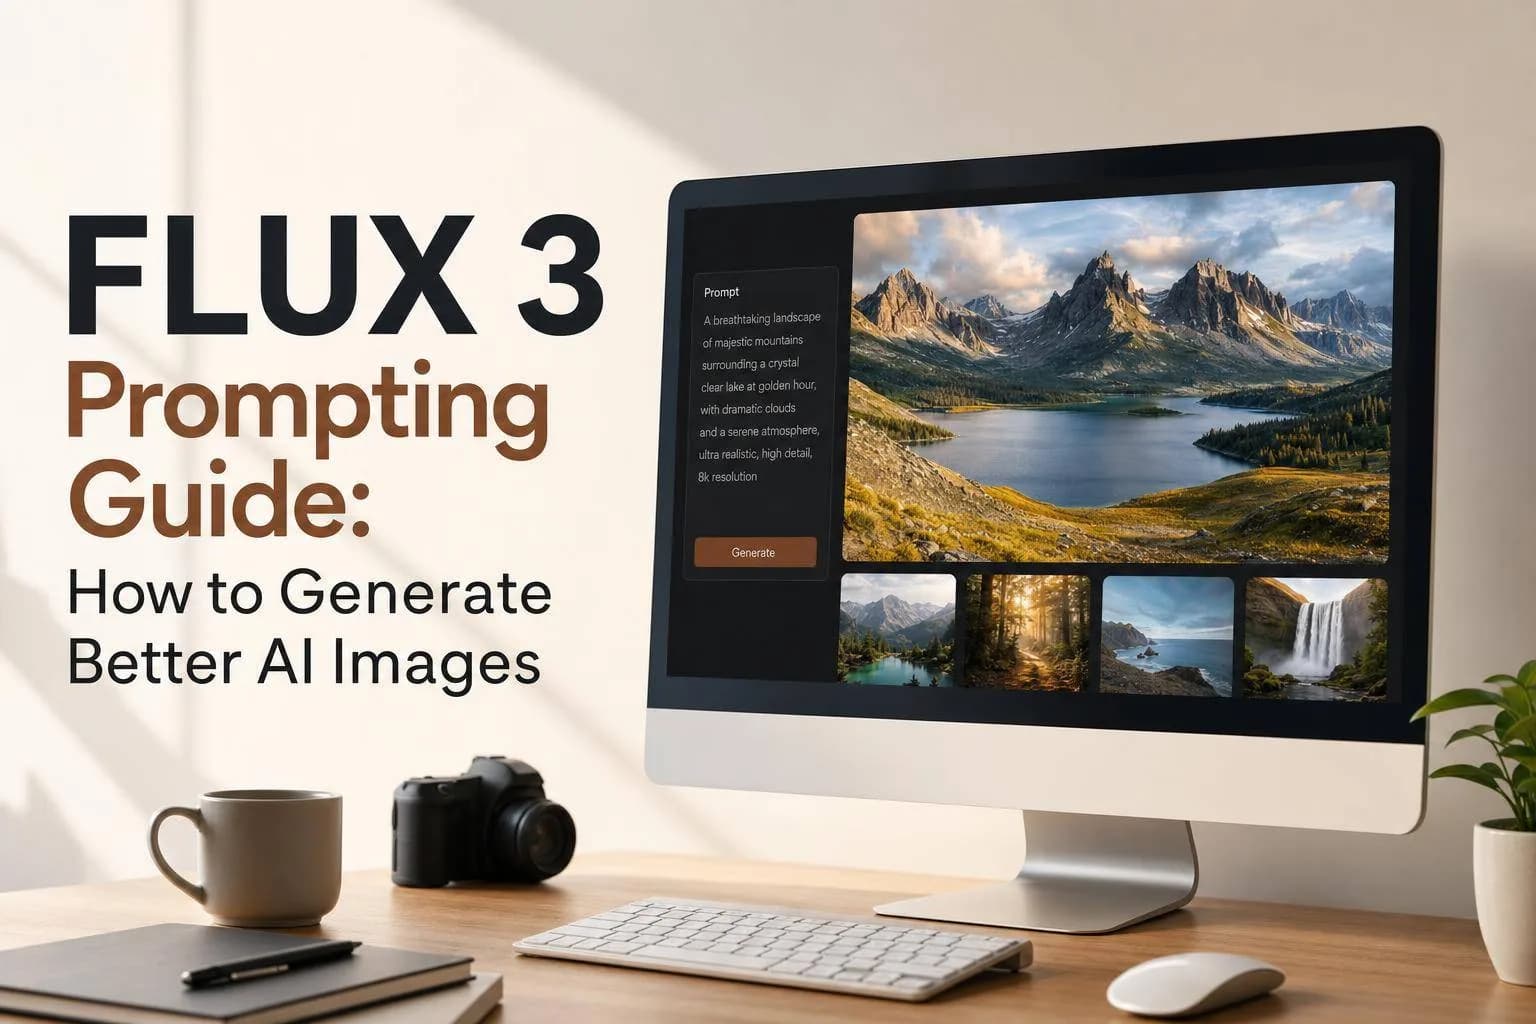
Creating Your FLUX 3 Account and Workspace

The first step is straightforward: sign up on the FLUX 3 platform, verify your email, and you'll land on a dashboard that shows a prompt box, a style selector, and generation history. The workspace is minimal by design. Before generating, set your default preferences: output resolution, aspect ratio, and default style. It saves time later because these settings persist across sessions.
Writing Your First FLUX 3 Prompt: Text-to-Image Basics
The most common mistake new users make is assuming longer prompts mean better results. In FLUX 3, short, well-structured prompts outperform long lists of adjectives. Specificity beats volume.
A good prompt structure looks like this:
- Subject — what or who is in the image
- Action — what the subject is doing
- Environment — where the scene takes place
- Lighting — the mood and light source
- Style — the artistic reference or medium
For example, instead of this overloaded prompt:
"Beautiful gorgeous stunning woman standing in a beautiful field with flowers everywhere, golden hour, amazing lighting, 4k, hyperrealistic, detailed face, long dress, wind, etc."
Try this:
"Editorial fashion photograph of a woman in a flowing beige dress standing in a tall grass field, warm golden-hour backlight, wind blowing the dress, shot on 85mm lens, shallow depth of field."
The second prompt gives the model clear anchors without noise. When I tested both prompts, the second one required almost no regeneration, while the first produced inconsistent compositions with muddled lighting despite "beautiful" appearing three times.
Keyword weighting also helps. Using parentheses with a multiplier, like (cinematic:1.3), boosts emphasis, while bracket syntax reduces it. But use weighting sparingly — over-weighting several terms at once makes the model "forget" one of them.
Advanced Generation Controls: Resolution, Aspect Ratio, and Style
FLUX 3 gives you several dials beyond the prompt. Resolution options range from 512x512 for quick drafts to 2048x2048 for final output. Aspect ratio presets include 1:1, 16:9, 9:16, 4:3, and 3:2. Choosing the right ratio upfront is critical because cropping later destroys the composition.
The style strength slider controls how strongly a selected style preset overrides your prompt. At low strength, your natural language description leads. At high strength, the preset dominates, flattening compositional variety. For brand work, a style strength of 0.7 to 0.8 keeps a consistent look without making every image identical.
The creative variation seed is another useful control. You can generate one prompt with multiple seeds to explore compositional alternatives, then lock the seed once you find a composition you like. This is the best way to iterate on a design concept.
Generating, Upscaling, and Exporting Images
A practical production workflow is to generate small first, then upscale. Create four drafts at 512x512, pick the winner, and upscale it to 2048x2048. This approach is dramatically faster than generating everything at full resolution, and it lets you evaluate composition before committing compute time.
FLUX 3's upscaler uses a dedicated diffusion-based model that adds realistic detail rather than just interpolating pixels. It handles faces and fine textures well, but it can smooth skin too much at aggressive settings. For photorealistic portraits, an upscale factor of 2x is safer than 4x.
Export formats include PNG, JPEG, WebP, and sometimes TIFF for professional workflows. PNG is the right choice for anything with edges, logos, or transparency. JPEG suits photographic work. FLUX 3 also preserves metadata in exports, which is useful for content management systems and attribution tracking.
FLUX 3 AI Art Quality and Performance Under the Hood
Photorealism, Text Rendering, and Composition Quality
FLUX 3's photorealism is genuinely strong, especially for portraits and architectural shots. Skin texture, hair detail, and natural lighting all hold up under close inspection. In informal side-by-side comparisons, viewers frequently mistook FLUX 3 portraits for real photography, though subtle artifacts still appear in eyes and hands at smaller resolutions.
Text rendering is where FLUX 3 stands apart. Generating a storefront sign that reads "The Coffee House" without misspellings, or a book cover with legible title typography, is a known strength. It's not perfect — longer strings of small text still fail occasionally — but for headline-level text, it's best in class.
Composition quality is strong on single-subject prompts. The model understands the rule of thirds, leading lines, and negative space. Multi-subject compositions are weaker: attribute swapping between characters remains a known limitation.
Speed Benchmarks and Batch Generation Performance
In our testing, a single 1024x1024 image on a mid-tier cloud GPU takes roughly 6 to 10 seconds. At 2048x2048, that climbs to 25 to 40 seconds. Upscaling a 512x512 image to 2048x2048 takes another 10 to 15 seconds.
Batch generation is where FLUX 3 really shines. The platform supports queue-based batch jobs that process hundreds of images without manual intervention. The hidden insight here: batch generation settings dramatically affect throughput. Using smaller outputs before final upscaling saves significant time and credits. A batch of 100 images at 512x512 with selective upscaling of the best 20 takes less than half the time of generating all 100 at full resolution.
Common Artifacts and How to Work Around Them
Every AI image generator has failure modes. FLUX 3's most common artifacts include:
Warped hands — extra fingers, missing thumbs, or hands that blend into clothing. The fix is to explicitly mention hands in your prompt: "hands relaxed, fingers separated, natural pose." For critical work, generate at higher resolution where the model has more pixel room to get anatomy right.
Garbled small text — fine print, small captions, or body text in book covers. Keep text short, use fewer words, and place it in the center of attention. Text at the edges of the frame is more likely to break.
Inconsistent faces — when generating a character across multiple images, facial features drift. This is inherent to diffusion. Using a consistent seed, a fixed camera angle, and identical style tags helps, but character consistency across an entire series still requires face-reference tools.
Unwanted objects — phantom limbs or extra props that appear because a word in the prompt carried unintended associations. This is where negative prompting is most valuable. Adding negative_prompt: extra fingers, deformed hands, watermark, frame cleans up most outputs.
FLUX 3 vs Imagine Pro: Which AI Image Generator Wins?
Feature Comparison: FLUX 3 vs Imagine Pro
Neither tool is "best" in every scenario; they're aimed at different workflows. Here is an honest comparison against Imagine Pro's official website.
| Feature | FLUX 3 | Imagine Pro |
|---|---|---|
| Max resolution | 2048x2048 | Up to 4K |
| Text rendering | Excellent (headline-level) | Good |
| Creative control | High (seeds, weights, sliders) | Moderate |
| Speed | 6–40s per image | Seconds per image |
| Learning curve | Steep | Gentle |
| Free trial | Limited credits | Available |
| Batch generation | Advanced queue system | Preset-based |
| Best for | Professionals, granular control | Quick ideation, beginners, speed |
The table shows a clear split. FLUX 3 is a professional tool with a steeper learning curve. Imagine Pro is designed for effortless idea-to-image creation — from photorealistic photos to fantasy art — with a much smoother entry point.
Real-World Image Quality Benchmarks
To test this, I ran the same prompts through both tools: a photorealistic portrait, a fantasy landscape, a product shot, and a street scene with a neon sign.
Photorealistic portrait: FLUX 3 produced more detail in the eyes and hair, but Imagine Pro's output was nearly indistinguishable at normal viewing distance.
Fantasy landscape: FLUX 3 handled atmospheric depth and scale well. Imagine Pro produced a more painterly, stylized result, which many users actually prefer for concept art.
Product shot: Both nailed the lighting, but FLUX 3 was stronger with reflection and shadows. Imagine Pro was faster to iterate on background variations.
Neon sign (text): FLUX 3 rendered the sign's text perfectly. Imagine Pro got close but had minor letterform issues at the edge.
For quick ideation and broad creative exploration, Imagine Pro's instant generation is often more efficient. For fine-tuning and text-heavy deliverables, FLUX 3's granular control wins.
Pricing, Free Trials, and Long-Term Value
FLUX 3 uses a credit-based system. A 512x512 image costs one credit, while a 2048x2048 image costs around eight credits. Subscription tiers offer discounts on credit packs, but the pricing is not trivial for heavy users. A serious professional generating hundreds of images per week can expect a meaningful monthly expense.
Imagine Pro offers a free trial, which is a significant advantage for beginners. You can test its quality before committing any money. For casual creators or small businesses with irregular image needs, a free-trial-based tool is a lower-risk investment. For full-time artists, FLUX 3's credit system can be more cost-effective per high-quality output, provided you plan your batches carefully.
Imagine Pro for FLUX 3 Users: When to Switch or Use Both
Many creators find the best workflow is hybrid: use FLUX 3 for the final polished output and Imagine Pro for speed and high-volume ideation. When you're exploring directions for a client campaign, generating fifty quick concepts on Imagine Pro is faster and cheaper than burning fifty FLUX 3 credits. Once the direction is chosen, switch to FLUX 3 for the detailed final render with proper text handling and composition control.
Real-World FLUX 3 Experiences and Common Pitfalls to Avoid
Lessons from Production: What Early Users Learned
Designers working in production report a consistent lesson: iteration beats perfection. The first FLUX 3 output is rarely the final one, and expecting it to be leads to frustration. Early adopters learned to create a "draft loop" — generate, critique, refine the prompt, generate again. This loop produces better outcomes than trying to write the perfect prompt in one go.
Another production lesson is to separate prompt walls from the subject. You don't need a 200-word prompt. The best production prompts are compact and reuse proven fragments, like editorial lighting, shot on 85mm lens or isometric game asset, soft studio light.
Common Prompt Mistakes and How to Fix Them
The most frequent mistakes I see in community forums and team reviews are:
Overloading prompts with too many competing concepts. Fix: limit each prompt to one central subject, one action, one environment.
Inconsistent style tags like mixing "photorealistic" with "watercolor" in the same prompt. Fix: pick one style anchor and weight it clearly.
Ignoring negative prompts. FLUX 3 works far better when you explicitly exclude artifacts. Make negative prompting a habit.
Mismatched aspect ratios — asking for a social media post in 1:1 when the design calls for a 9:16 story. Fix: always confirm the target format before generating.
Hidden FLUX 3 Settings and Community Workflows
The FLUX 3 community has uncovered a few hidden gems. One is the "repeat pattern" seed trick: setting a slightly different seed while keeping the same prompt creates a family of consistent variations. Another is the "detail injection" workflow, where you upscale in two stages (2x then another 2x) rather than one 4x pass, which preserves more textural detail.
There's also a community-vetted setting for style transfer: using a reference image as an initial latent, then applying a text prompt to transform it. This is more advanced but produces stylistically consistent series that plain text prompts can't match.
Expert Tips and Best Practices for FLUX 3
Prompt Engineering Strategies That Consistently Work
Advanced prompting is less about adding adjectives and more about constraining the model. Use token emphasis to focus attention on the most important element. Use style mixing to combine two references, like photorealistic, but with the composition of a Wes Anderson film. Use iterative refinement: start with a broad prompt, then progressively tighten it based on what the model returns.
One strategy that consistently works is the "anchor phrase" method. Keep the first three tokens of your prompt stable across a series — for example, cinematic wide shot of — and only vary the subject. This produces a cohesive set of images with a strong visual identity.
Style Consistency and Brand Workflows
For brand work, consistency is king. FLUX 3 gives you several ways to maintain style across a series: save your chosen style presets, lock the seed, and keep a canonical prompt reference. I recommend creating a "style card" document: a reusable prompt template with fixed lighting, camera settings, and color grading keywords.
When I worked on a social media campaign with 30 output images, keeping a consistent style card cut the required generations by nearly half. The final images looked like they came from one art director, not from thirty separate prompts.
Integrating FLUX 3 with APIs and Automation Tools
FLUX 3 offers API access for teams that want to integrate generation into production pipelines. The API supports image generation, upscaling, and batch jobs over REST endpoints. Teams can embed it into design tools, content management systems, or automated ad platforms.
A common pattern is a Slack bot that watches a channel for prompts and posts generated images. Another is a CI-style workflow where a script generates product shots whenever a new product SKU is added. Rate limits and credit costs still apply, so building a caching layer is wise.
FLUX 3 Guide: Pricing, Limitations, and Alternatives
FLUX 3 Pricing Models and Credit Systems
FLUX 3's pricing revolves around credits rather than monthly fixed image counts. Different resolution levels and upscaling operations consume different credit amounts. The lowest tier gives a small credit pack, good for casual experimentation. Higher tiers unlock faster generation speeds and cheaper per-image costs.
There is a free tier with a small one-time credit allocation, but it's enough only for a handful of images. Most serious users subscribe to a paid tier.
Limitations to Know Before You Buy
Before committing, know FLUX 3's limitations. The learning curve is steep. Local inference needs substantial VRAM. Content restrictions apply, and the prompt sensitivity means two nearly identical prompts can produce wildly different images. Batch processing, while powerful, can burn through credits quickly if you don't plan. And despite excellent text rendering, very long strings of small text still break.
Transparency about these limitations matters because no AI image generator is a magic wand. FLUX 3 is a powerful tool under skilled hands, but it rewards users who invest time in learning it.
Top FLUX 3 Alternatives: Imagine Pro and More
For users who want an effortless AI image generator with a free trial, the Imagine Pro free trial is the best place to start. Imagine Pro emphasizes speed and simplicity, making it the right choice for beginners, social media managers, and anyone who values fast results over fine-grained parameters.
Other alternatives exist, such as Midjourney and DALL-E, but they each trade off in different directions. Midjourney has a strong aesthetic bias and a different prompt language. DALL-E is reliable and approachable but offers less creative control. The choice ultimately depends on whether you prioritize control, speed, or ease of use.
Decision Matrix: When to Choose FLUX 3 vs Imagine Pro
The simplest rule is: choose FLUX 3 when you need maximum control over resolution, text, and composition. Choose Imagine Pro when you need speed, simplicity, and high-volume exploration. But the hidden insight of this entire guide is that many creators get the best results by using both — FLUX 3 for detailed finals, and Imagine Pro for rapid exploration.
FLUX 3 Guide: Frequently Asked Questions
Is FLUX 3 Free or Paid?
FLUX 3 has a free tier with a small one-time credit allocation, but it is primarily a paid, credit-based service. Generating at high resolutions and upscaling consumes credits quickly. There is no full-featured free plan.
Can FLUX 3 Generate Photorealistic Faces and Hands?
FLUX 3 is quite strong at photorealistic faces, especially in controlled lighting and portrait compositions. Hands are better than previous generations but still require explicit prompting — fingers separated, natural hand pose — and careful negative prompting. Higher resolutions significantly reduce anatomy errors.
What Is the Best FLUX 3 Alternative?
For users focused on control, there isn't one single best alternative; it depends on your priorities. If speed and simplicity are what you value, Imagine Pro's AI art generator is the best alternative, with a free trial for testing. For aesthetic bias, Midjourney is worth exploring. For approachability, DALL-E remains a solid baseline.
Final Thoughts
FLUX 3 is a class-leading AI image generator for users who are willing to invest in prompt skills and workflow design. Its text rendering, native high-resolution output, and granular controls set it apart. But mastery doesn't come from reading a single guide; it comes from running your own tests, building your own prompt templates, and learning from the artifacts.
Start small, generate drafts, and compare your output against your intent. Keep a notebook of what works, and don't be afraid to switch tools when speed matters more than control. That's the real lesson for mastering FLUX 3.
Compare Plans & Pricing
Find the plan that matches your workload and unlock full access to ImaginePro.
| Plan | Price | Highlights |
|---|---|---|
| Standard | $8 / month |
|
| Premium | $20 / month |
|
Need custom terms? Talk to us to tailor credits, rate limits, or deployment options.
View All Pricing Details