Developer Offer
Try ImaginePro API with 50 Free Credits
Build and ship AI-powered visuals with Midjourney, Flux, and more — free credits refresh every month.
The Ultimate Guide to FLUX 3
The Ultimate Guide to FLUX 3
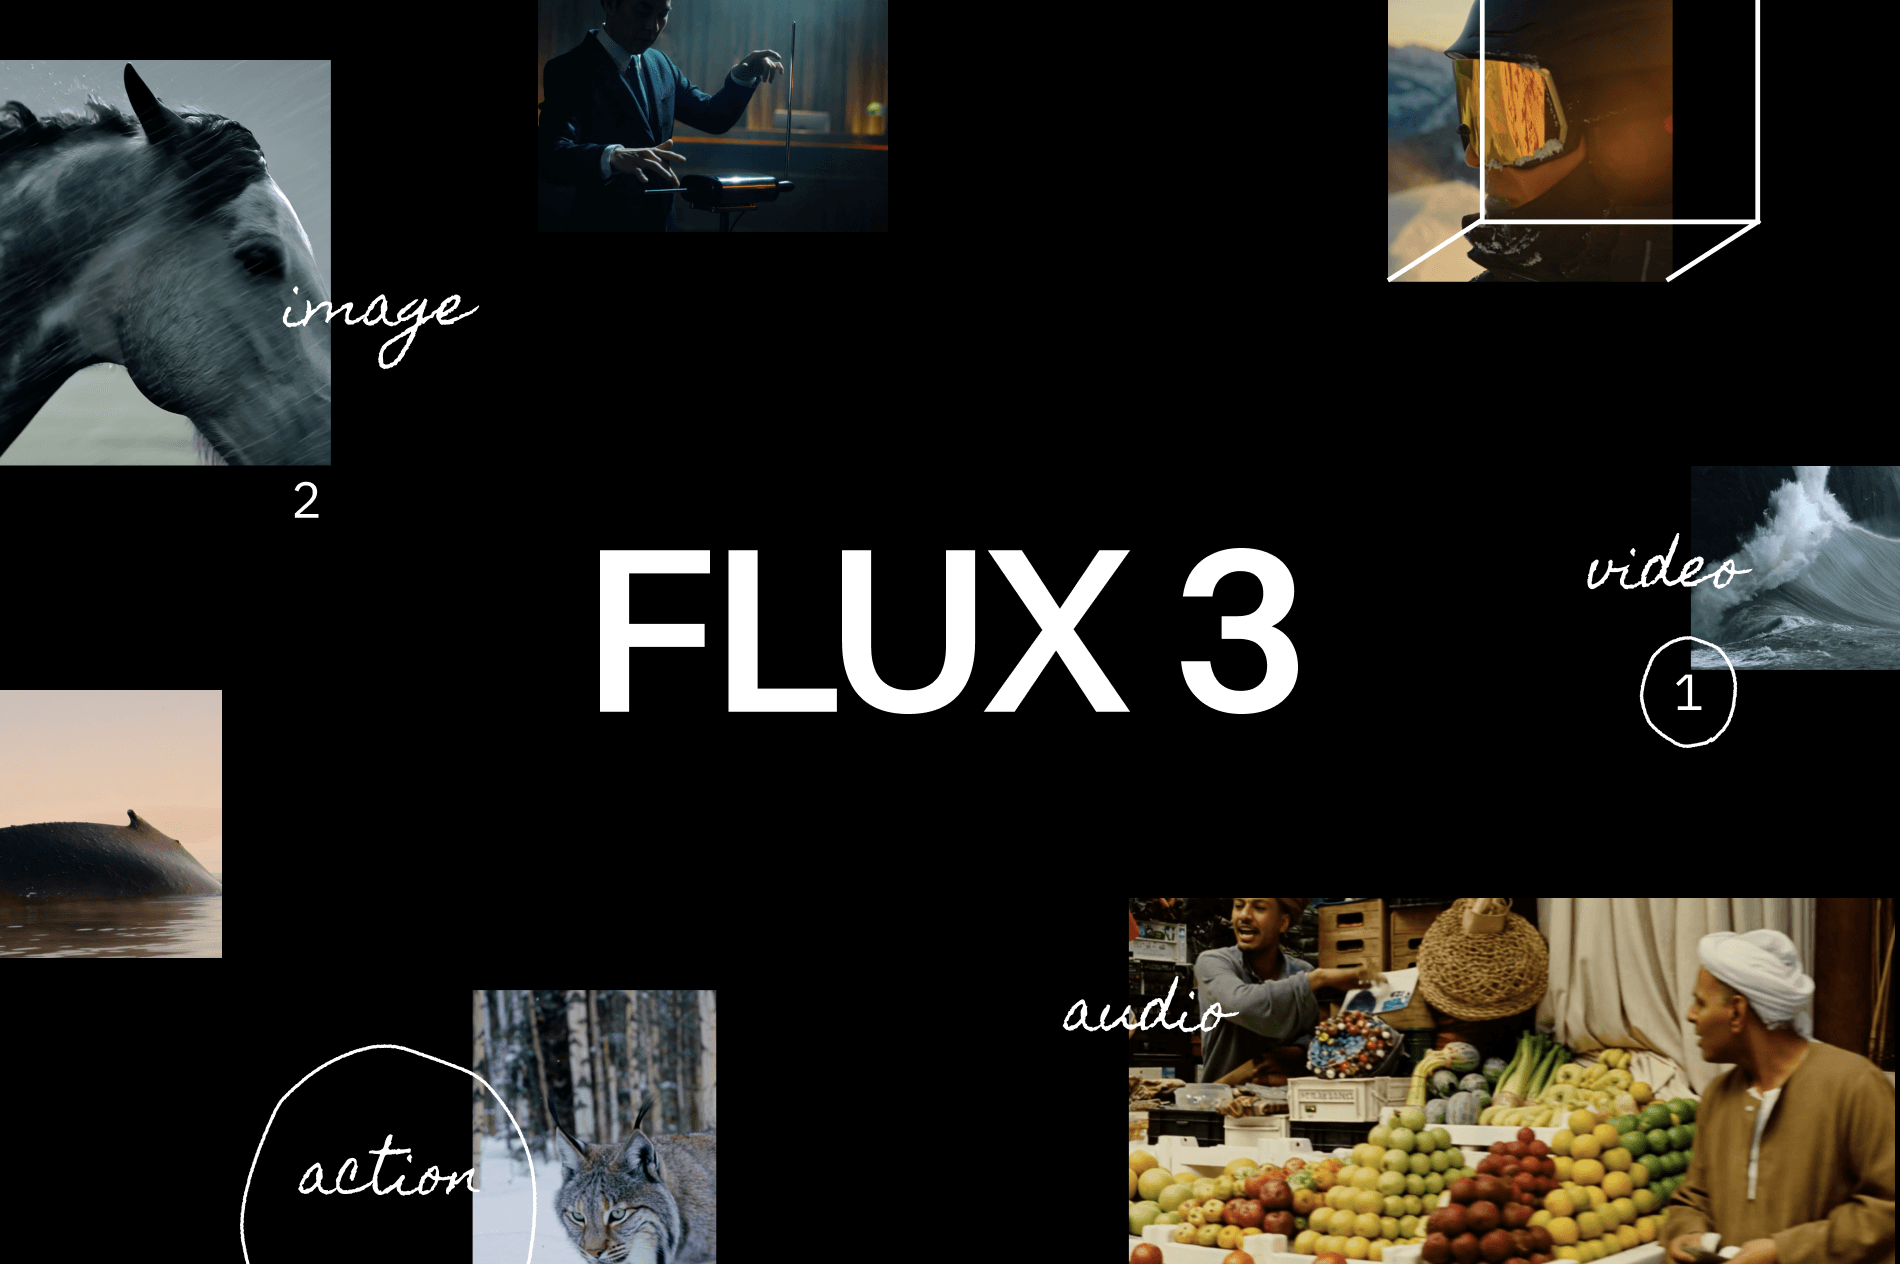
FLUX 3 Guide: Understanding the AI Image Generator
Generative AI has shifted from a curiosity to a practical creative tool. Among the models making that shift possible, FLUX 3 stands out as an AI image generator that balances photorealism, style flexibility, and prompt adherence. Whether you are creating concept art, marketing visuals, or social media content, FLUX 3 offers a workflow that can produce stunning images—provided you understand how to control it. This FLUX 3 guide covers the fundamentals, the technical details, and the practical steps you need to get professional results.
At first glance, FLUX 3 is just another text-to-image model. But once you spend time with it, you realize that the difference between an average output and a portfolio-ready piece often comes down to how you use the model. In this article, I'll share what I've learned from working with FLUX 3, the common pitfalls to avoid, and how it compares to simpler alternatives like Imagine Pro, which offers a free trial for creators who need fast results. Let's start with the basics.
What Is FLUX 3 and Why Is It Popular?
FLUX 3 is a text-to-image AI model developed in the FLUX lineage of generative models. It is designed to convert natural language prompts into high-quality images, making it useful for a wide range of creative tasks. In practice, I've seen teams use FLUX 3 for:
- Concept art and character design
- Marketing visuals, including ad creative and product mockups
- Social media posts that need a distinctive visual style
- Photorealistic scenes for editorial or commercial storytelling
The popularity of FLUX 3 comes from its ability to balance creative control with visual fidelity. Many AI image generators excel at one style but struggle with others. FLUX 3, by contrast, handles everything from cinematic landscapes to detailed close-up portraits with consistent quality. It also has a reputation for interpreting complex prompts accurately, which is rarer than you might think.
If you are just entering the world of AI art generation, the number of settings and technical terms can feel overwhelming. That's why I also want to point out that there are more approachable options. Imagine Pro, for example, offers an easy, free-to-try alternative for creators who want polished images without diving into advanced configuration. We'll explore the trade-offs later, but keep that in mind as you read through the technical sections.
How Does FLUX 3 Work Under the Hood?

At its core, FLUX 3 is a diffusion model. It starts with a field of random noise and then, step by step, removes that noise to reveal a coherent image. The process is guided by your text prompt, which is encoded into a mathematical representation that the model can use during the denoising process.
Here's a simplified explanation of the pipeline:
- Text encoding: Your prompt is converted into embeddings by a text encoder. These embeddings capture the meaning of the words, not just the words themselves.
- Latent space diffusion: Instead of working at full pixel resolution, the model operates in a compressed latent space. This is more computationally efficient and allows the model to focus on high-level structure.
- Denoising: The model iteratively refines the latent representation, using cross-attention between the text embeddings and the image features. This is where prompt adherence happens.
- Decoding and upscaling: The final latent representation is decoded into pixels and often passed through an upscaler to add detail and resolution.
Understanding this pipeline matters because it explains why certain prompts work better than others. If your prompt contains vague adjectives, the text encoder has less specific information to guide the denoising process. If you use concrete terms like "golden hour" or "35mm photograph," the model has stronger cues to work with. This is also why adding style keywords can dramatically change the output.
The architecture behind FLUX 3 is designed to handle complex prompts with multiple objects and spatial relationships. In my experience, it handles things like "a red umbrella on a beach with a lighthouse in the distance" better than earlier generation models. That kind of prompt adherence is what makes FLUX 3 a reliable choice for professional work.
Key Features of the FLUX 3 AI Image Generator
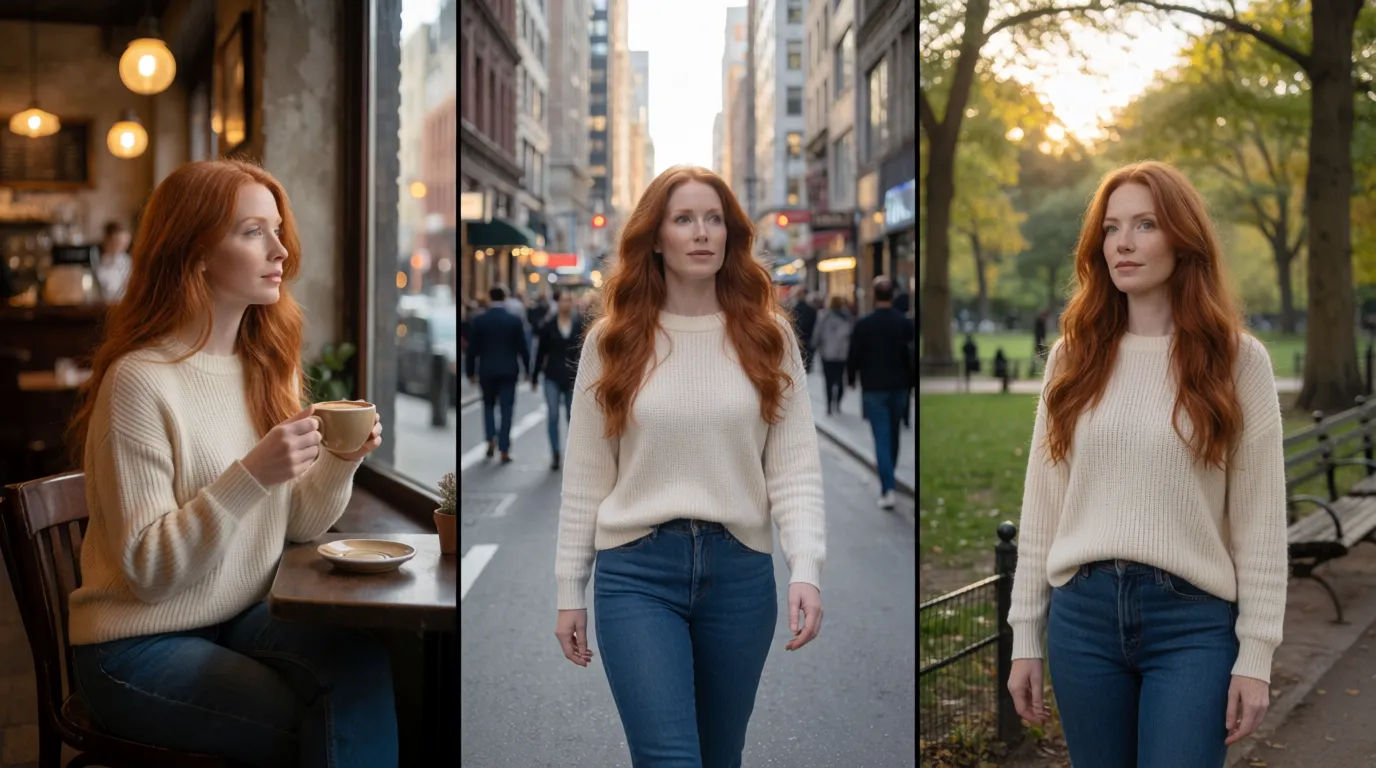
When you evaluate any AI image generator, it helps to look at its core features. FLUX 3 delivers on the features that matter most to creators:
- Photorealism: Skin textures, reflections, and lighting look genuinely realistic in many outputs.
- Style flexibility: You can push the model toward oil painting, anime, cinematic, or minimalist design styles.
- Prompt responsiveness: Complex instructions with multiple elements are followed with surprising consistency.
- Resolution control: You can generate at different aspect ratios and sizes, which is useful for websites, print, and social media.
- Inpainting and refinement options: Many FLUX 3 interfaces include tools to regenerate portions of an image while preserving the rest.
These features make FLUX 3 a strong fit for art directors and product teams that need a wide range of visual styles. At the same time, a deep feature set can be a double-edged sword. If you are not familiar with terms like "guidance scale" or "sampler," you may not get the best results. In that scenario, a more streamlined tool like Imagine Pro can help you achieve comparable high-resolution output with a simpler, faster workflow. Imagine Pro removes much of the guesswork, which is especially valuable when you need quick assets for a campaign.
How to Use FLUX 3: A Step-by-Step Guide

Now let's get practical. If you want to make great images with FLUX 3, follow this workflow.
Setting Up Your Account and Workspace
Most creators access FLUX 3 through a cloud platform or API. The first step is to create an account and navigate to the image generation interface. You don't need a powerful GPU if you're using a cloud service; your browser does the heavy lifting. Some platforms also allow you to run FLUX 3 locally, but that requires compatible hardware and more technical setup.
Once your workspace is ready, explore the interface. You'll usually find a prompt box, settings for image size and sampling steps, and a "Generate" button. Some platforms offer negative prompt fields and advanced options like batch generation or seed control. Familiarize yourself with these before you start generating, because they will be the difference between average and exceptional results.
FLUX 3 Guide: Crafting Effective Prompts
The prompt is the most important tool in your FLUX 3 workflow. A good prompt includes the subject, the action, the setting, the style, the lighting, and quality modifiers. Here's a simple formula:
Subject + Action + Setting + Style + Lighting + Quality
Let's look at a before-and-after example. Instead of typing:
a castle on a hill
Try:
A majestic stone castle on a misty hill at dawn, with warm golden light from the windows, in the style of a fantasy book illustration, highly detailed, cinematic lighting, 8k resolution
The first prompt will produce something generic. The second one gives the model enough detail to create a cohesive, professional-looking image. In practice, I've found that specific style keywords and camera terms produce far better results than vague adjectives like "beautiful" or "awesome." Words like "macro photography," "overhead shot," "golden hour," and "volumetric lighting" give the model concrete references.
Adjusting Resolution, Style, and Output Settings
After you write a strong prompt, take a moment to adjust the output settings. The most important ones are:
- Image size: Choose the aspect ratio that matches your intended use. Square images are good for social media; wide aspect ratios work better for banners or concept art.
- Sampling steps: More steps generally mean more detail, but they also increase generation time. Going beyond a certain point yields diminishing returns.
- Guidance scale: This controls how closely the model follows your prompt. A lower value gives more creative freedom; a higher value enforces prompt adherence but can cause artifacts.
- Style presets: Many interfaces include presets like "anime," "photographic," or "cinematic." These are useful starting points, but you can also layer your own style words.
In my experience, the default settings are not always ideal. If your image looks oversaturated or too stylized, try reducing the guidance scale. If it looks flat or generic, increase the number of sampling steps. These small adjustments can significantly improve the output.
Generating, Refining, and Downloading Images
The end-to-end workflow is straightforward. Generate an initial image, review it against your creative brief, refine the prompt or settings, and then upscale or export.
A common mistake is to stop at the first result. Even experienced creators generate multiple options before picking one. I recommend testing variations of a prompt, especially if you are using FLUX 3 for client work. Once you find an image you like, use the platform's upscale feature if available, then download it in the highest resolution.
For users who want a more straightforward one-click workflow, Imagine Pro's free trial is a no-risk option to test a faster pipeline. It simplifies the process without forcing you to learn advanced settings. You can compare the results side by side and decide which workflow fits your style.
Advanced FLUX 3 Techniques for Professional Results
Once you are comfortable with the basics, it's time to take control of the details.
Mastering Style Control and Negative Prompts
Negative prompts allow you to tell the model what you don't want. This can be a game-changer. If you keep seeing blurry edges or extra limbs, add phrases like "blurry, low quality, extra fingers, deformed hands" to the negative prompt field.
You can also combine style modifiers to create unique aesthetics. For example, you might pair "cinematic lighting" with "anime style" or "editorial photography" with "minimalist composition." The key is to test and refine because some style combinations conflict with each other. In practice, I've found that layering no more than two or three style cues produces cleaner results.
Hidden Insight: Using CFG and Sampler Settings to Transform Outputs
Classifier-free guidance, or CFG, is one of the most influential settings in FLUX 3. At low CFG values, the model relies more on its internal training prior, which can produce softer, more creative images. At high values, the model follows your prompt more strictly, but you risk overexposure and a painterly, oversaturated look.
Sampler and scheduler choices also matter. Different samplers—such as Euler, DPM++, or the default sampler—use different mathematical approaches to denoising. Some are faster; others produce more detail. If your interface allows you to change samplers, experiment with a few. I often use a deterministic sampler for initial tests and a high-detail sampler for final renders.
Speeding Up Workflow with Batch Generation
When you need options quickly, batch generation is your friend. Generate a grid of variations, then narrow down the best candidates. This technique is especially useful for brainstorming and mood boards.
You can also use seed control to maintain a base composition while varying other elements. For instance, if you like the pose of a character but want a different lighting setup, keep the same seed and change the lighting terms. This gives you a measure of consistency that is difficult to achieve otherwise.
When to Use External Tools for Upscaling and Editing
FLUX 3's raw output is often excellent for digital use, but not always enough for large prints or detailed editing. In that case, you can use external tools for upscaling and post-processing. Real-ESRGAN and Topaz Gigapixel AI are two popular options that can enhance resolution and detail.
However, external editing adds time to the pipeline. For non-technical users who need a short turnaround, an all-in-one platform like Imagine Pro can shorten the editing pipeline by taking care of upscaling and final output in a more integrated way.
FLUX 3 vs Imagine Pro: Which AI Image Generator Should You Choose?
This is the question that many creators eventually ask. Let's compare FLUX 3 and Imagine Pro across the factors that matter most.
| Feature | FLUX 3 | Imagine Pro |
|---|---|---|
| Image quality | Excellent, especially photorealistic scenes | Strong, polished results with good consistency |
| Speed | Depends on hardware and settings | Designed for fast, one-click generation |
| Resolution | High, with configurable sizes | High-resolution output with minimal setup |
| Ease of use | Steep learning curve | Beginner-friendly |
| Style range | Very broad, highly customizable | Good variety with curated presets |
| Pricing | Often API-based or GPU usage | Transparent subscription with a free trial |
| Free trial | Varies by platform | Yes, no-risk test |
In the table above, the FLUX 3 vs Imagine Pro comparison shows two different philosophies. FLUX 3 is a professional tool that rewards technical knowledge. Imagine Pro simplifies the experience for creators who care more about outcomes than internal settings.
Image Quality, Speed, and Ease of Use
When it comes to image quality, both tools perform well, but they differ in flexibility. FLUX 3 gives you fine-grained control over style and composition. Imagine Pro delivers consistent quality through a more guided workflow. In side-by-side tests, FLUX 3 can produce more unique results if you know how to prompt it, while Imagine Pro is often faster at producing a usable image.
Speed is another differentiator. FLUX 3's generation time depends on the hardware or API endpoint you are using. Imagine Pro is optimized for speed and simplicity. If you are producing content for a deadline, that speed can be a huge advantage.
Pricing, Free Trials, and Value for Money
FLUX 3 is frequently available through cloud APIs or paid subscriptions, where you pay for GPU usage or monthly credits. Some platforms also offer open-weight versions that you can run locally, but that requires additional infrastructure. Imagine Pro, on the other hand, positions itself as a straightforward service with transparent pricing and a free trial.
A free trial is the fastest way to evaluate workflow fit—not just image quality. You can test whether a tool fits into your existing production process before committing money. I always recommend trying both and using the trial period to generate your actual work, not just toy examples.
When to Choose Imagine Pro Over FLUX 3
Imagine Pro is the right choice if you are a beginner, marketer, or creator who needs speed and simplicity. It removes the need to learn advanced settings and still produces high-quality images. FLUX 3 is the better choice if you want deep control, technical flexibility, and are willing to invest time in mastering the tool.
There is no universal best AI image generator. The best choice depends on your skill level, your workflow, and the kind of images you need to produce. If you aren't sure, start with a free trial of Imagine Pro and spend an afternoon exploring FLUX 3 as well.
Real-World FLUX 3 Use Cases and Lessons Learned
To make this guide more concrete, let's look at how people actually use FLUX 3 in production.
Creative Portfolios and Concept Art
Artists often use FLUX 3 as an idea engine. Rather than drawing every variation by hand, they generate a set of rough concepts, select the strongest compositions, and then refine them. I've used this workflow for character design: generate dozens of thumbnails, pick three promising poses, then prompt for detailed variations. The model doesn't replace artistry, but it speeds up the visual exploration phase.
Marketing Visuals and Social Media Content
Marketing teams use FLUX 3 to produce ad creatives, blog images, and social posts. The ability to quickly generate different variations of a visual idea is invaluable for A/B testing. In one project, I was able to test five different hero images for a landing page in under an hour. The only limiting factor was prompt iteration time.
For teams that need rapid visual production without a steep learning curve, Imagine Pro is a practical alternative. It allows non-technical team members to create on-brand visuals without depending on a specialist.
FLUX 3 Guide: Avoiding Common Mistakes
After using FLUX 3 for many projects, I've noticed the same mistakes appearing again and again:
- Prompt vagueness: Describing a mood without concrete visual details leads to generic outputs.
- Ignoring negative prompts: If you don't tell the model what to avoid, you'll see more artifacts.
- Sticking with default settings: Default guidance and step values are not guaranteed to fit your content type.
- Failing to test alternatives: Often a second or third prompt variation produces a much better image.
One hidden insight: many "bad" FLUX 3 images are caused by incorrect guidance scale settings, not by the model itself. When an image looks overly edited or artificial, lower the CFG value and test again. This small change often solves the problem.
Lessons from Production Workflows
The longer you work with FLUX 3, the more you appreciate iterative processes. Start with a broad prompt, refine the details, lock a seed for consistency, and build a library of style keywords that you know work. This is the same workflow I use for professional projects, and it produces the most reliable results.
Performance Benchmarks and Trust Considerations
It's important to evaluate FLUX 3 honestly. Performance depends on the platform, the model version, and the hardware you use. As a general rule, generation times range from a few seconds to a couple of minutes per image depending on resolution and settings. Consistency is generally good, but you will still encounter the occasional strange artifact or misinterpreted instruction.
Pros and Cons of FLUX 3
Here's a balanced look at strengths and weaknesses.
Pros:
- Highly detailed, photorealistic output
- Excellent prompt adherence for complex scenes
- Broad range of creative styles
- Strong support for batch generation and workflow control
Cons:
- Steep learning curve for beginners
- Computationally expensive in local setups
- Occasional inconsistencies with hands or small text
- Output can feel overly stylized if settings are not tuned
Content Safety, Bias, and Responsible Use
Any AI image generator raises ethical questions. FLUX 3 can be used to create images that imitate an artist's style. If you are generating for commercial projects, be cautious about copying the style of a living artist and always review the licensing terms of the model and platform. Also be aware that generative models can reflect biases in training data. It is your responsibility to review outputs for harmful stereotypes and to use synthetic media transparently when required.
Industry Best Practices and Official Resources
For the most up-to-date information, I recommend consulting the official FLUX documentation from Black Forest Labs. When you use FLUX 3, check the specific license that applies to your version, because open-weight versions may have different terms than hosted API versions. For broader guidance, resources like the Partnership on AI's synthetic media guidelines are useful starting points for responsible deployment.
Frequently Asked Questions About FLUX 3
Do I Need Special Hardware to Run FLUX 3?
No. Most users rely on cloud-based services or APIs, which handle the computations remotely. If you want to run FLUX 3 locally, you will need a GPU with sufficient VRAM, but that's optional for casual users.
Can I Use FLUX 3 Images for Commercial Projects?
It depends on the platform and the model license you are using. Most commercial platforms allow you to use generated images in projects, but you should check the terms for each service. This is not legal advice; always verify with the official license.
Is FLUX 3 Better Than Imagine Pro for Beginners?
FLUX 3 is powerful but has a learning curve. Imagine Pro is designed for immediate results and offers a free trial, making it a better starting point for beginners. You can always move to FLUX 3 later if you need more control.
How Can I Improve FLUX 3 Output Quality?
Write clear, specific prompts. Use negative prompts to avoid common artifacts. Adjust the guidance scale and sampling steps to match your desired look. Finally, generate multiple variations and refine the best ones iteratively.
Final Thoughts
FLUX 3 is a serious AI image generator that gives you the tools to create professional-quality images. It rewards patience and experimentation, but it also has a learning curve. If you want a faster, more guided experience, Imagine Pro's free trial is worth a look. Eventually, the best image generator is the one that fits your workflow and lets you tell your visual story with confidence.
Compare Plans & Pricing
Find the plan that matches your workload and unlock full access to ImaginePro.
| Plan | Price | Highlights |
|---|---|---|
| Standard | $8 / month |
|
| Premium | $20 / month |
|
Need custom terms? Talk to us to tailor credits, rate limits, or deployment options.
View All Pricing Details