Developer Offer
Try ImaginePro API with 50 Free Credits
Build and ship AI-powered visuals with Midjourney, Flux, and more — free credits refresh every month.
The Ultimate Guide to FLUX 3 - Complete Analysis
The Ultimate Guide to FLUX 3 - Complete Analysis

FLUX 3 Review: Capabilities, Output Quality, and Limits
FLUX 3 has become one of the most talked-about AI image generators in the current creative tooling landscape. If you are looking for a comprehensive FLUX 3 review, the short version is that this model rewards patience, punishes vague prompts, and offers a level of creative control that most image generators still struggle to match. But it is not the right tool for every job. In this deep-dive, I’ll walk through what FLUX 3 does well, where it falls short, how it compares to a fast alternative like Imagine Pro, and what I learned from using it in real production workflows.
1. FLUX 3 Review: Capabilities, Output Quality, and Limits
1.1 What FLUX 3 Brings to the AI Image Generator Market
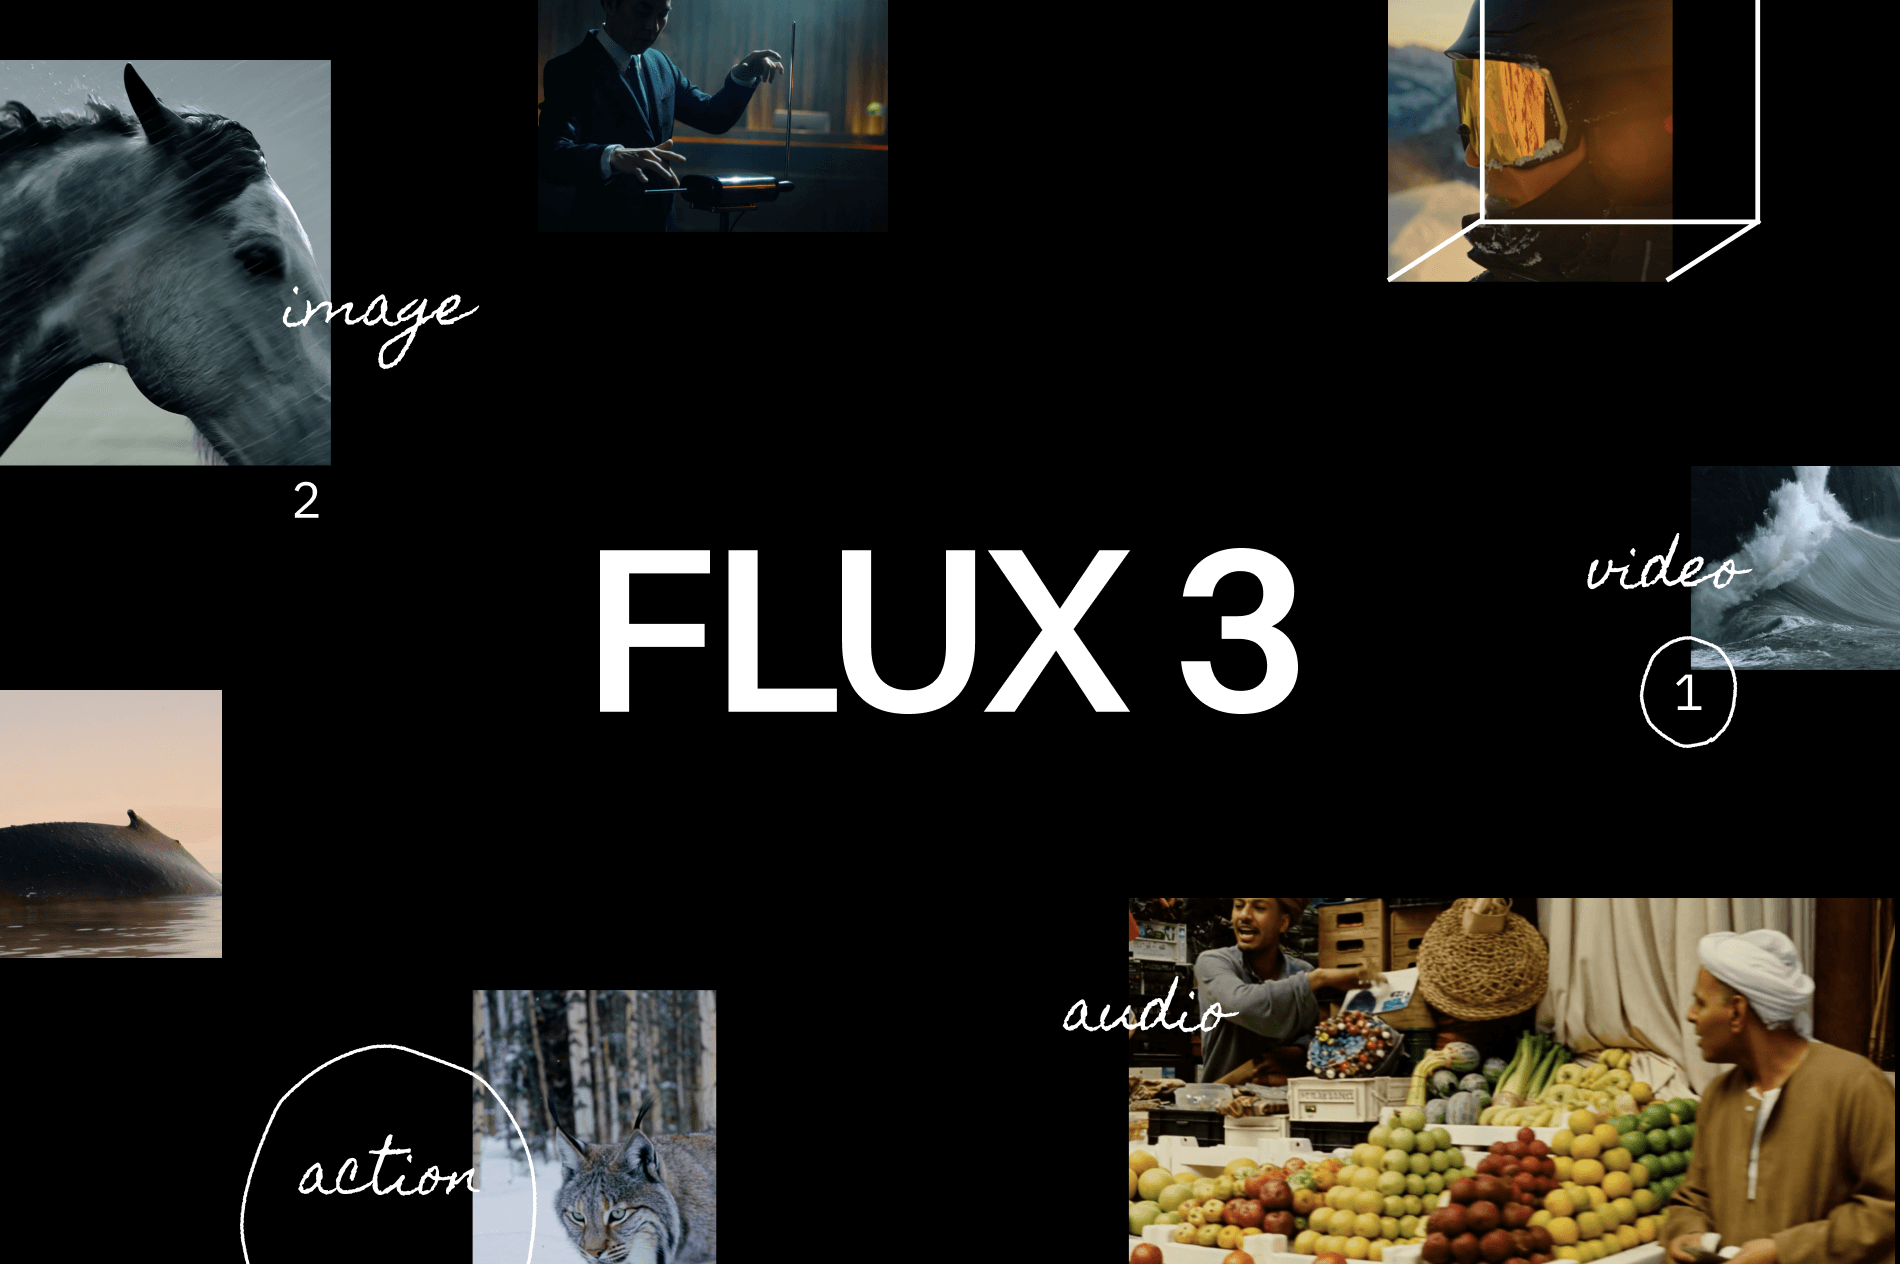
FLUX 3 continues the design direction popularized by Black Forest Labs’ earlier FLUX releases. It focuses on high-fidelity text-to-image generation, better typography, and a much stronger understanding of complex multi-subject prompts. The release generated attention because it directly attacked the problems that have historically plagued AI images: hands, overlapping objects, small embedded text, and identity consistency across multiple generated frames.
In practice, FLUX 3 feels less like a generic “type a sentence, get a picture” tool and more like a legitimate creative instrument. It still requires imagination and iteration, but it gives you enough control to land on a specific visual direction without depending on luck. That is why it attracted concept artists, art directors, and AI enthusiasts who treat the tool as part of a larger design pipeline.
1.2 Core Features and Output Modes
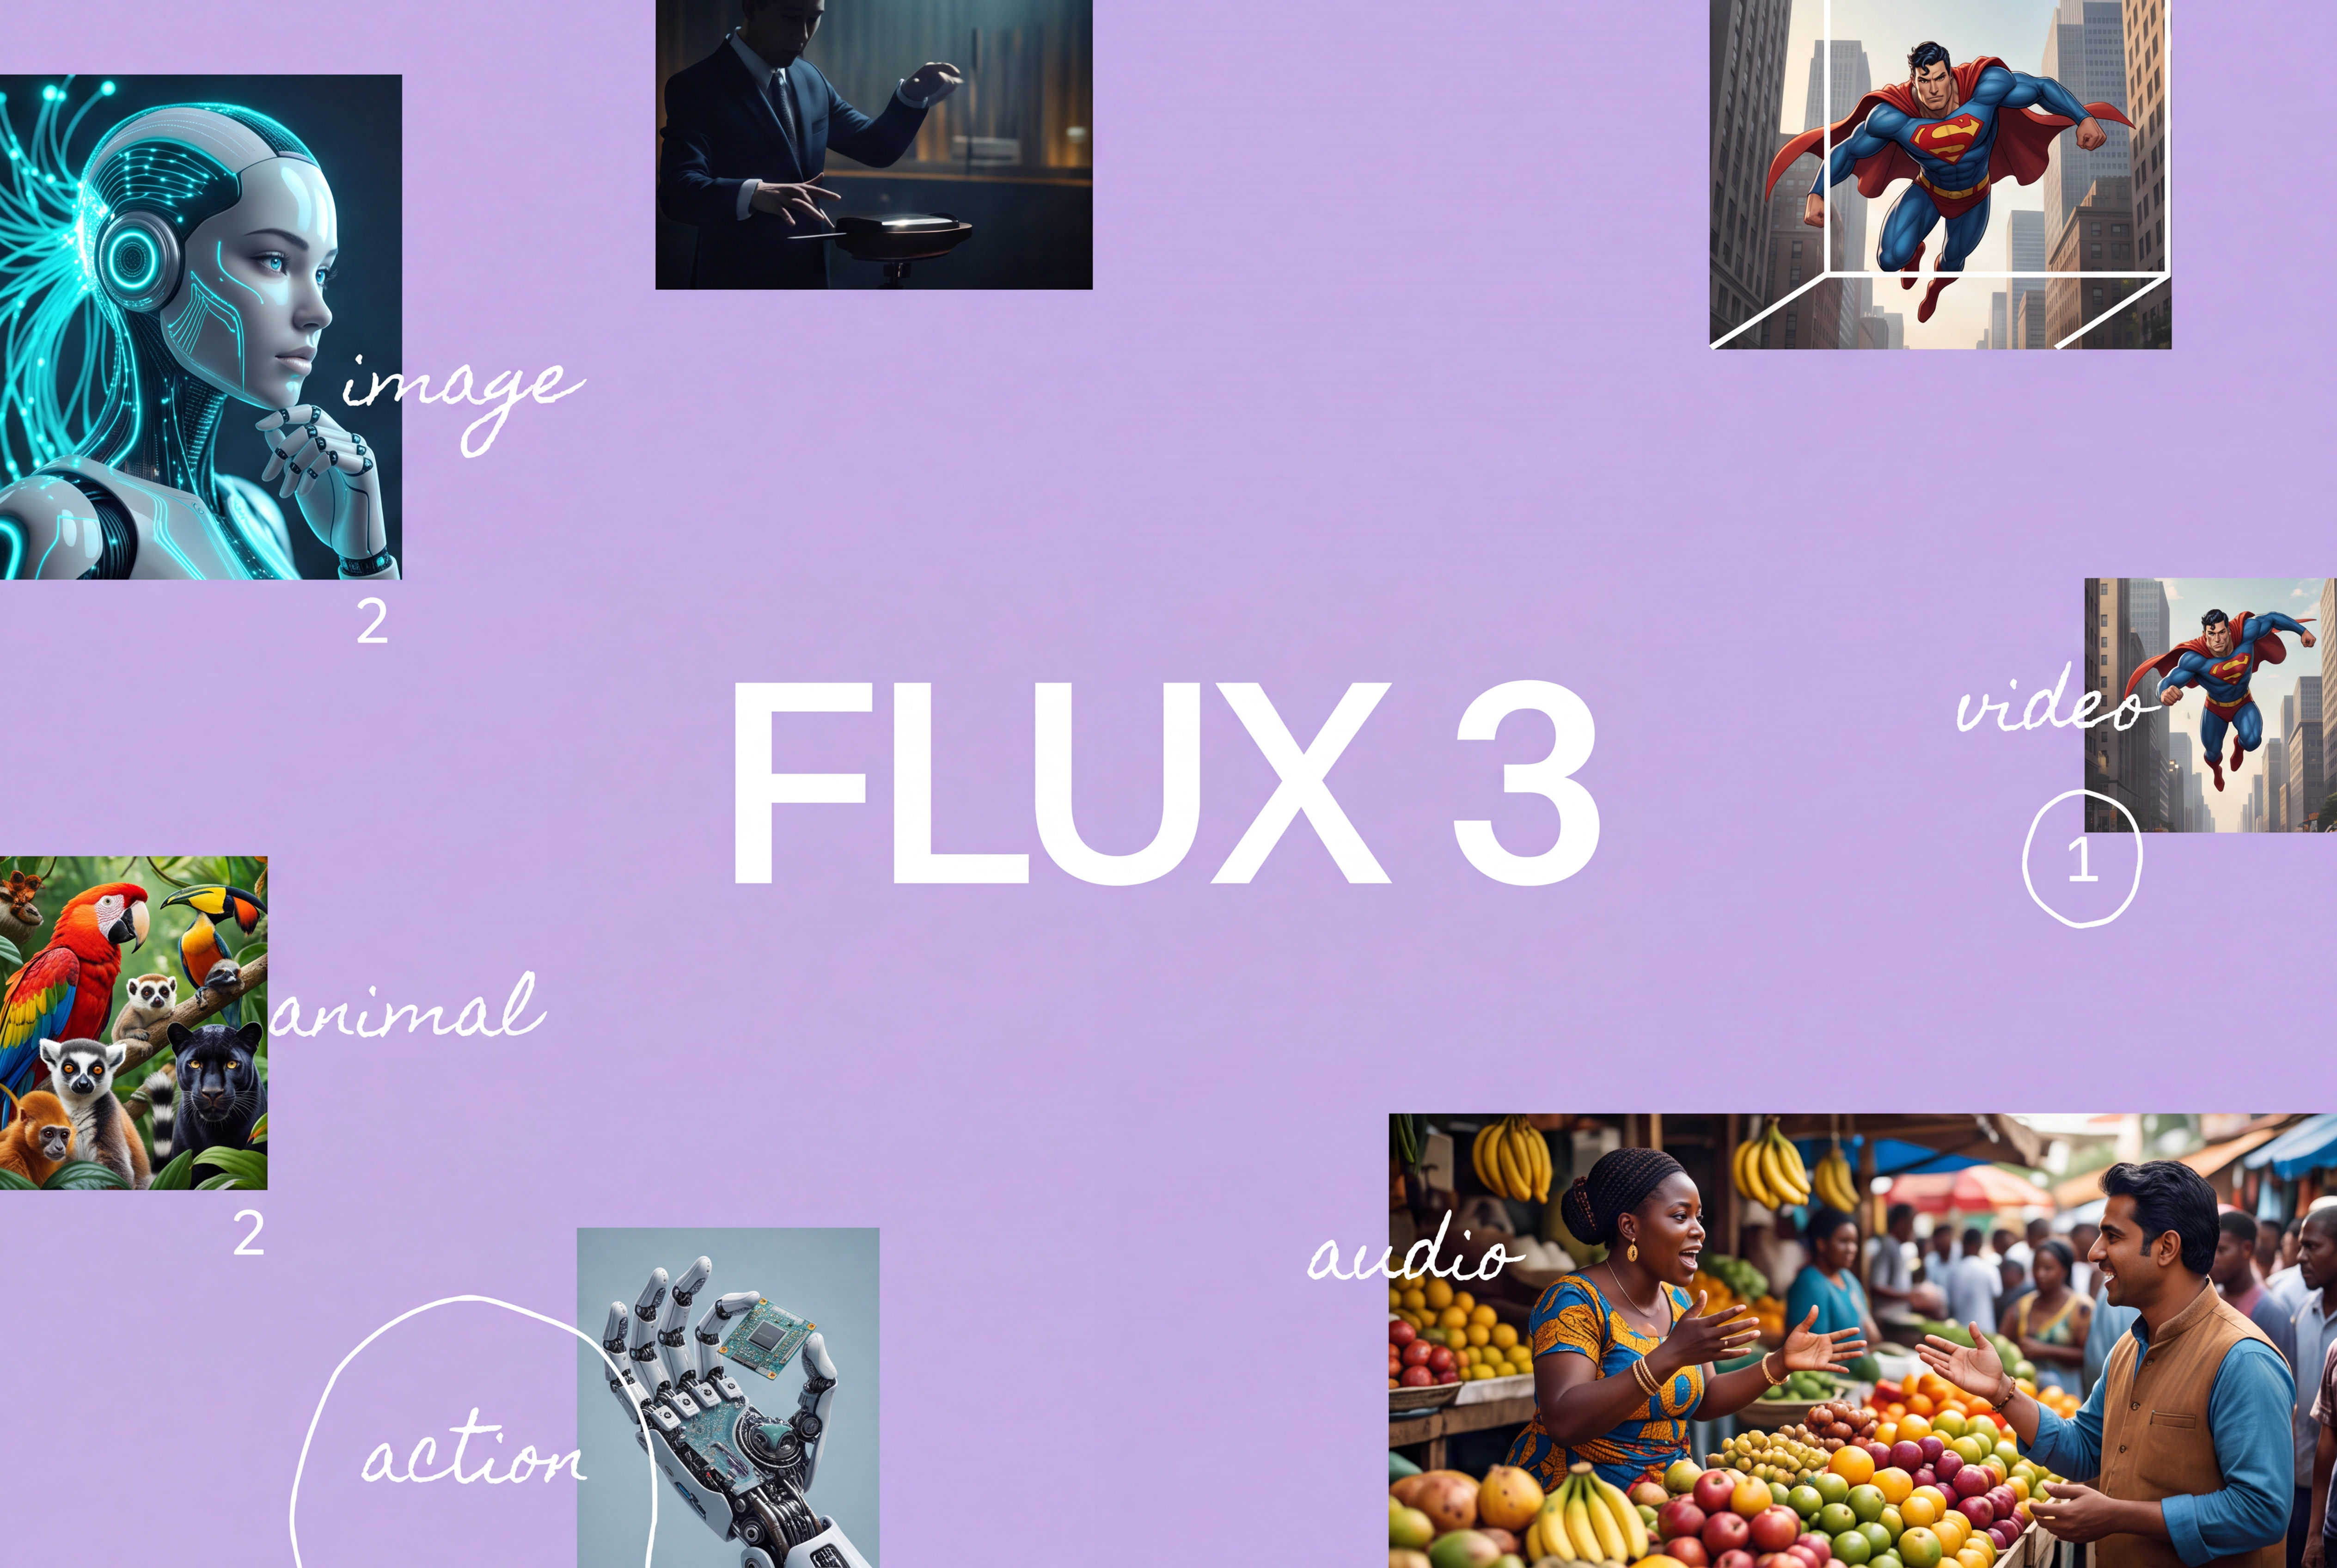
FLUX 3 supports the standard modes you would expect from a modern image generator, plus a few extras that make a real difference in production.
Text-to-image remains the core workflow. You give it a prompt, and the model generates a full-resolution image from scratch. Unlike some older models, FLUX 3 is especially good at rendering legible text within the image, which makes it useful for poster designs, packaging mockups, and social media creatives.
Image-to-image is where the model truly shines. Instead of starting from noise, you provide a source image and let FLUX 3 reinterpret it with new style, composition, or lighting. This is the mode I use most for character design, because it lets me sketch out a rough pose and then ask the model to paint a polished version.
Inpainting is handled well, too. You can mask a specific region and ask FLUX 3 to replace or modify just that area. In my testing, it is particularly effective at swapping backgrounds, changing wardrobe details, and fixing small elements that were close but not quite right.
The high-resolution rendering pipeline also deserves attention. FLUX 3 generates at a reasonably detailed base resolution and then upscales with a built-in enhancement step. The result is sharper edges and more coherent textures than simply resizing the output in Photoshop.
1.3 FLUX 3 Review: Pros, Cons, and Ideal Users
Let’s be balanced.
What works well:
- Complex composition handling is genuinely impressive. FLUX 3 can separate foreground and background subjects without blending them into a muddy mess.
- Text rendering is far above average for open diffusion models.
- Stylistic range is broad. You can push photorealism, editorial illustration, watercolor, or cinematic concept art with the same checkpoint.
- Seed-based reproducibility works reliably enough for iterative character exploration.
Where it falls short:
- The learning curve is real. If you are used to entering a two-word prompt in a consumer app, FLUX 3 will feel intimidating.
- Generation speed depends heavily on where you run it. Local inference on a consumer GPU is possible, but not fast enough for high-volume social media work.
- The advanced settings can overwhelm users who simply want “nice images fast.”
The ideal FLUX 3 user is a creator who wants direct control over the output. If you are willing to learn prompt engineering, use negative prompts correctly, and iterate through multiple generations, the payoff is substantial. If your goal is to produce 30 social images before lunch, you might be served better by a more streamlined platform like Imagine Pro.
2. FLUX 3 AI Image Generator Guide: From First Prompt to Pro-Level Workflows
2.1 Getting Started: Interface and Basic Settings
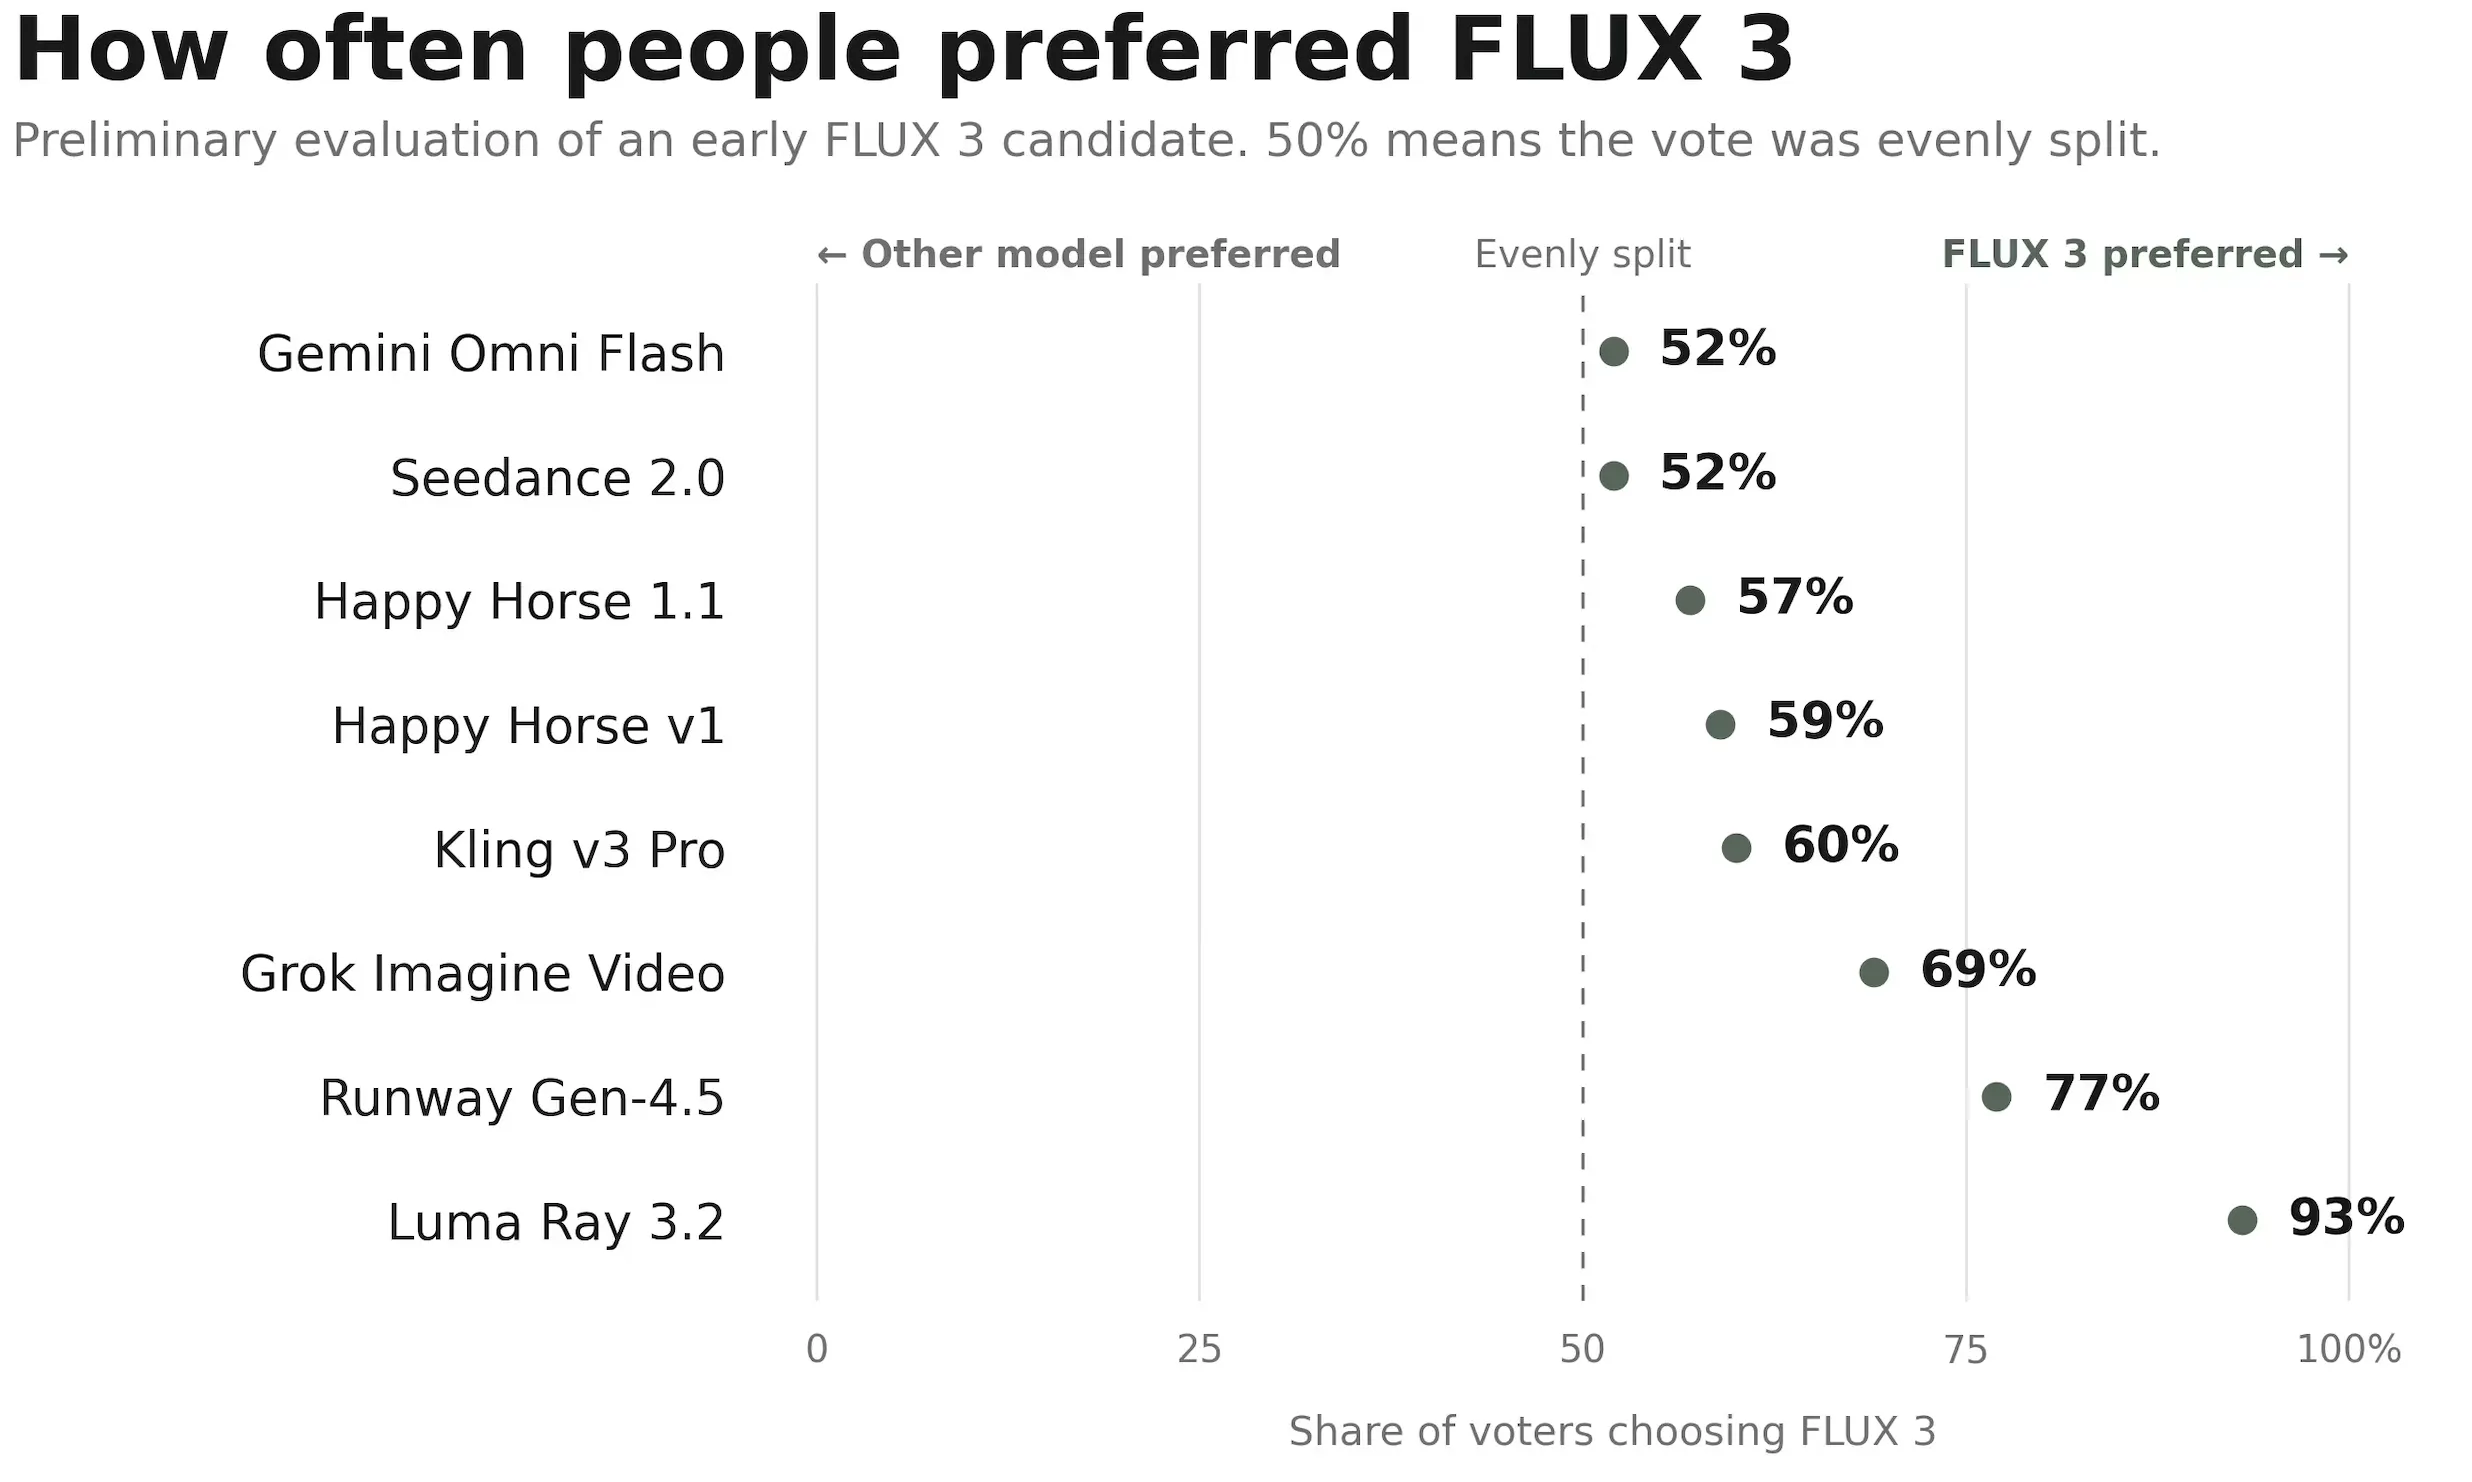
The first step is choosing where you will run FLUX 3. If you have access to the official API or a third-party hosting platform, you can work through a simple web interface. If you are running it locally with a tool like ComfyUI or Forge, the setup takes longer, but the flexibility is greater.
For most users, I recommend starting with the web-based or API route. You need an account and an API key or subscription plan. The main interface elements are the prompt box, the negative prompt box, aspect ratio presets, and a settings panel for sampling steps, guidance scale, and seed.
Before generating your first image, set a few defaults. Use a 16:9 or 3:2 aspect ratio if the image will be used on social media. Choose a high-resolution preset if it is available. And keep the sampling steps at the default value until you understand what each change does.
2.2 Prompt Engineering for FLUX 3: What the Model Understands Best

FLUX 3 understands natural language better than many previous models, but it still benefits from structured prompts. The best prompt formula I have found is: subject + action + environment + lighting + style + composition.
Here is an example of a weak prompt:
a cyberpunk woman in a city
And here is the kind of prompt that gives you control:
a female cyberpunk detective standing in a rainy neon alley, seen from behind, orange and teal color palette, cinematic lighting, shot on 35mm film, centered composition, highly detailed facial features
The difference is not just word count. It is about giving FLUX 3 a visual hierarchy. When the model knows exactly what the subject is doing, where the environment is, and what photographic style you want, it can allocate its latent resources to the details that matter.
Style modifiers also work well when they are not contradictory. Avoid combining phrases like “photorealistic anime watercolor painting” because the model will attempt to merge incompatible visual languages. Instead, pick one dominant style and add a secondary texture or medium.
2.3 Advanced Controls: Negative Prompts, Sampling Steps, and Guidance Scale
The advanced settings are where FLUX 3 separates itself from simpler generators.
Negative prompts are useful for subtracting specific elements. If you keep generating images with unwanted blurry hands, add “blurry hands, distorted hands, extra fingers” to the negative prompt. On FLUX 3, negative prompts work best for removing artifacts and unwanted stylistic drift. They are less effective at force-changing composition.
Sampling steps control how many denoising passes the model performs. More steps do not always mean better output. In my experience, FLUX 3 starts producing coherent results around 20 steps, and most quality gains disappear after 40 steps. The practical sweet spot is usually between 25 and 35.
Guidance scale is the amount of influence your prompt has over the final image. Lower guidance values give the model more creative freedom. Higher values make the output stick closer to the literal prompt, but after a certain point, the image starts to look oversaturated and stiff. If you are moving to FLUX 3 from older Stable Diffusion workflows, you may be tempted to set guidance scale to 7 or 8. I recommend starting much lower and observing the difference.
2.4 Hidden Insight: Using Seed Values and Image-to-Image Consistency

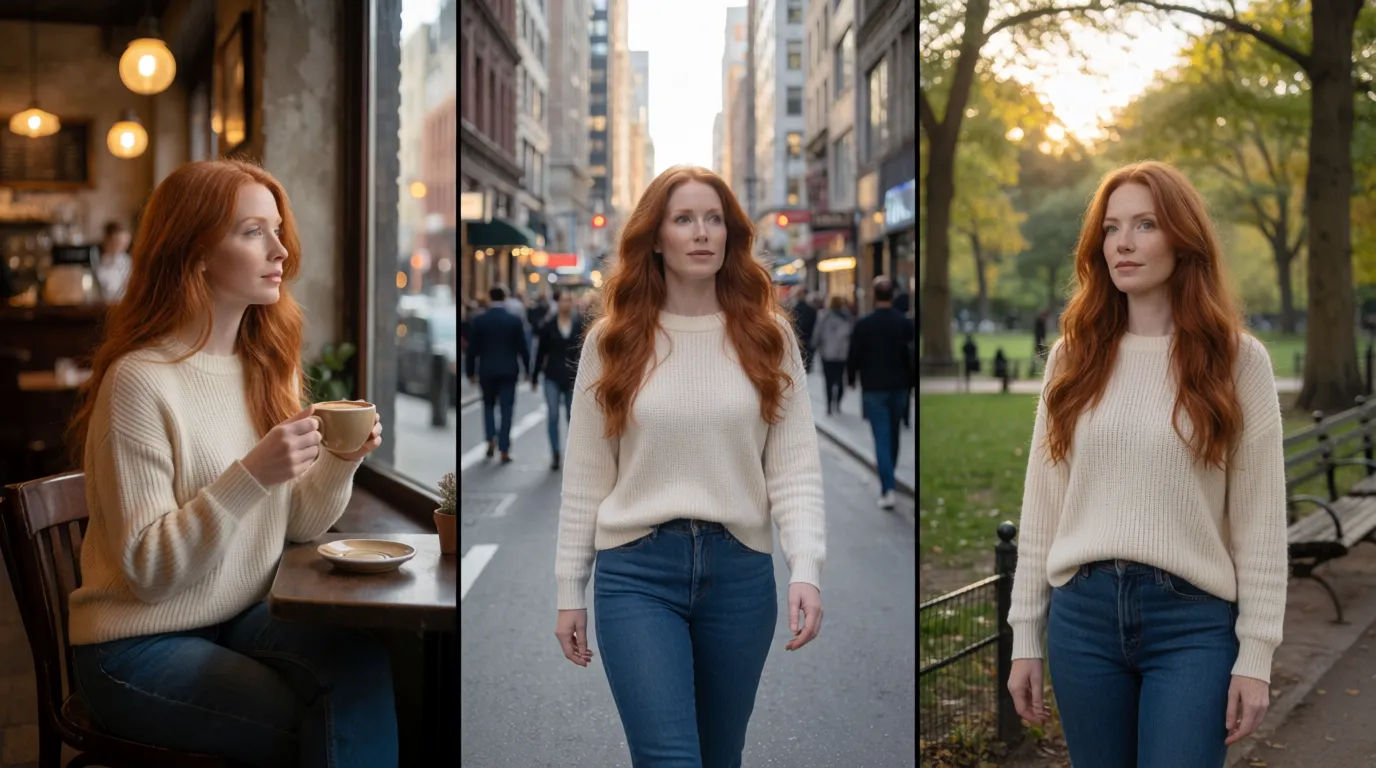
The most underrated feature of FLUX 3 is its use of seed values. A seed number initializes the random noise that starts the diffusion process. If you find an image you love and record the seed, you can reproduce a similar composition by reusing that seed with minor prompt changes.
This is the key to character consistency. I use a base seed, generate an initial character portrait, then lock the seed and change style descriptors like “wearing a red hoodie” or “in a cyberpunk environment.” The character’s facial structure remains stable, while the outfit and setting change.
Image-to-image takes this one step further. By using a reference image with a low denoising strength, you can preserve the underlying structure and only adjust color, texture, or mood. This is far more reliable than trying to achieve consistency with text prompts alone.
3. FLUX 3 vs Imagine Pro: Side-by-Side Comparison
3.1 Image Quality and Style Range
FLUX 3 offers deeper creative control and a wider style range for users who know how to prompt. It can produce expressive concept art, cinematic photography, and even convincing product mockups. Imagine Pro, on the other hand, is optimized for speed and ease of use. It produces reliable, good-looking images quickly, but it does not offer the same granular control over composition and style mixing.
For fine detail and artistic authorship, FLUX 3 has the edge. If you need to hit a production deadline with minimal fuss, Imagine Pro feels smoother.
3.2 Speed, Resolution, and Ease of Use
FLUX 3 can be slow, especially on consumer hardware. The inference time for a single high-resolution image can be several minutes depending on your GPU and settings. Imagine Pro is built for instant generation and batch workflows, which makes it a better fit for marketers and non-technical creatives.
Resolution is another differentiator. FLUX 3 gives you more options for custom upscaling and aspect ratios, while Imagine Pro is designed around polished presets. For a beginner, the preset approach is simpler. For a professional who needs specific output dimensions, FLUX 3’s flexibility matters more.
3.3 Pricing and Free Trial Flexibility
Pricing structures change quickly, so it is always worth checking the official pages. In general, FLUX 3 tends to be priced around API credits or monthly model access, which can become expensive if you generate at high volume. Imagine Pro offers a cleaner subscription model with a free trial, which lowers the barrier to entry.
If you want to compare both tools without risk, start with Imagine Pro and run the same prompt through each platform. The difference in workflow will become obvious within the first few tries.
3.4 FLUX 3 vs Imagine Pro: Which Is the Best AI Image Generator for Your Workflow?
There is no universal answer. If your priority is deep creative control and you are comfortable with prompt engineering, FLUX 3 is the better investment. If you value speed, simplicity, and a low learning curve, Imagine Pro is the stronger choice.
For solo artists and creative teams who want to explore visual directions, FLUX 3 rewards experimentation. For social media managers, small business owners, and non-technical designers, Imagine Pro removes the friction and lets you generate usable content almost immediately. Try both, because the best AI image generator is the one that fits your actual working habits.
4. Technical Deep Dive: How FLUX 3 Works Under the Hood
4.1 Model Architecture and Training Approach
FLUX 3 builds on the same hybrid framework that made FLUX.1 a benchmark breaker. It uses a flow-matching objective combined with a transformer-based diffusion backbone. This is a step beyond the simpler U-Net architecture used by older Stable Diffusion models.
The model processes images in a compressed latent space rather than directly in pixel space. This reduces the computational cost of training and inference while allowing the model to focus on semantic details. The text encoder side is also more sophisticated, with a stronger alignment between the prompt embedding and the visual features.
4.2 Latent Space, Prompt Encoding, and Sampling
When you enter a prompt, FLUX 3 tokenizes the text and encodes it into a high-dimensional representation. That representation is used to guide the denoising process in latent space. The model starts from random noise and gradually removes noise while following the prompt signal.
Sampling method matters. In local UIs, you often see options like Euler or DPM. FLUX 3 tends to work best with samplers that respect its flow-matching schedule. If you change samplers, you may notice shifts in contrast and color that have nothing to do with your prompt.
The practical implication is that FLUX 3 is not just an incremental upgrade. Its internal representation is better suited for complex scenes because it can attend to multiple objects simultaneously without collapsing them into the same visual cluster.
4.3 Community Benchmarks and Expert Observations
Community testing has shown that FLUX 3 represents a major jump in prompt adherence, especially for prompts with multiple people and distinct attributes. Early adopters report fewer mixed-up identities, which was a common complaint with previous models.
Inference speed is still the bottleneck. Running FLUX 3 locally requires a GPU with substantial VRAM, particularly for high-resolution generations. Many professionals choose an API service to avoid hardware costs.
Expert observers have also noticed that FLUX 3 benefits from longer, descriptive prompts. If you give it a sparse prompt, it still produces a beautiful image, but the specificity of the result drops significantly. In other words, the tool rewards careful writing.
4.4 Hidden Insight: Why FLUX 3 Excels at Complex Scenes
The biggest surprise in my testing was how well FLUX 3 handles overlapping subjects. A prompt like “a brown dog walking behind a yellow bicycle, with a red mailbox in the background” used to produce tangled shapes in earlier models. FLUX 3 keeps the spatial relationships clean.
This is likely due to better attention mechanisms and a more diverse training dataset. The model has learned separate feature maps for objects, depth, and lighting. When the prompt describes a layered scene, it can reason about depth and occlusion rather than simply blending everything together.
5. Real-World Experience: Testing FLUX 3 in Creative Production
5.1 Concept Art and Character Design Workflows
For character design, FLUX 3 is close to ideal. I started with a simple image-to-image workflow: a rough black-and-white silhouette, then a prompt asking the model to render a full color concept with a specific costume and lighting.
The first pass was not perfect, but the seed control let me iterate without losing the character’s core features. By the fifth generation, I had a portfolio-ready concept that would have taken hours to paint manually.
5.2 Marketing and Social Media Asset Creation
FLUX 3 can produce excellent social media backgrounds, ads, and product illustrations. It handles embedded text better than most competitors, but it is not flawless. Short words like “SALE” or “NEW” usually render correctly. Long headlines or custom brand names still break down occasionally.
If you need a branded asset with exact logo placement, FLUX 3 is not the right tool. You will need to composite the final logo in Canva or Photoshop. But for eye-catching campaign backgrounds, it is extremely productive.
5.3 Common Pitfalls Users Encounter with FLUX 3 (and Fixes)
The most frequent mistake I see is overloading the prompt. When you stack too many unrelated modifiers, FLUX 3 tries to satisfy everything and produces a generic compromise. The fix is to prioritize three or four visual elements and let the rest remain implied.
Contradictory style descriptors are another issue. Phrases like “dark cinematic photo, but also bright and airy” confuse the model. Pick one dominant mood and use supporting details that reinforce it.
Ignoring resolution settings is also common. If you generate at a low base resolution and then upscale in post, you sacrifice fine detail. Use FLUX 3’s native high-resolution mode instead.
5.4 Lessons from Production: What Real Testing Revealed
FLUX 3 performed better than expected at texture detail. Metals, fabrics, skin pores, and organic surfaces all have a pleasing material quality. At the same time, I learned to lower my expectations for exact anatomical correctness in dynamic poses. It still generates the occasional extra finger, but far less often than previous generations.
The biggest lesson is that FLUX 3 is a tool for exploration. It is excellent at giving you a wide range of options. It is less useful when you need a deterministic output that matches a strict brand guideline.
6. Best Practices for Consistent, High-Quality FLUX 3 Outputs
6.1 Industry Best Practices for Prompt Crafting
A repeatable prompt formula will improve your success rate. Use this structure:
- Subject: who or what is in the image?
- Action: what are they doing?
- Environment: where is the scene set?
- Lighting: natural, neon, studio, dramatic?
- Style: photorealism, illustration, cinematic, etc.
- Composition: close-up, wide shot, centered, off-center?
Keep the most important element in the first half of the prompt. FLUX 3 tends to prioritize early tokens when interpreting the image.
6.2 Stylization and Brand Consistency
To maintain a consistent visual identity, build a reusable prompt template. Include the same style modifiers, lighting descriptions, and color palette in every generation.
You can also use image-to-image with a source image as a style reference. Use a low denoising strength if you want the style to stay close to the reference, or a higher strength if you want only the general mood to carry over.
6.3 When to Use FLUX 3 (and When to Use a Simpler Tool)
FLUX 3 is worth the learning curve when the image itself is the product: concept art, editorial design, advertising visual exploration, or custom illustration. If your workflow requires artistic authorship and fine-grained control, FLUX 3 is the stronger choice.
If you just need a quick visual for a blog post, ad campaign, or social update, you may not need that level of control. A simpler tool like Imagine Pro will save you time and mental energy, especially when the team does not include a specialized prompt engineer.
6.4 Integrating FLUX 3 Into Existing Design Pipelines
FLUX 3 does not replace your design tool. It feeds into it. After generating an image, I bring it into Photoshop or Figma to clean up details, adjust colors, and add final text.
For an efficient workflow, set up a folder system for base generations, upscaled assets, and final composites. Use seed values as the naming convention so you can reproduce a generation later. And save your best prompts in a personal library for future projects.
7. Value Assessment: Pricing, Time Savings, and ROI
7.1 FLUX 3 Pricing Tiers and What They Include
FLUX 3 is not always sold as a single product. The pricing depends on whether you use the API, a third-party hosting service, or a local installation. Most API-based platforms work on a credit system, with costs per image varying by resolution and generation steps.
For professional users, the biggest value is not the unit price per image. It is the ability to explore dozens of visual directions in a single afternoon. The cost of failed concepts is much lower than hiring a designer to sketch every variation manually.
7.2 Time Savings vs. Traditional Image Creation
In traditional image creation, a single polished concept can take one to two hours. With FLUX 3, that same concept takes ten minutes including prompt iteration and upscaling.
This does not mean the AI is fully autonomous. You still need to review, select, and composite. But the early ideation phase collapses from a day-long project to a lunch break. That is the real return on investment.
7.3 Cost Comparison: FLUX 3 vs Imagine Pro vs Other Tools
| Tool | Best For | Pricing Style | Learning Curve |
|---|---|---|---|
| FLUX 3 | Deep creative control, complex scenes, art direction | Credit-based / API | Steeper |
| Imagine Pro | Fast social assets, marketing, beginners | Free trial + subscription | Gentle |
| Other AI tools | Quick one-off images | Varies | Varies |
The cheapest option is not always the most cost-effective. If creative control directly impacts your revenue, FLUX 3 is worth the extra setup time. If time is your most expensive resource, the simplicity of Imagine Pro is the better deal. Before you commit to an annual subscription, I recommend using Imagine Pro to establish a baseline workflow, then compare that to FLUX 3’s output. You can try Imagine Pro free and run the same prompts through both systems to see which one actually saves you time.
Final Thoughts
A comprehensive FLUX 3 review has to acknowledge both its power and its complexity. This is not a tool for someone who wants a perfect picture from a three-word sentence. FLUX 3 is an advanced AI image generator that gives you the control to produce precisely shaped creative work, provided you are willing to learn its quirks.
For professionals and serious enthusiasts, the output quality, complex scene handling, and seed-based consistency make it a worthy addition to the toolkit. For teams that need speed and straightforward interfaces, Imagine Pro remains a fast and effective alternative.
The good news is that you do not have to choose before testing. Start with a free trial, run your real prompts, and evaluate the results based on the work you actually produce. The best image generator is the one that serves your workflow, not the one with the longest feature list.
Compare Plans & Pricing
Find the plan that matches your workload and unlock full access to ImaginePro.
| Plan | Price | Highlights |
|---|---|---|
| Standard | $8 / month |
|
| Premium | $20 / month |
|
Need custom terms? Talk to us to tailor credits, rate limits, or deployment options.
View All Pricing Details